An Inventor's Quest for the NHL Pt. 36
The (Load) Path Forward
This series follows my attempt to develop a product that I dream of getting into the elite levels of hockey. Previously on the Quest: Part 1, 2, 3, 4, 5, 6, 7, 8, 9, 10, 11, 12, 13, 14, 15, 16, 17, 18, 19, 20, 21, Concept Launch, 22, 23, 24, 25, 26, 27, 28, 29, 30, 31, 32, 33, 34, 35
Hello! It’s been a while. To answer your most pressing questions, I’m still alive (which you might’ve worked out) and still working on the Uncage.
This stretch since my last update has been excruciatingly stop and start. Two separate 100+ degree fevers interrupted what was already jerky and uncertain progress towards the next version of the cage.
Why jerky and uncertain? Well, I struggled to find a design direction that I didn’t hate.
As you might remember, the last version failed because of broken welds. My spot welds were weak, so I attempted to strengthen the spot welds by adding TIG welds over the top. But the spot welds contaminated the metal, rendering the TIG welds useless.
A reader named Davis helped me realize that my at-home spot welding would never work; I needed the intense energy and pressure of industrial machines.
The easiest path forward would’ve been just to run the same design, but with fresh TIG welds over uncontaminated metal. And maybe that would’ve been good enough, but an email from another reader, Richard, convinced me to look at load paths.
(As an aside, one thing I’ve learned again and again from this project is that it’s impossible to spend too much time on load paths. So basic, yet so important.)
The existing load path – or how the force flowed from the puck through the cage into the helmet – put a lot of stress on the welds. I was essentially asking Spiderman to stick to the side of a building with just his pinky finger. In this next version, I wanted to give Spiderman one of those window washing platforms to take stress off his pinky.
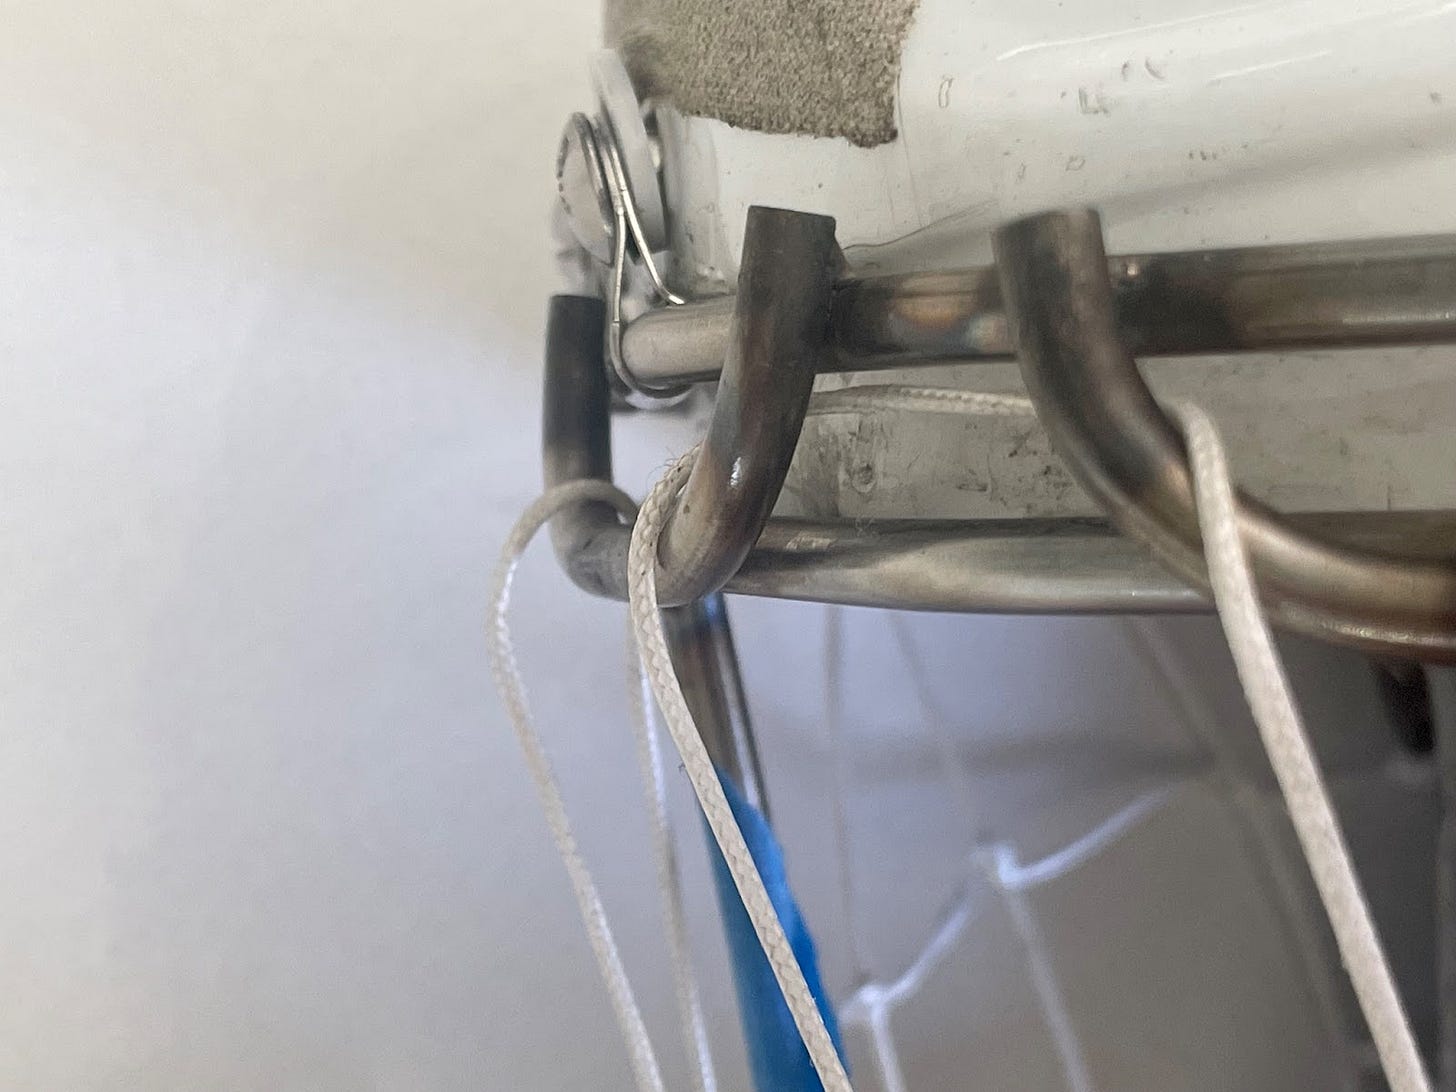
Exactly one gazillion possibilities ran through my mind, but just a few had a nice load path while also not pinching the rope against the helmet or kinking the rope. And only one was an evolution of my existing design which didn’t involve a complete rethink of materials and manufacturing processes.
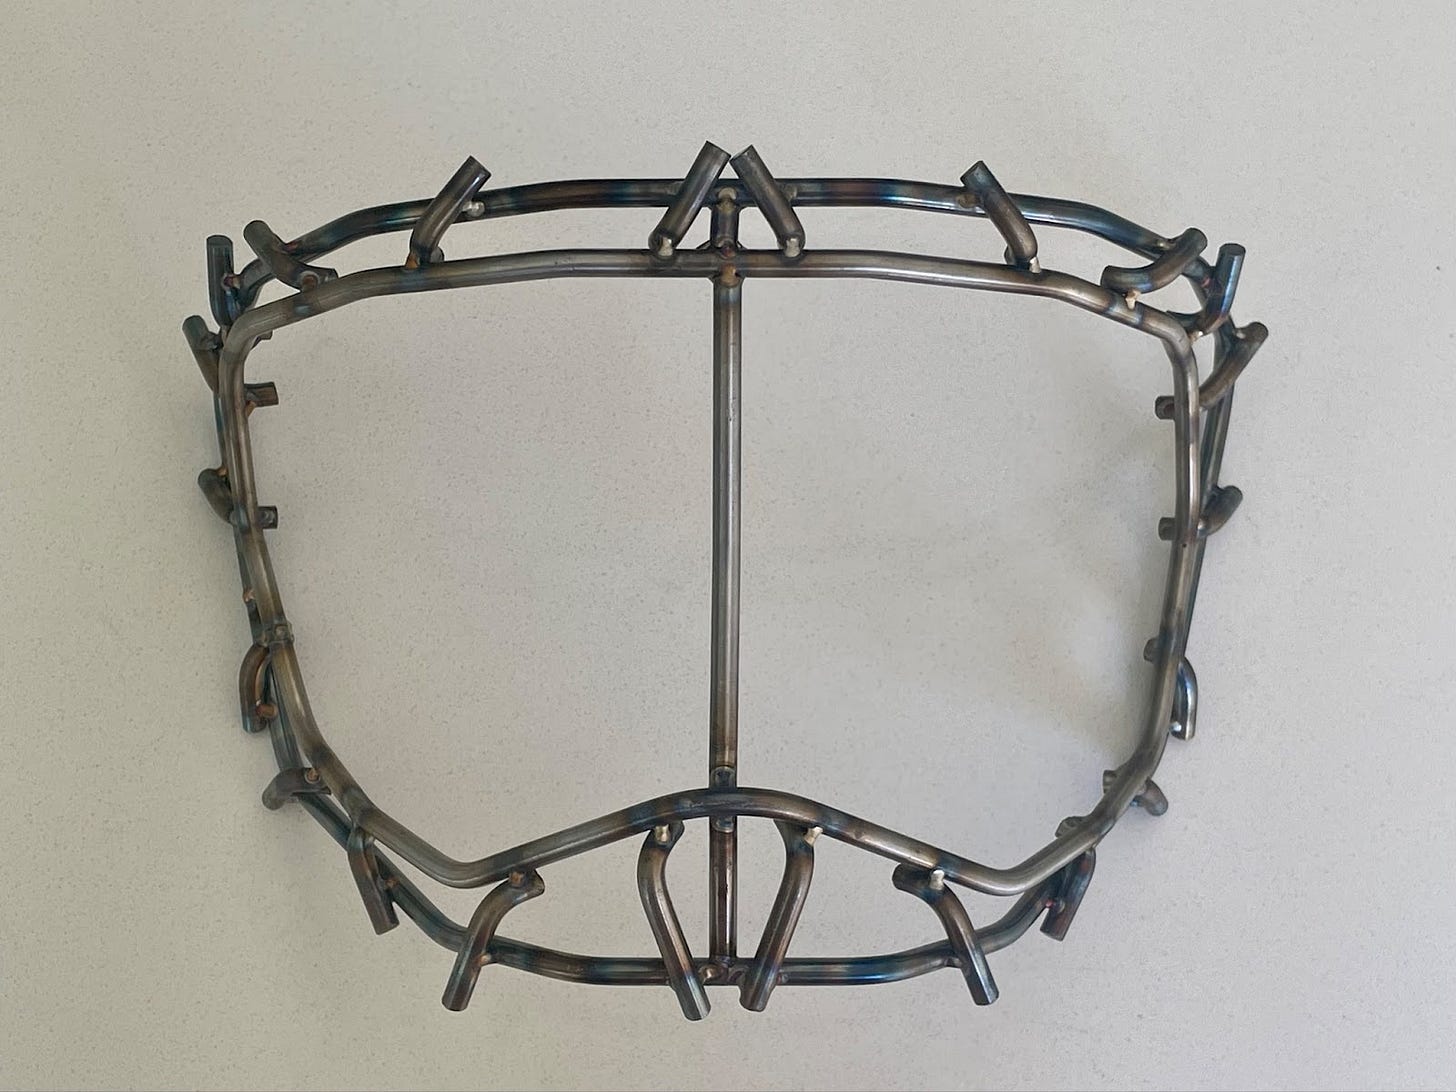
In this new design, the rope pulls down on the L-shaped anchor, which sits directly on another bar in the cage. The force can flow from the anchor into the rest of the cage without needing to go through a weld. The welds are now more of a supporting actor rather than the star of the show.
I also angled the bars in an attempt to create a “shear web” of sorts. (If you want to learn more about that concept, you can read through my post about bending.)
Still, I wasn’t thrilled with the concept. It was going to be a challenge to build and I thought it looked a little ugly. But I couldn’t come up with anything better, so I decided, at least, to keep building.
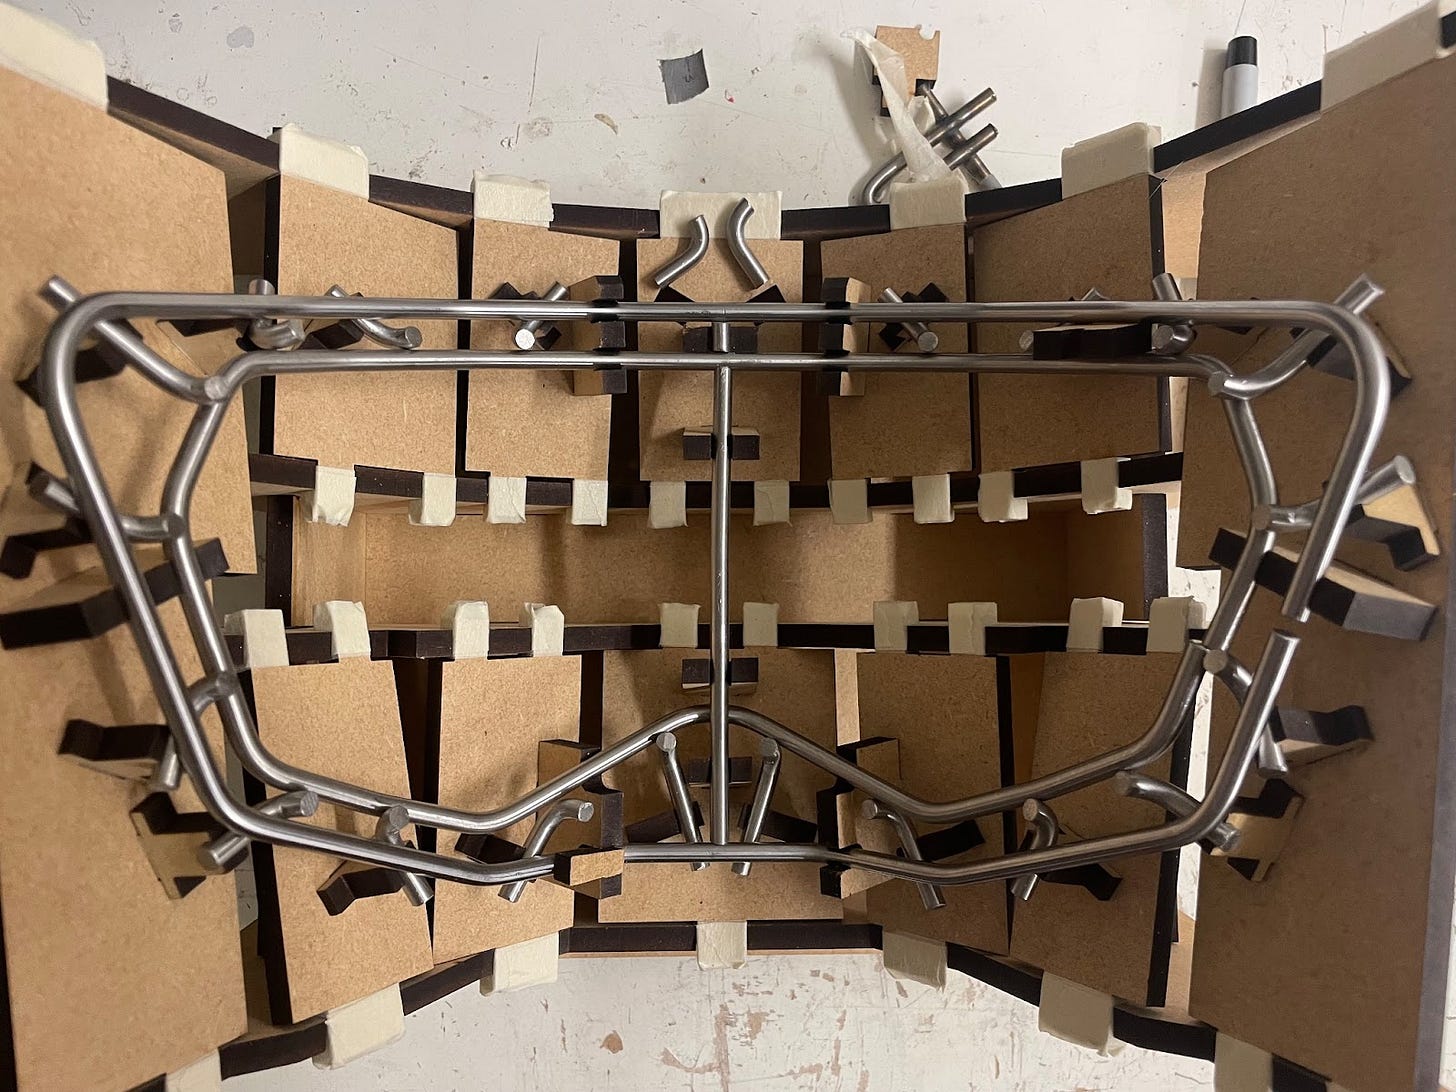
The first issue – how to hold twenty six pieces in place while they were welded together? Here, I took inspiration from my college days. While building the chassis for our Formula SAE racecar, my friends and I had used MDF to hold all the pieces together. It was relatively cheap, easy to work with, and only burned slightly when welded.
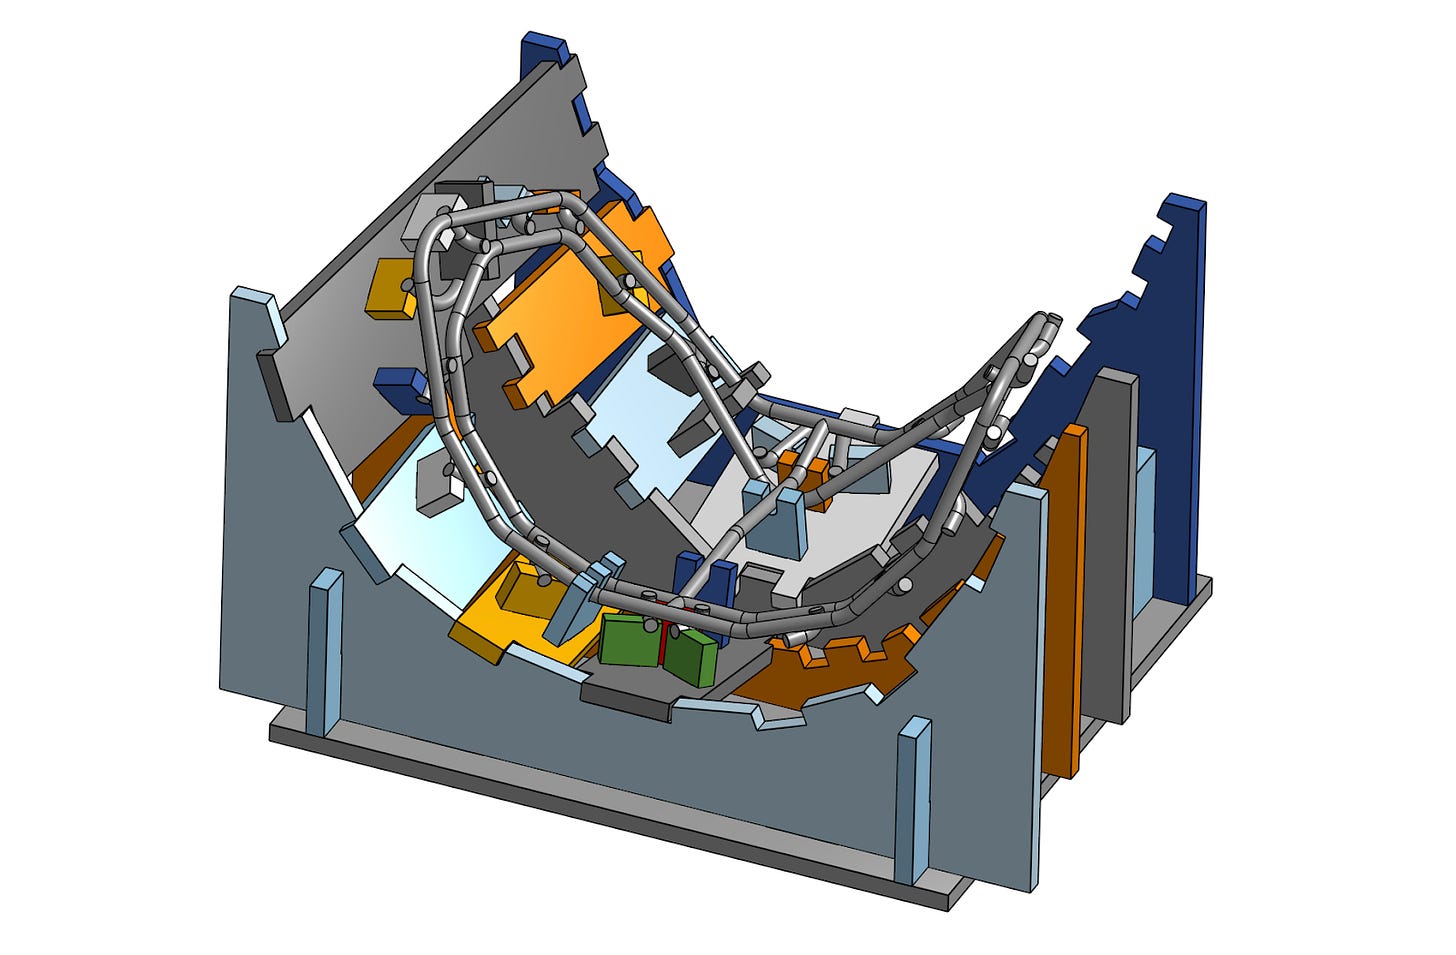
For the cage, after a few false starts (there were a lot of different planes and angles to deal with), I came up with a 3D jigsaw of sorts.
I had all the pieces laser cut by an online vendor and slotted them together.
Then it was on to the cage construction. As I’d done before, I painstakingly hand-bent the rods that make up the outer periphery of the frame. The bends on the new L-shaped anchors were too tight for my actual tube bender so I made do with a vice and an aluminum tube.
I can’t wait until I settle on a design, so I can get some more repeatable manufacturing methods and reminisce about the days when I hand-built everything.
Nevertheless, all the individual components fit surprisingly well into the jig.
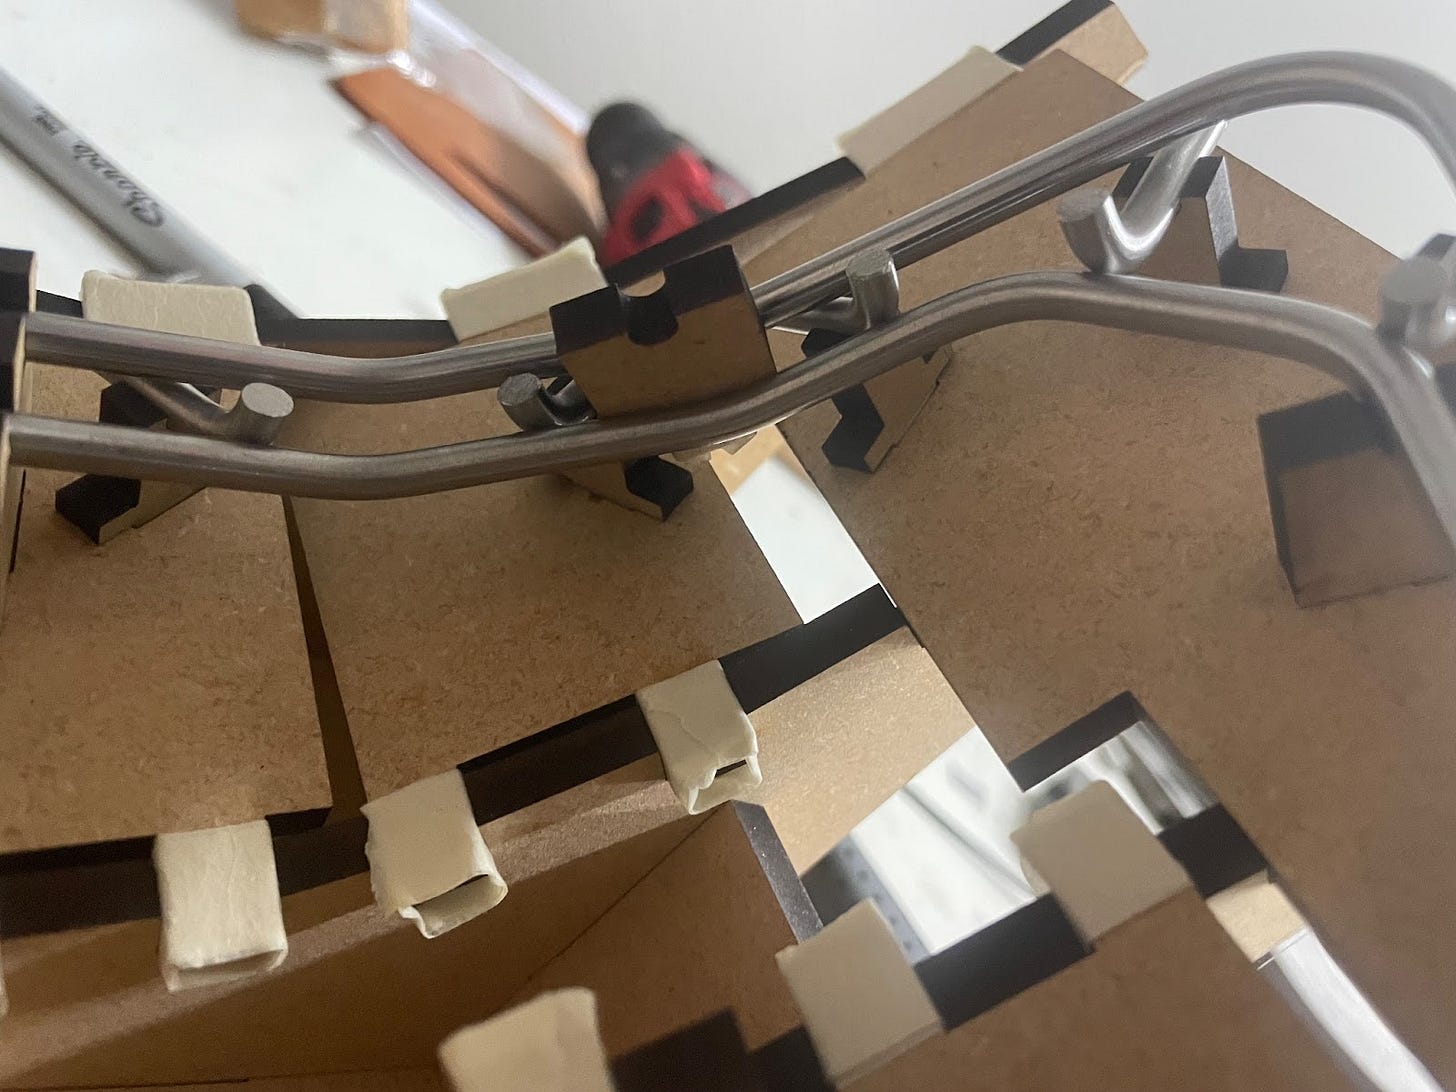
Of course, nothing works perfectly the first time, so I made a few adjustments: making the half-circles on the rod holders smaller by .005” so they would hold the rods a little more snuggly…
adding a small spacer to hold the outer bars at the right distance, wrapping tape around all the tabs for a more tight fit into their slots…
and finally, driving in some wedges to push the outer bar down to where it should’ve been sitting.
With all that done, I found myself a welder off of Craigslist. (I’ll spare you the weeks of striking out with other welders.) Et voila.
The attention to detail wasn’t quite what I was looking for (which is why I’ve started taking welding classes), but hey, at least it’s all together.
Now you’re all caught up, and you can share with me in that beautiful sense of optimism that I always get before a ball/puck smashes through my newest creation.
Two final thoughts:
First, I was really saddened to hear about the demise of the PHF. Ultimately, one pro women’s hockey league is probably best for the sport, but the way it was done – with contracts voided without warning – seemed unnecessarily cruel. On a selfish note, the PHF was probably my clearest path to the pros, so assuming I make a working cage at some point, I’ll have to reevaluate.
Second, I have a deadline for the Uncage. My goal is a functional prototype that can be used on the ice by October 1st. Depending on how far I get, I’ll reevaluate where to go from there.
As always, thanks for reading and for your support,
Surjan






For beam calculation i am using https://solveredu.com/en/