An Inventor's Quest for the NHL Pt. 4
Prototyping Progress
This series follows my attempt to develop a product that I dream of getting into the NHL. Previously on the Quest: Part 1, Part 2, Part 3
As I continue to catch you up on my progress, I’d like to show you how I’ve matured my design by incorporating more of my insights over time.
Insight #1
I started with my strongest engineering insight -- that flexible structures are horribly underrated. I believe that stiffness and flexibility are two equally valid paths in engineering and, by exploring the less popular road of flexibility, I can find advantages that others may have missed.
My hypothesis for this particular project is that a flexible structure needs less material to absorb an impact, because the peak force of impact is lower. (Picture the difference between the peak force you feel in your backside when jumping on a compliant couch compared to a stiff bench.)
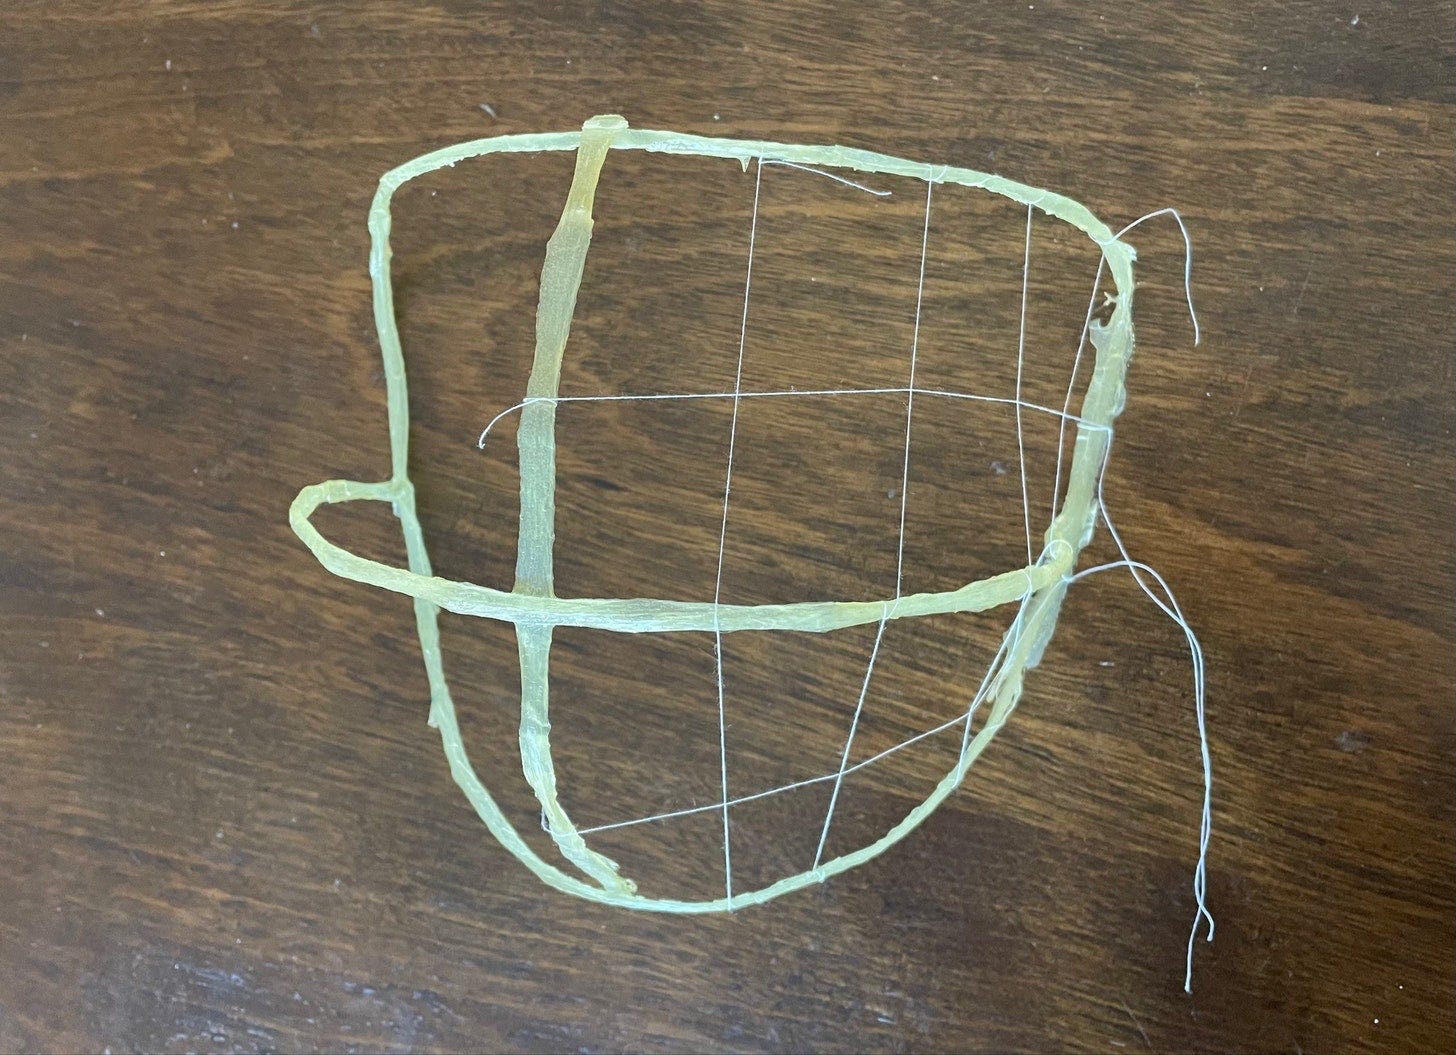
The initial implementation was pretty simple; hang a net in front of the goalie’s face and add minimal framework to give the net some shape.
Insight #2
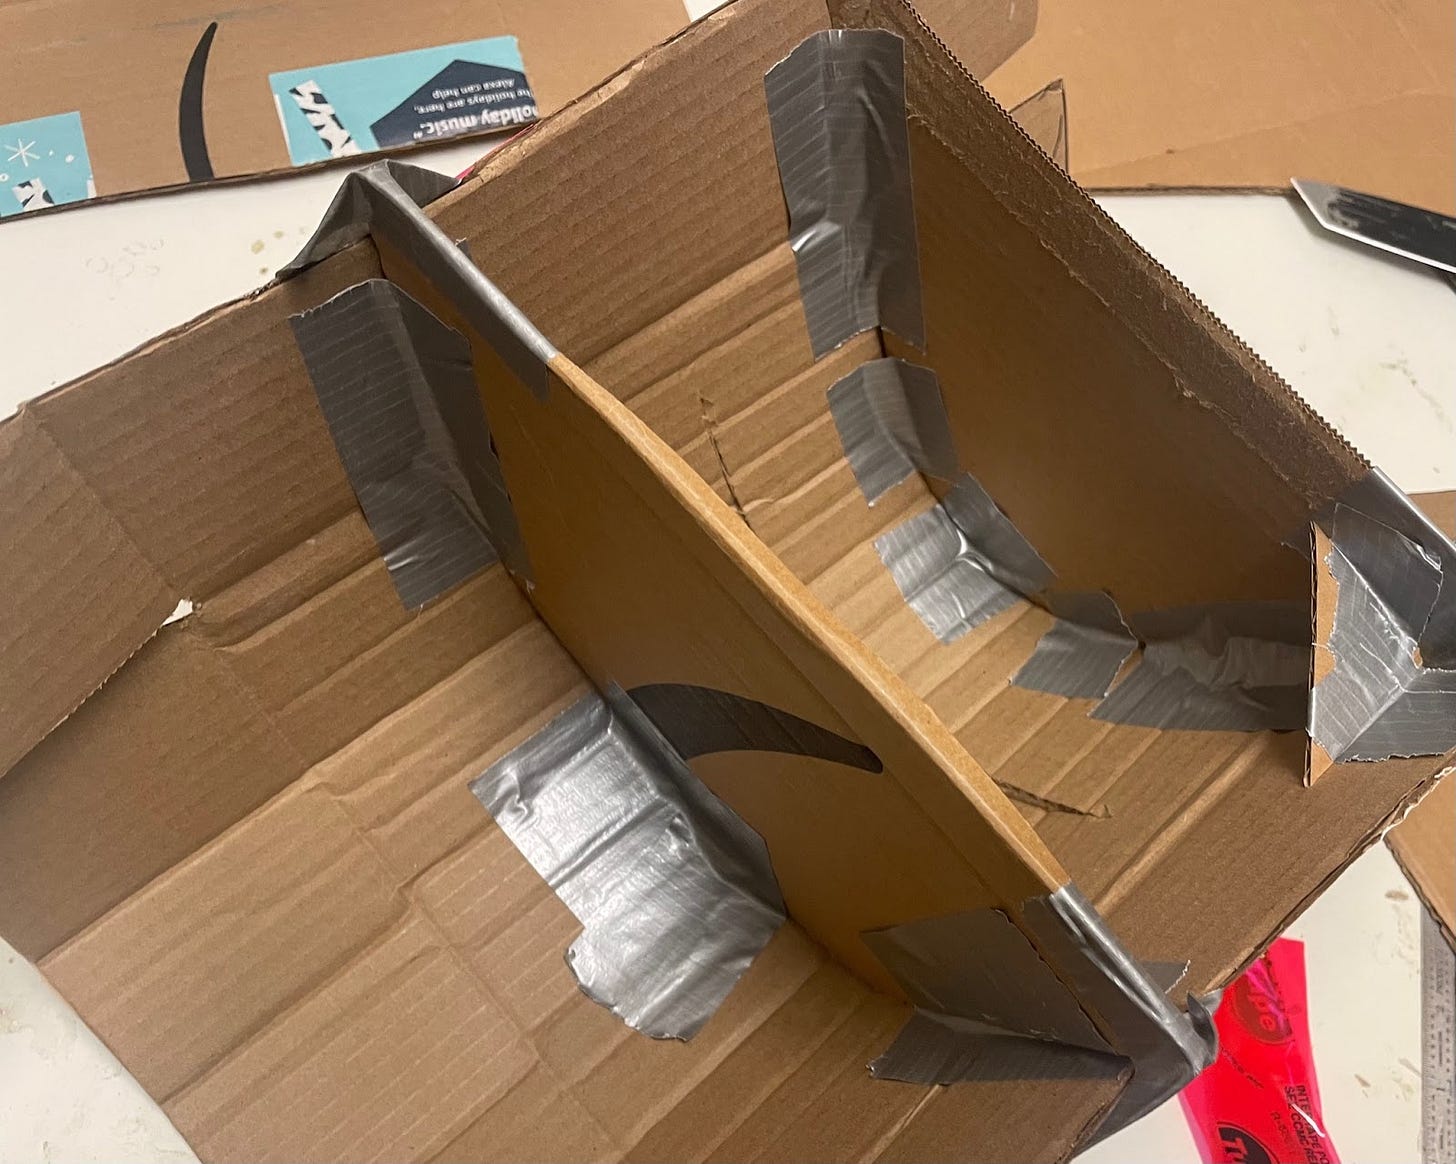
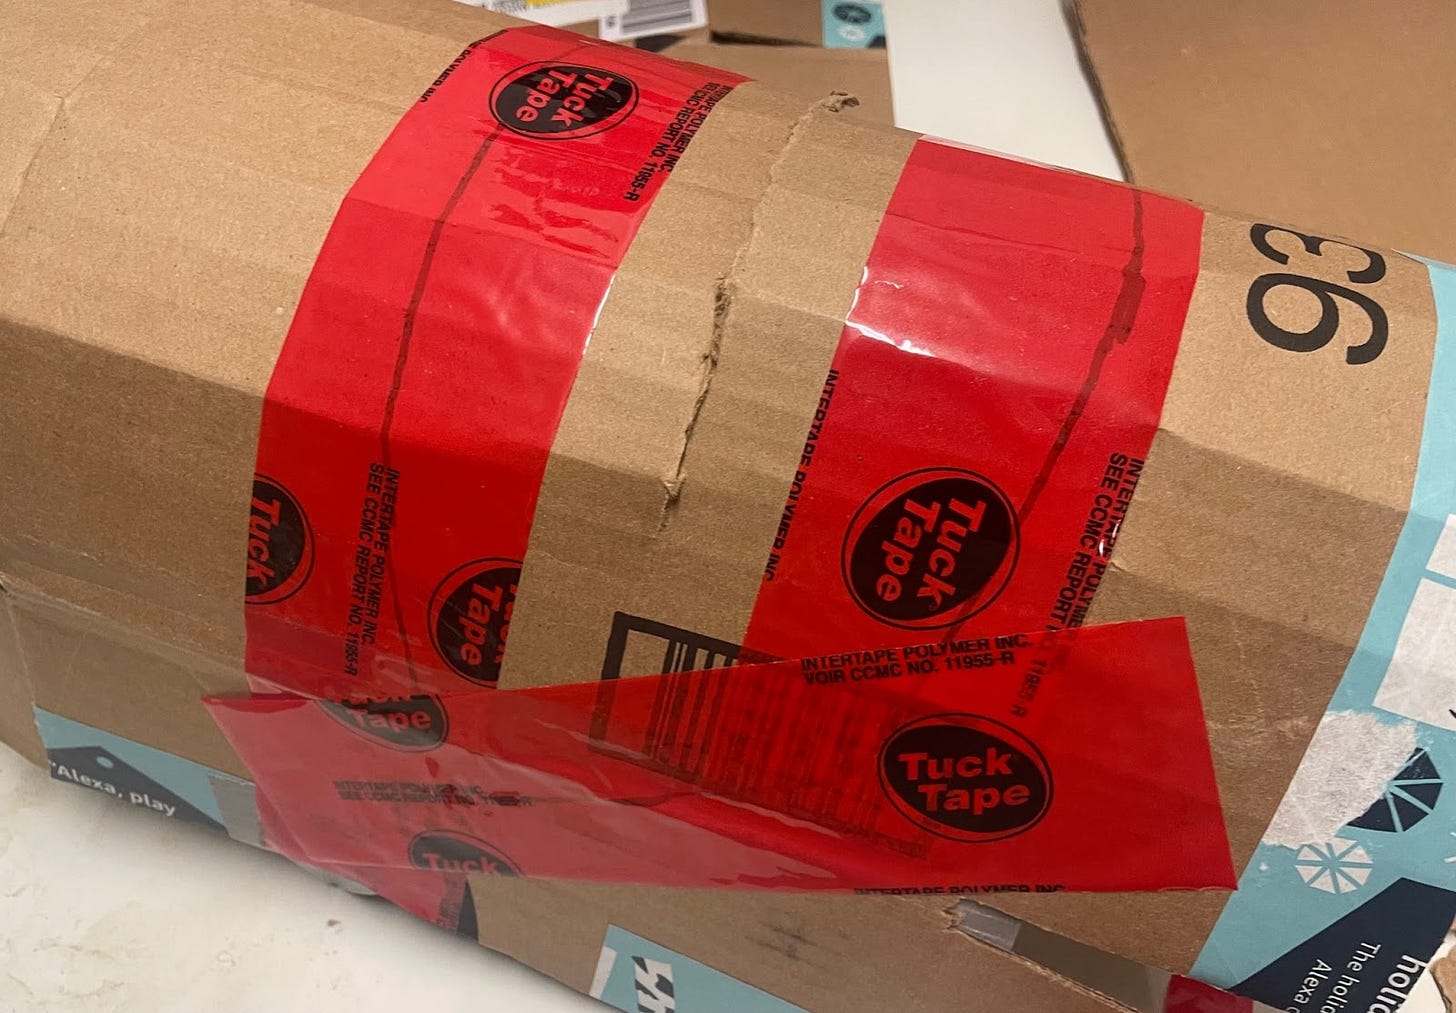
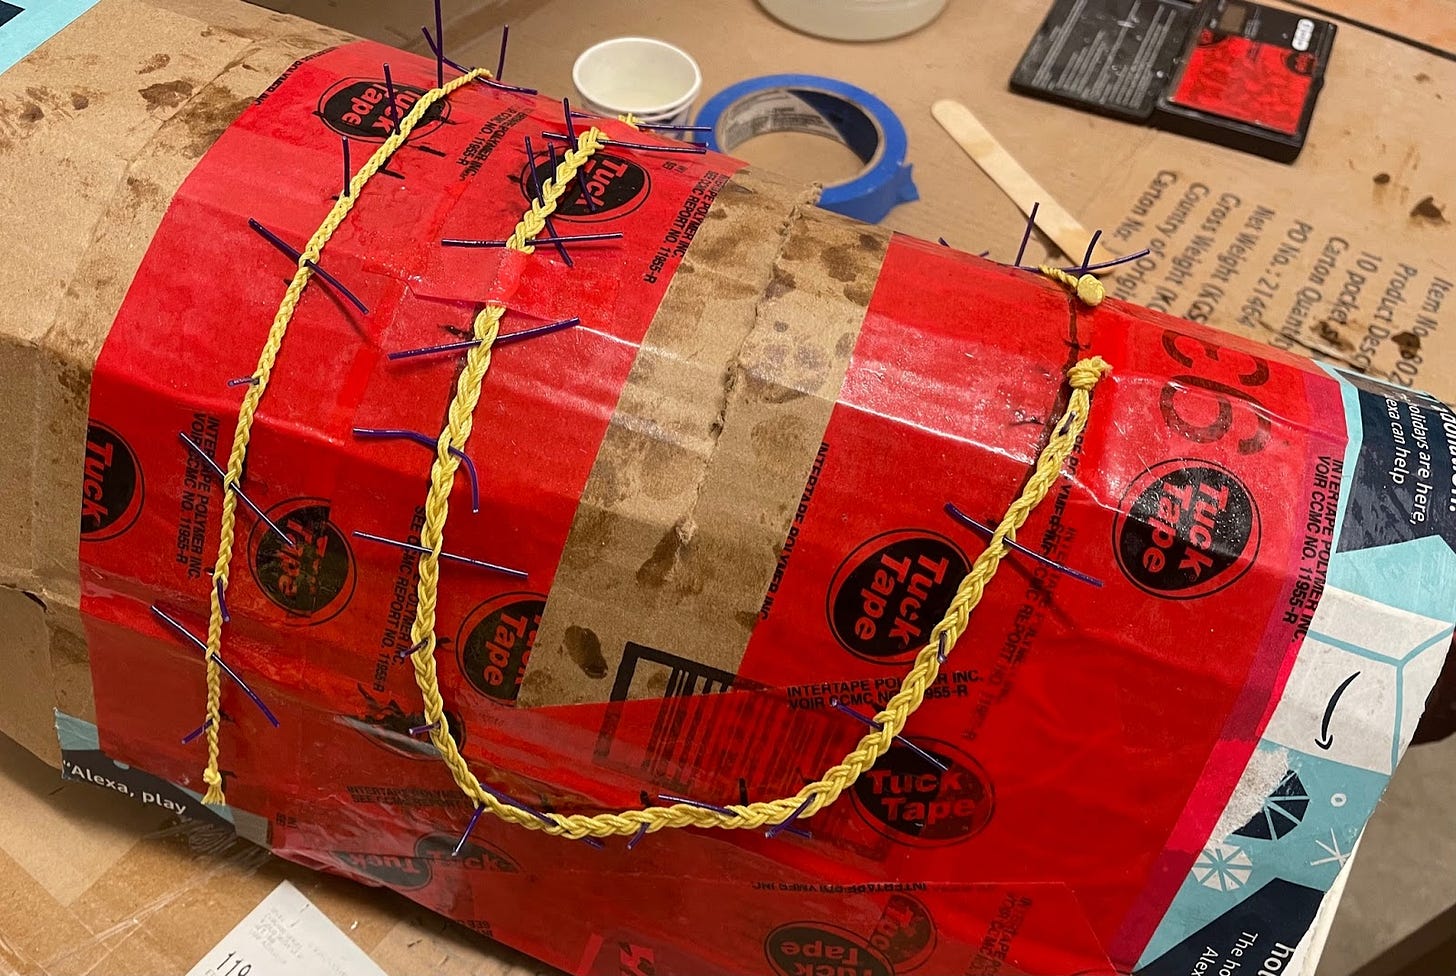
The second opinion you can see in my prototyping is that composites -- like carbon fiber, Kevlar, or fiberglass -- are the best materials to prototype with. I can make molds with complex curvature by using just cardboard and packing tape in a matter of hours. I needed no special tools. For me, prototyping has to be two things: cheap and quick.
Insight #3
I did have one concern about using composites for the frame though.
Think of the frame of a tennis racket, which has holes to keep the strings in position. My frame needed something similar, but drilling holes in it would make me nervous. Here’s why:
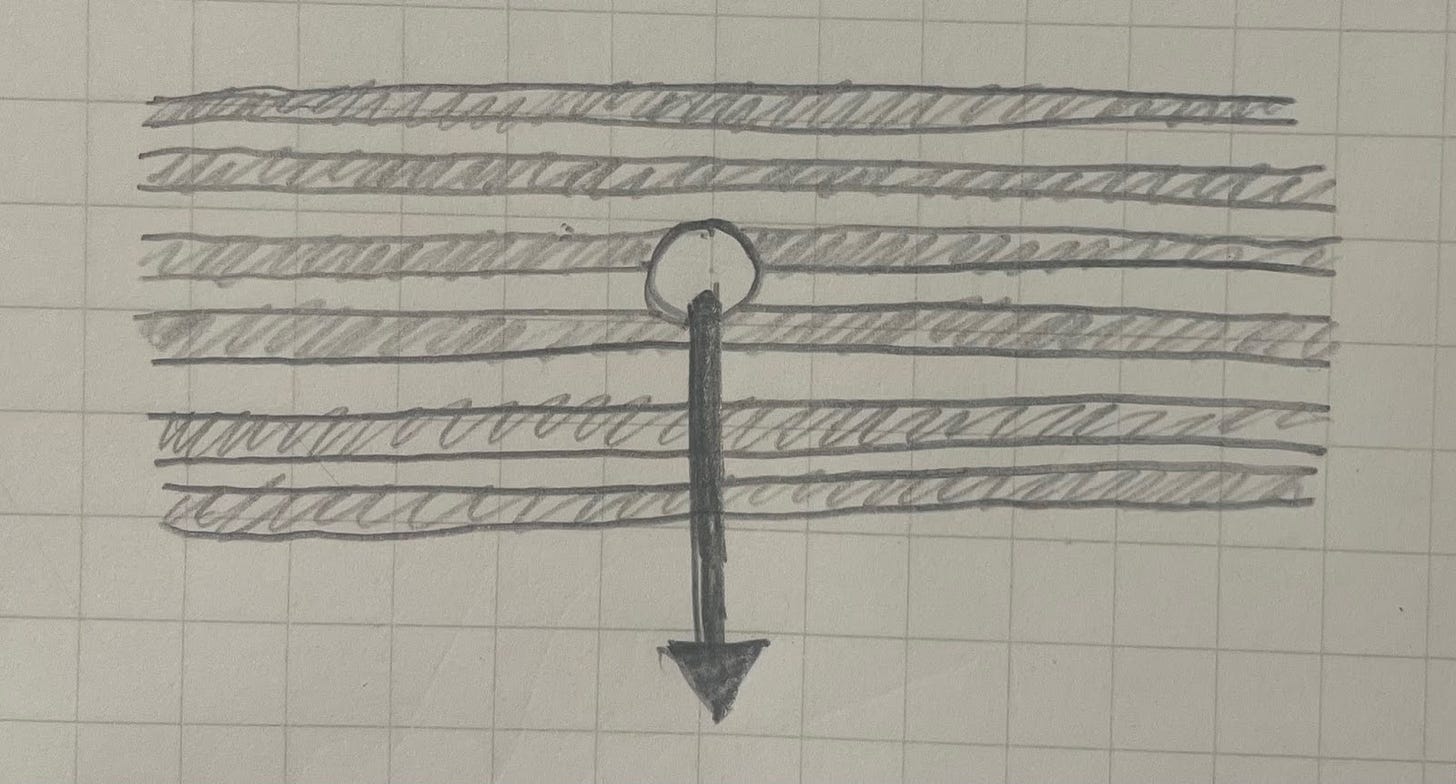
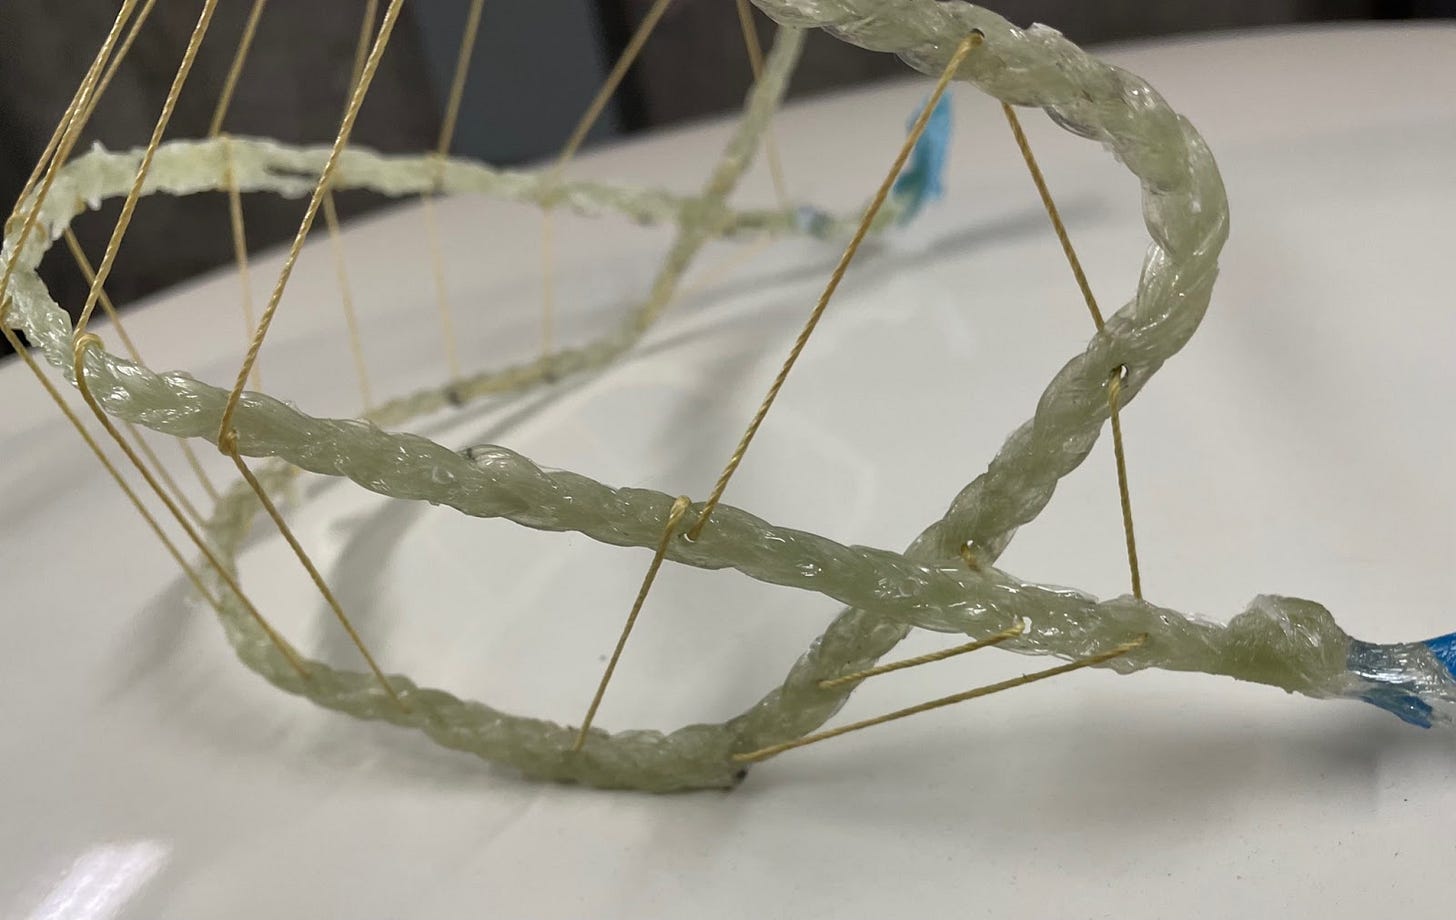
Composites are made up of fibers and glue. The fibers are very strong; the glue not so much. And the fibers are only strong in the direction they’re oriented. Drilling a hole and putting a string through might yank the bundle of fibers apart (delaminate them), because the direction of pulling is perpendicular to the fibers.
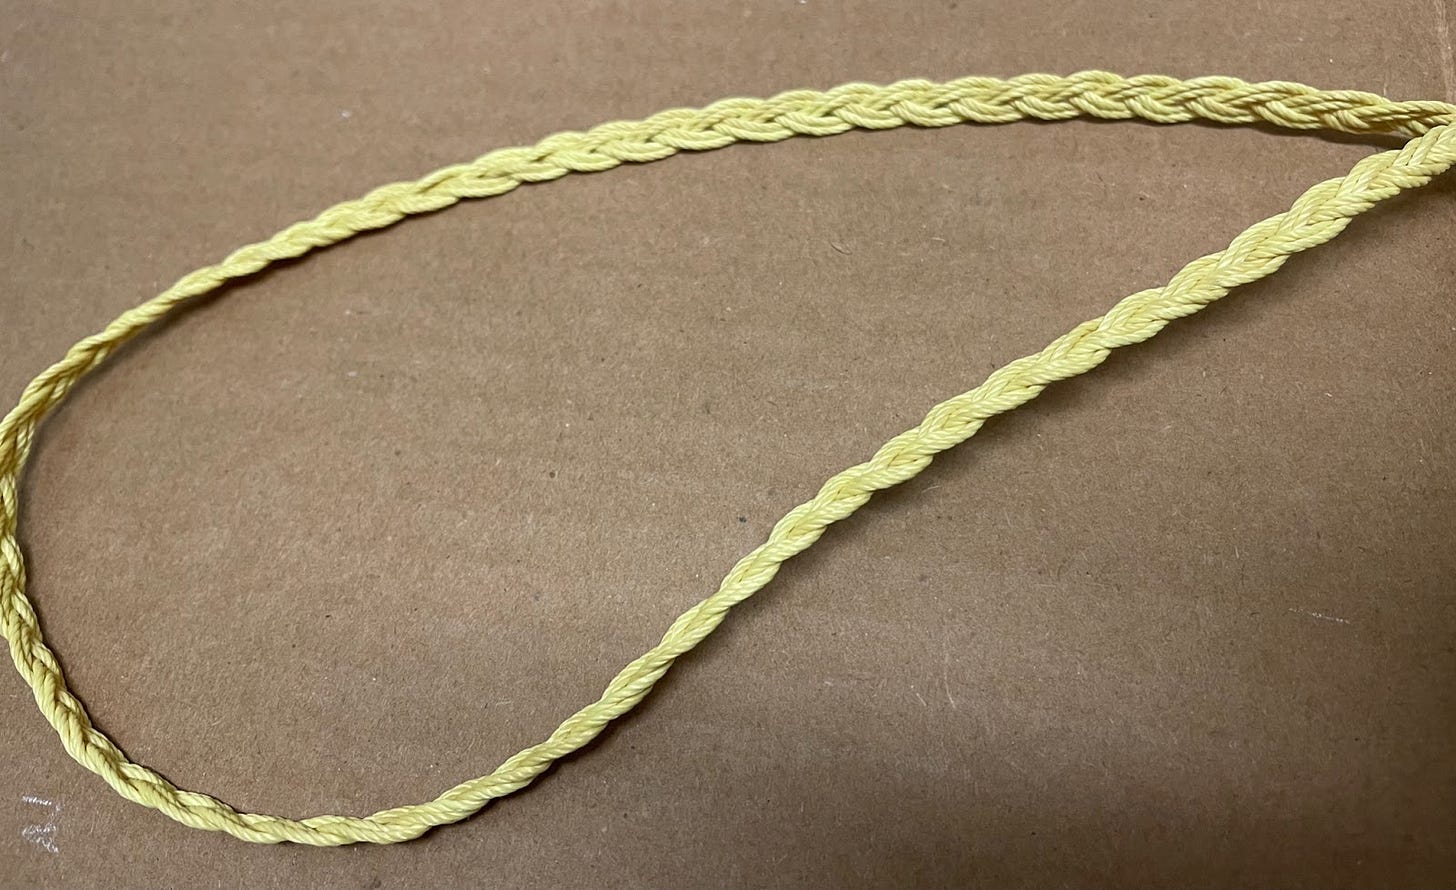
My solution was to braid the fibers in the frame. That way the fibers themselves could help resist being pulled apart.
Insight #4
The last insight I’ll cover in this update is that the most efficient way to load a structure is in tension. The three main options are compression (pushing), tension (pulling), or bending (combo of compression and tension).
To quote myself from Part 2, “Whenever something is loaded in compression, it has to carry extra material for stability. A rope can easily hold your bodyweight. But try to stand up the rope and it collapses under its own weight. Clearly it’s not lacking strength - just stability.”
So if I can maximize the amount of components loaded in tension in my cage, I should need less material overall (which means visibility for the goalie should improve).
An extreme example of that is a tensegrity structure, a concept normally used in novelty tables or sculptures.
I applied that concept to the cage, by “floating” the bar that goes across the face.
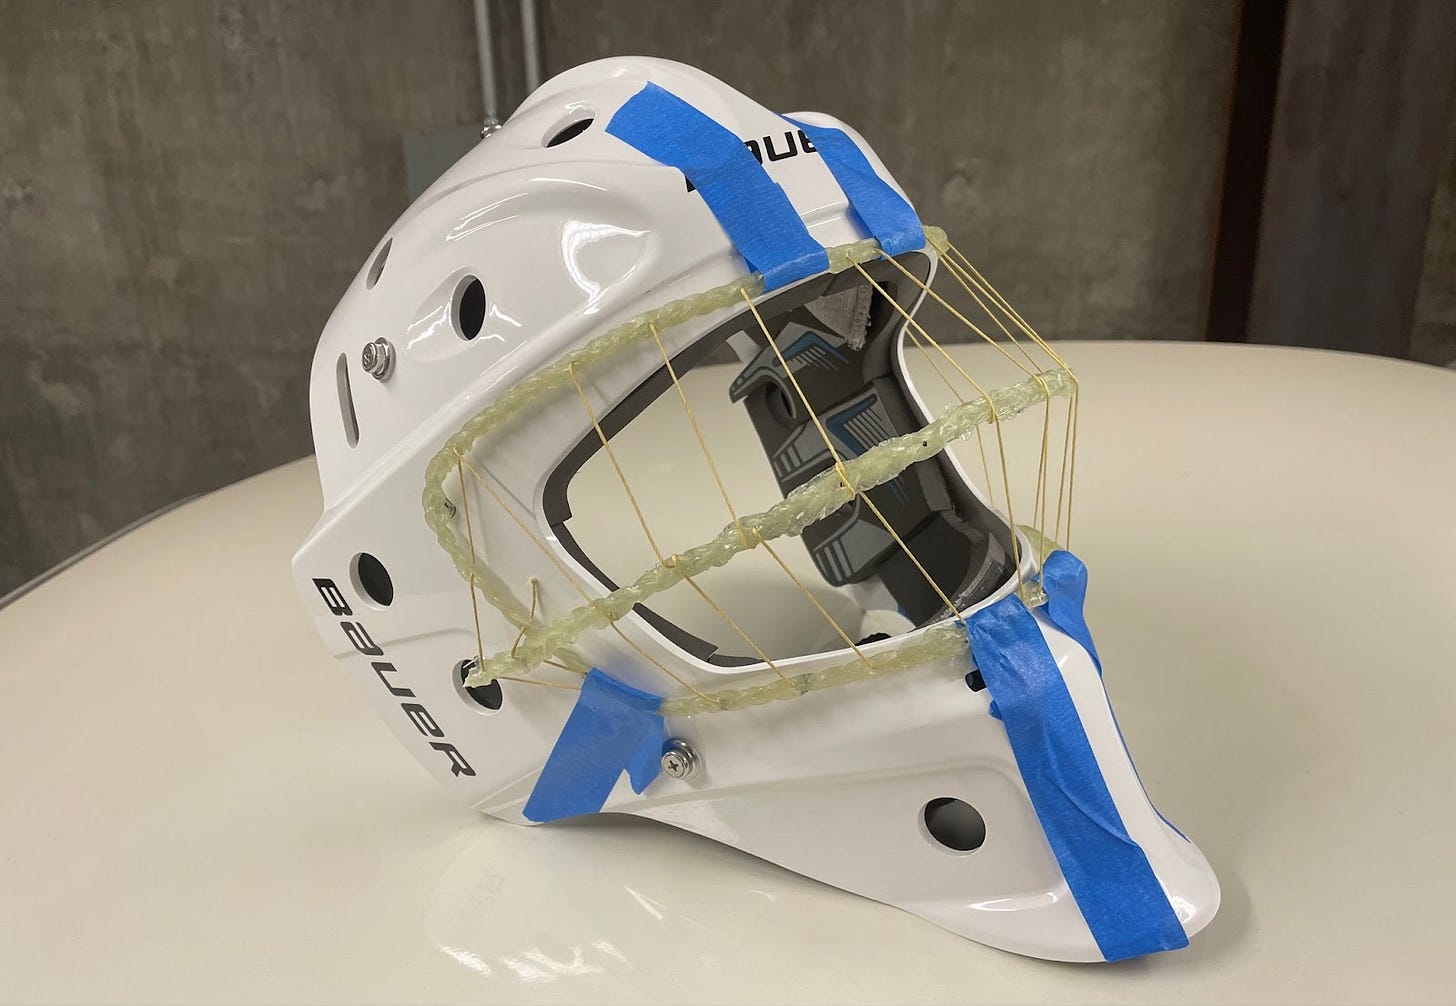
Not only does this let more of the structure take the load in tension, the indirect connection makes the structure even more flexible -- doubling down on that original concept.
I still haven’t quite caught up to where my prototype is in the present day, but I’ll save the rest of the developments for the next post.
As always, thanks for reading.
Surjan


