An Inventor's Quest for the NHL Pt. 7
The Curious Case of the Slack in the Line
This series follows my attempt to develop a product that I dream of getting into the NHL. Previously on the Quest: Part 1, Part 2, Part 3, Part 4, Part 5, Part 6
For the past week, I’ve been trying to unravel a mystery.
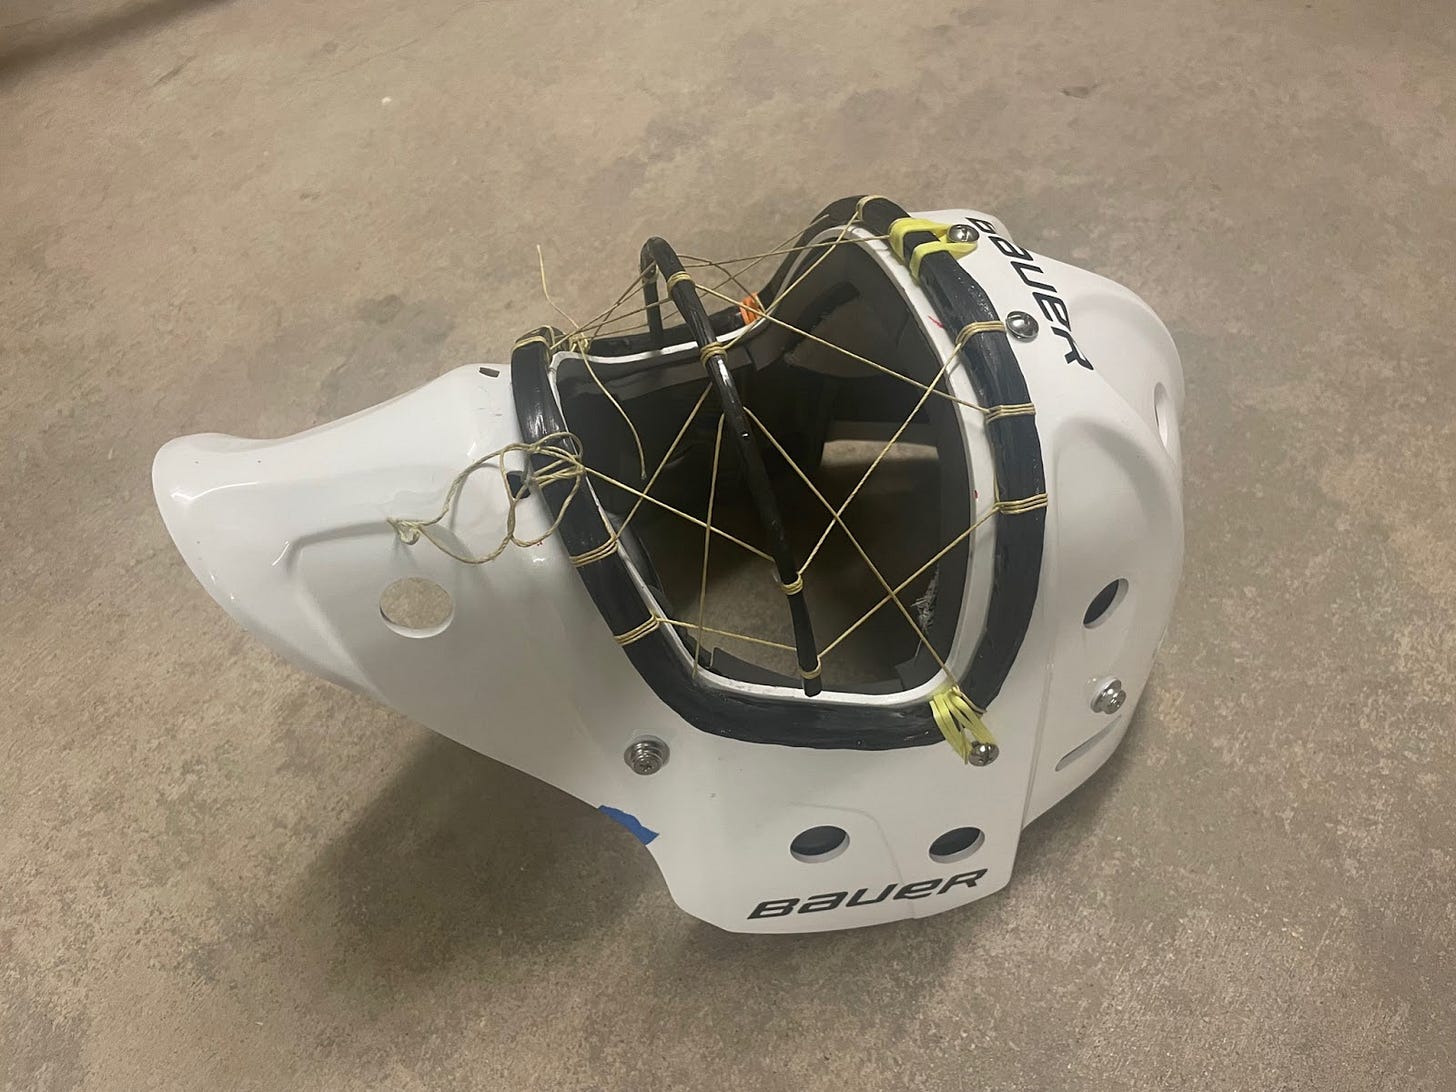
As you can see from the video, when I dropped a puck on my prototype cage, the Kevlar thread went slack. Obviously, that’s not good.
There were two possible culprits. The first was that the Kevlar thread itself stretched. And the second was that the knot that connected the thread to the carbon fiber frame slipped. To get to the bottom of the mystery, I set up a simplified experiment.
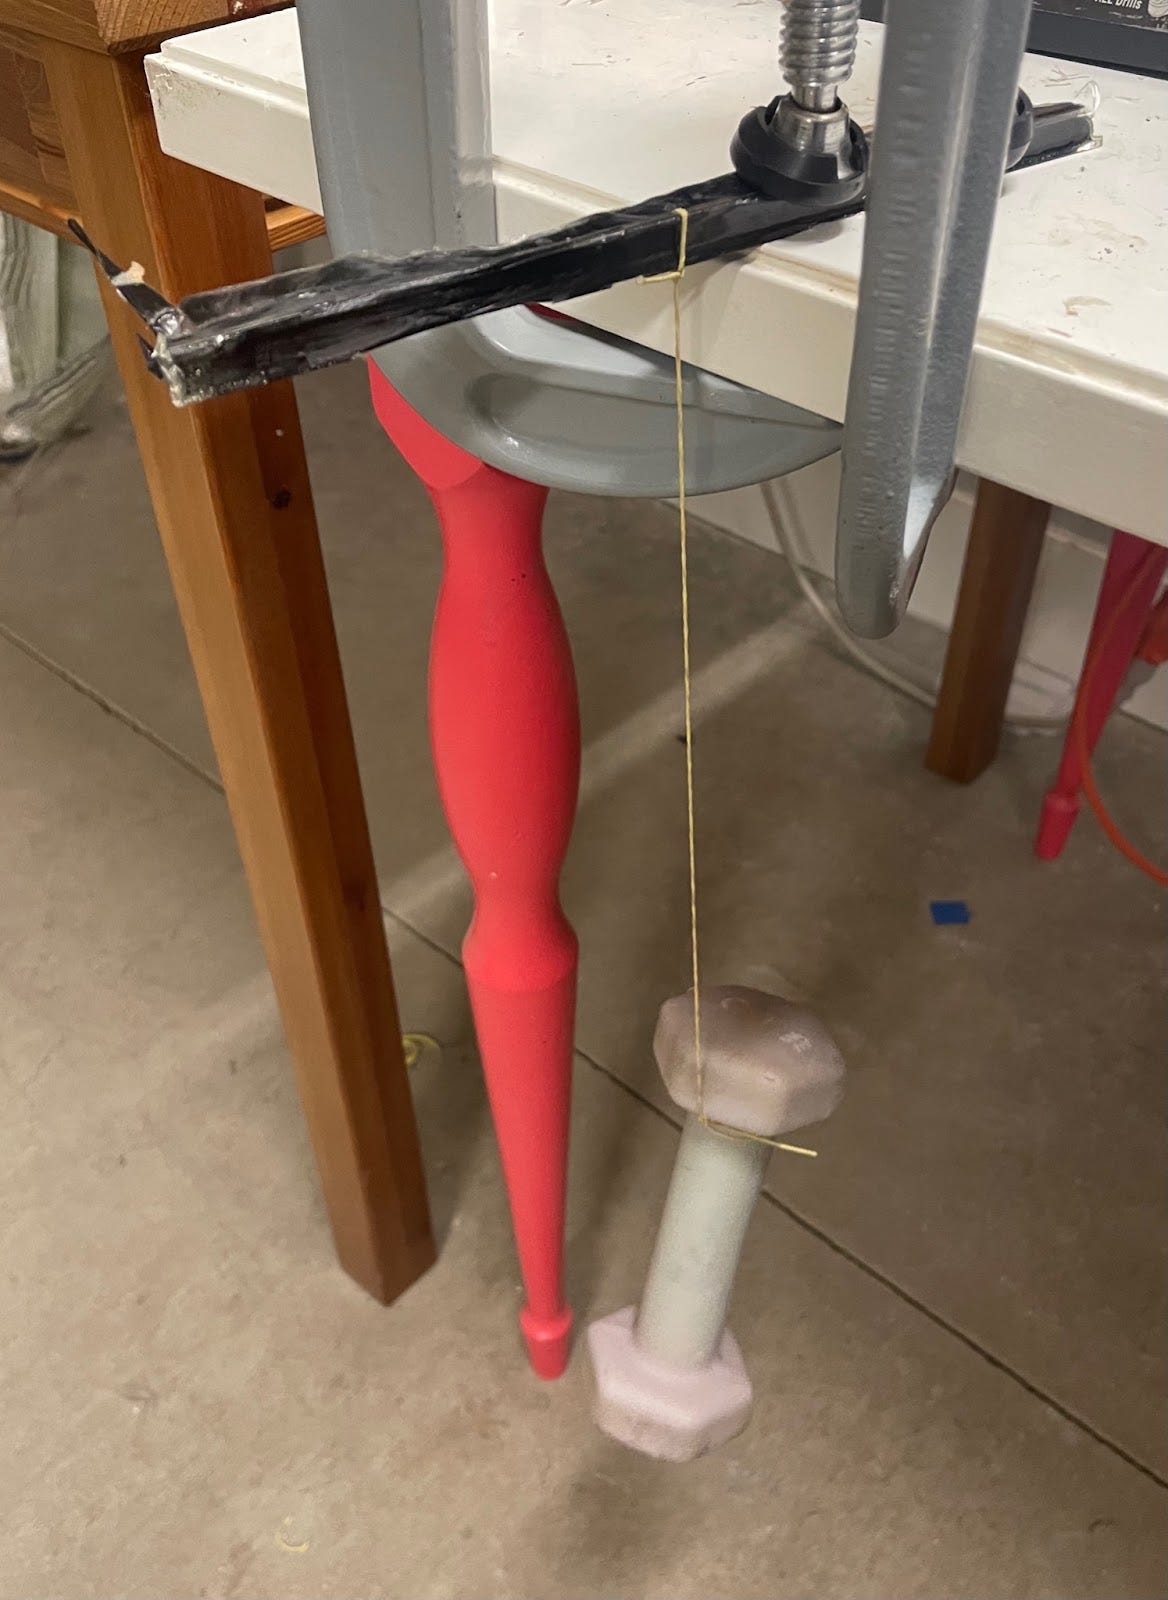
I tied a dumbbell to a scrap piece of carbon fiber with a Kevlar thread and dropped the dumbbell until something bad happened. Sure enough, something bad happened. The dumbbell slipped down until it was touching the floor. To isolate the issue, I measured the distance between two marks I’d made on the thread. That measurement hadn’t changed at all. I also measured the length of the tail, or the free end, of the knot. That was definitely much shorter. Aha! So the culprit was the knot slipping. Not such a big mystery after all.
But how to solve the problem? The first option was to glue the thread down. The second option was to use a stopper knot. Instead of a knot around the frame, a stopper knot creates an obstruction that prevents the thread from slipping back through a hole. The third option was to just use a better knot than I had been.
I wasn’t too keen on the first two options from a manufacturing point of view. With glue, it’s hard to know if you have a good bond. Not to mention the difficulty of holding things in place while the glue dries.
The stopper knot presents problems as well. The location of the knot directly influences the tension in the thread. Consistently placing the knots is a challenge.
Still, I wanted to get a feel for the relative strength/slipperiness of all my options. So I used that same dumbbell-on-a-string test that I showed you earlier. I had three different setups. The first, a thread that was glued down with epoxy. The second, a thread with a double overhand stopper knot. The third, a thread tied to the frame with a round turn and two half hitches -- this was my upgraded knot. I settled on that knot after browsing The Ashley Book of Knots, which is an absurdly thorough encyclopedia of knots. (Hat tip to Spencer of The Prepared for telling me about it.)
The results of my test were as follows: the glued thread escaped its bond after ten drops, the stopper knot snapped at six drops, and the round turn and two half hitches broke only after sixteen drops. The knots and glue did not slip before they broke. My solution was, again, quite obvious. Upgrading the knot was the way to go.
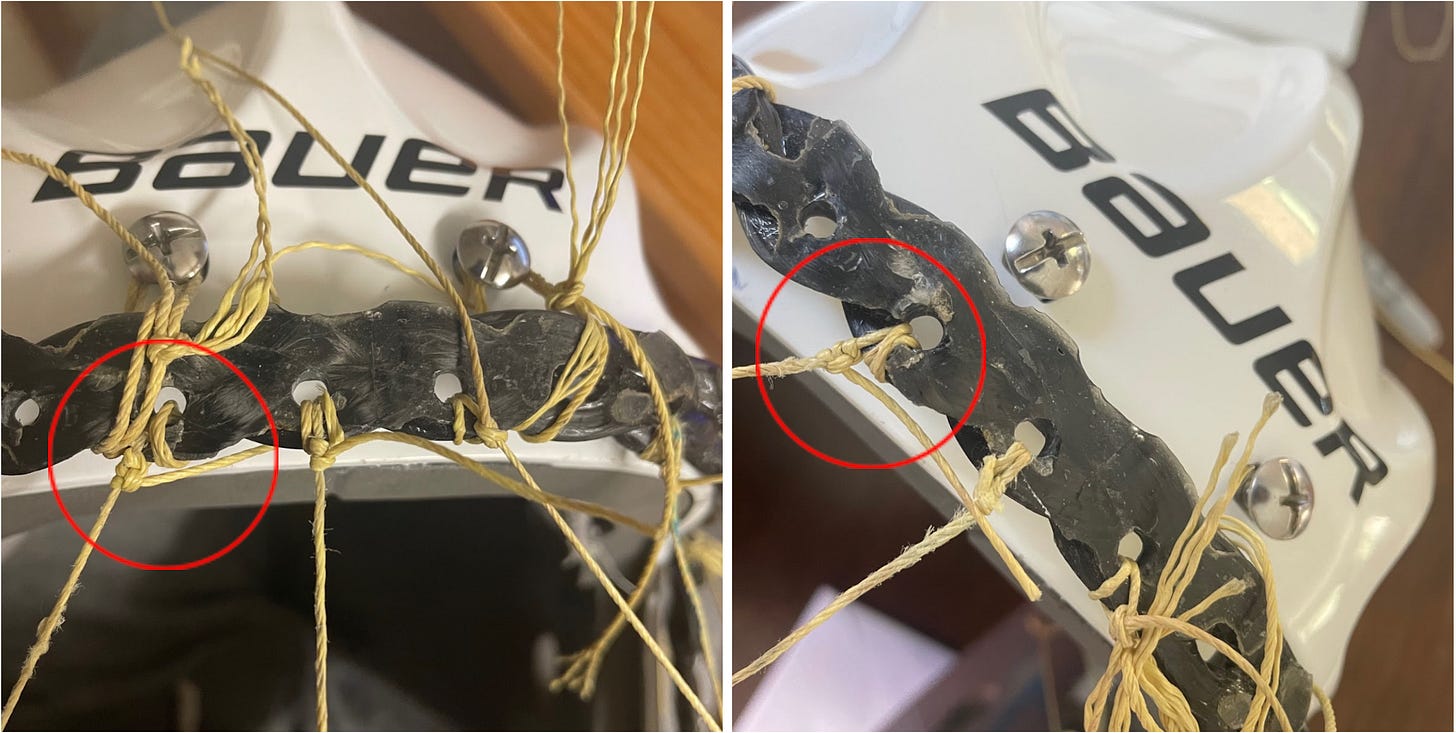
So I re-tied the threads in the cage and pushed on the thread with my finger to make sure it was good to go. The thread immediately went slack. Maybe I didn’t tie it tight enough. Re-tie, push, slack. Welp.
I was sure it couldn’t be the thread itself stretching, because I was getting a half inch of slack. Kevlar’s strain at break is 3%, meaning my 3 inch segment of Kevlar should’ve broken after stretching .09 inches (3% * 3 inches). After some very careful observation, I saw what was happening. The knots were settling and rotating into a more comfortable position.
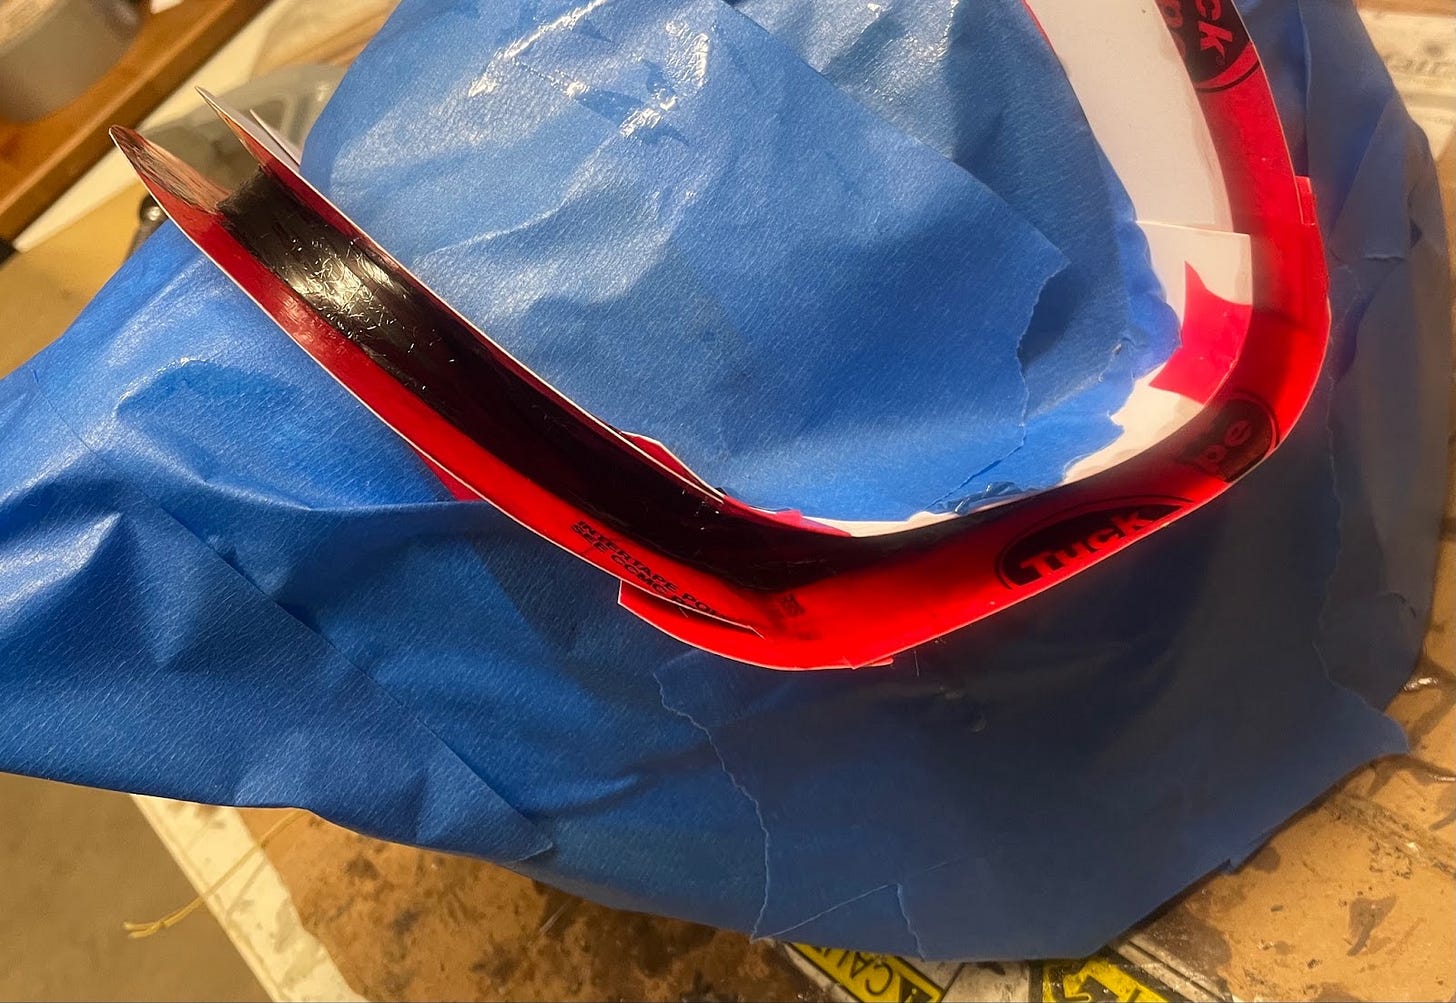
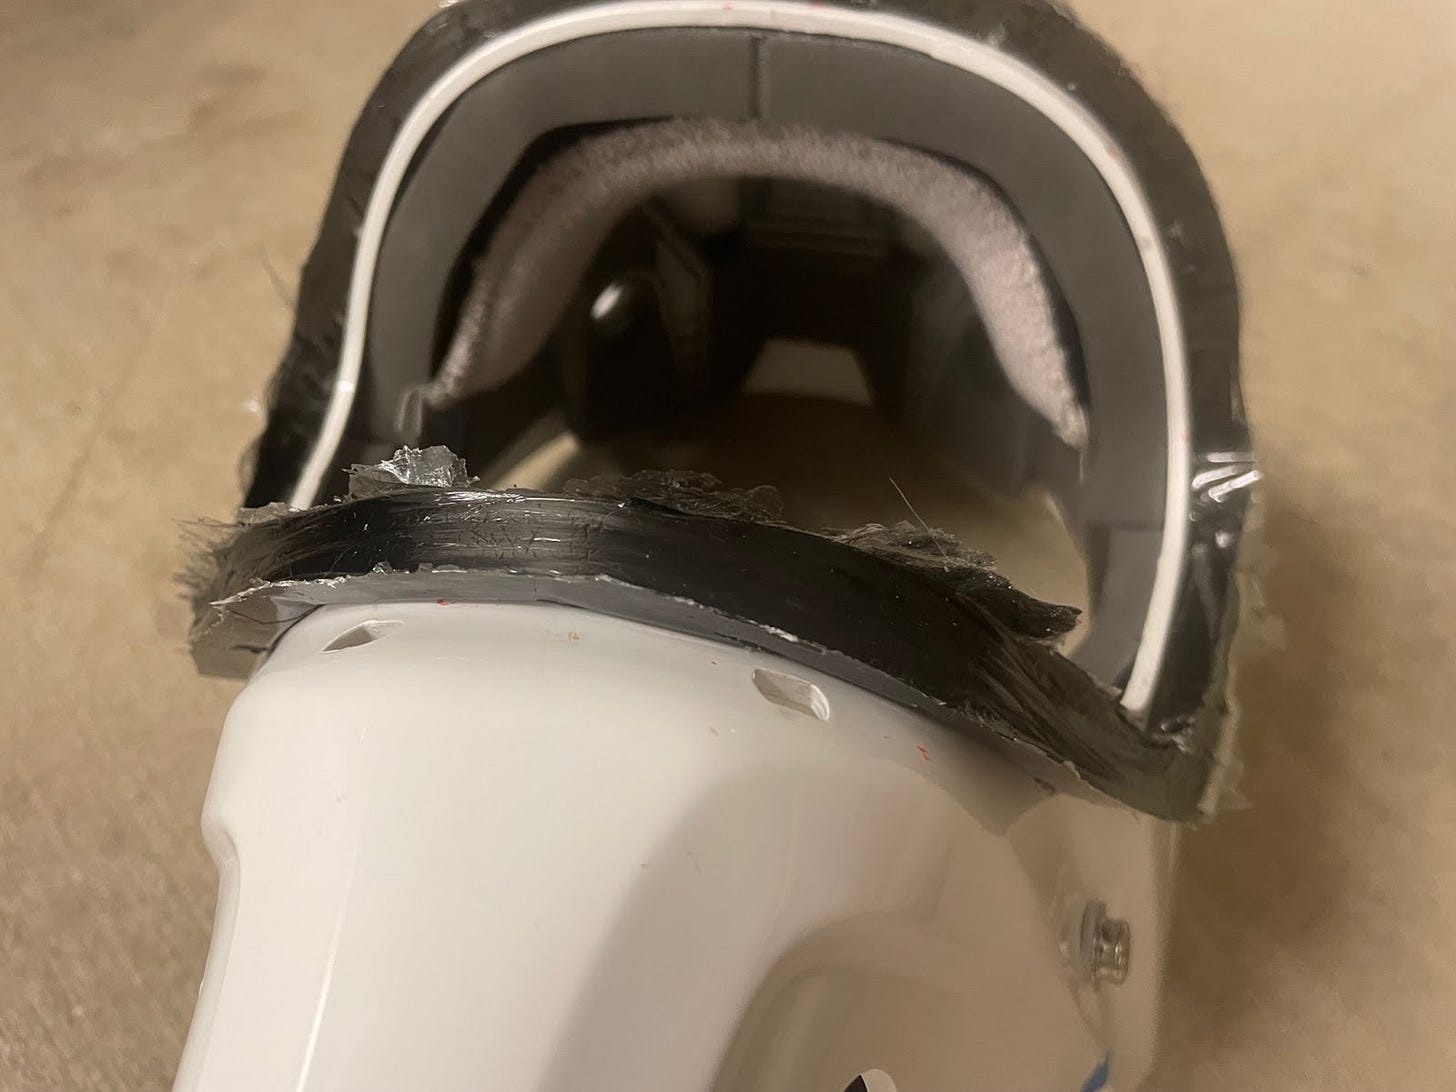
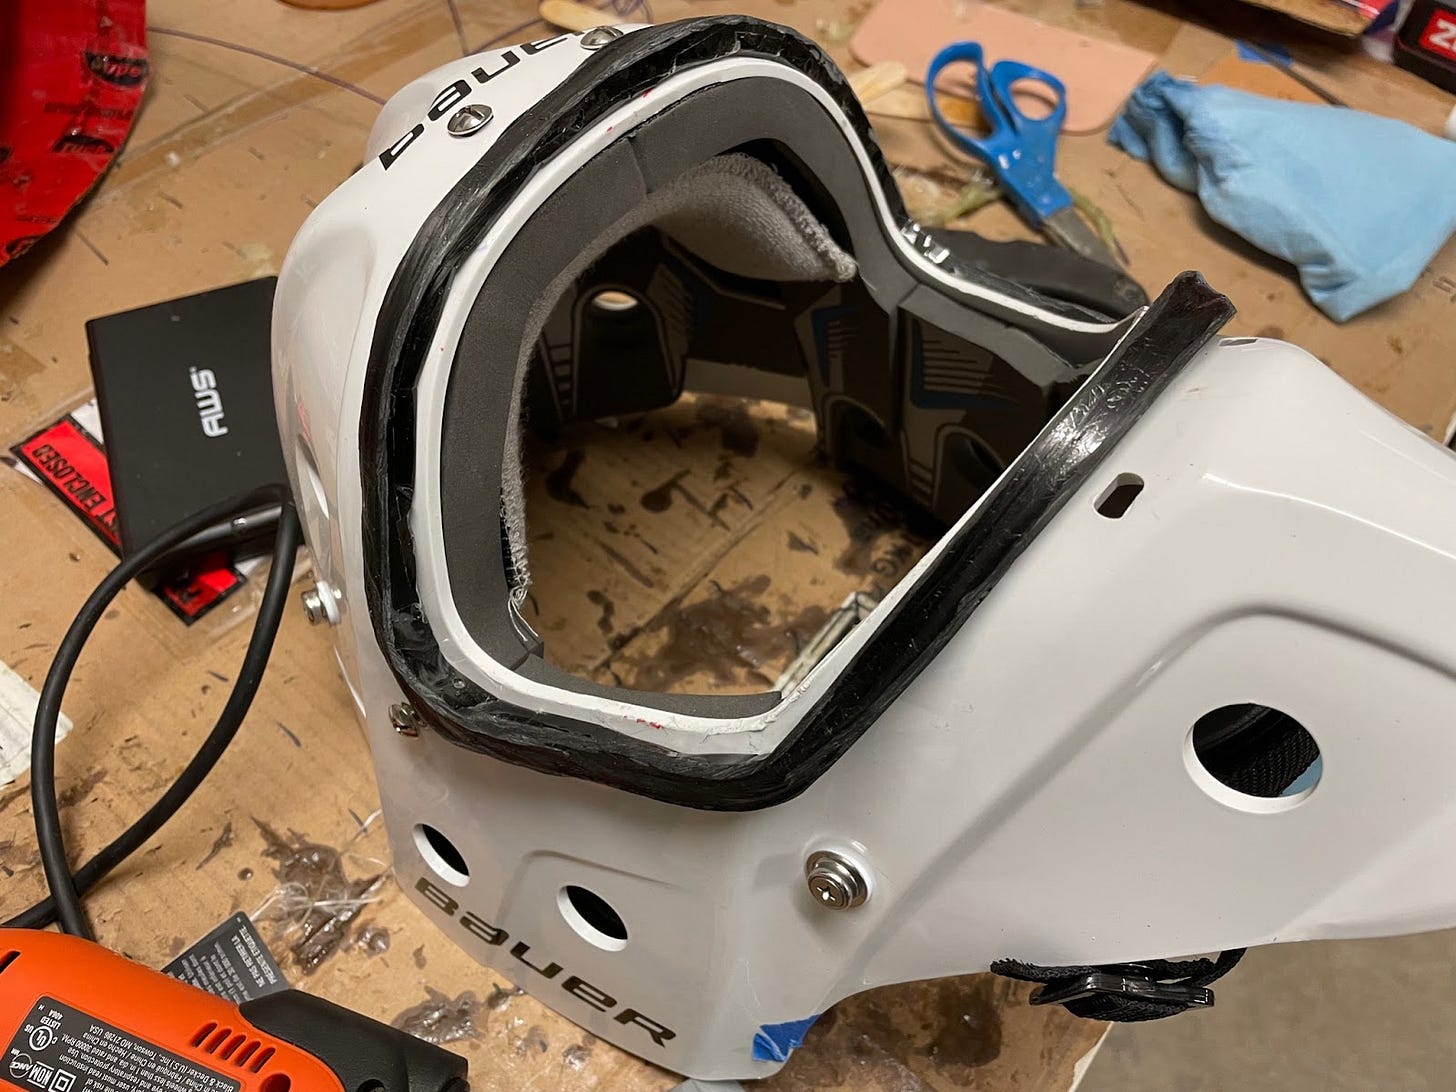
I attributed most of that to the frame itself. The braided carbon fiber had lumps and bumps where the thread seemed to get hung up while I was tying the knot and then settle into a different spot after it experienced some force. I wanted to try avoiding that by building a smoother frame. From the feedback from goalies I mentioned in Part 6, I knew I needed to get away from the braid for aesthetic reasons anyways, so I built a new frame.
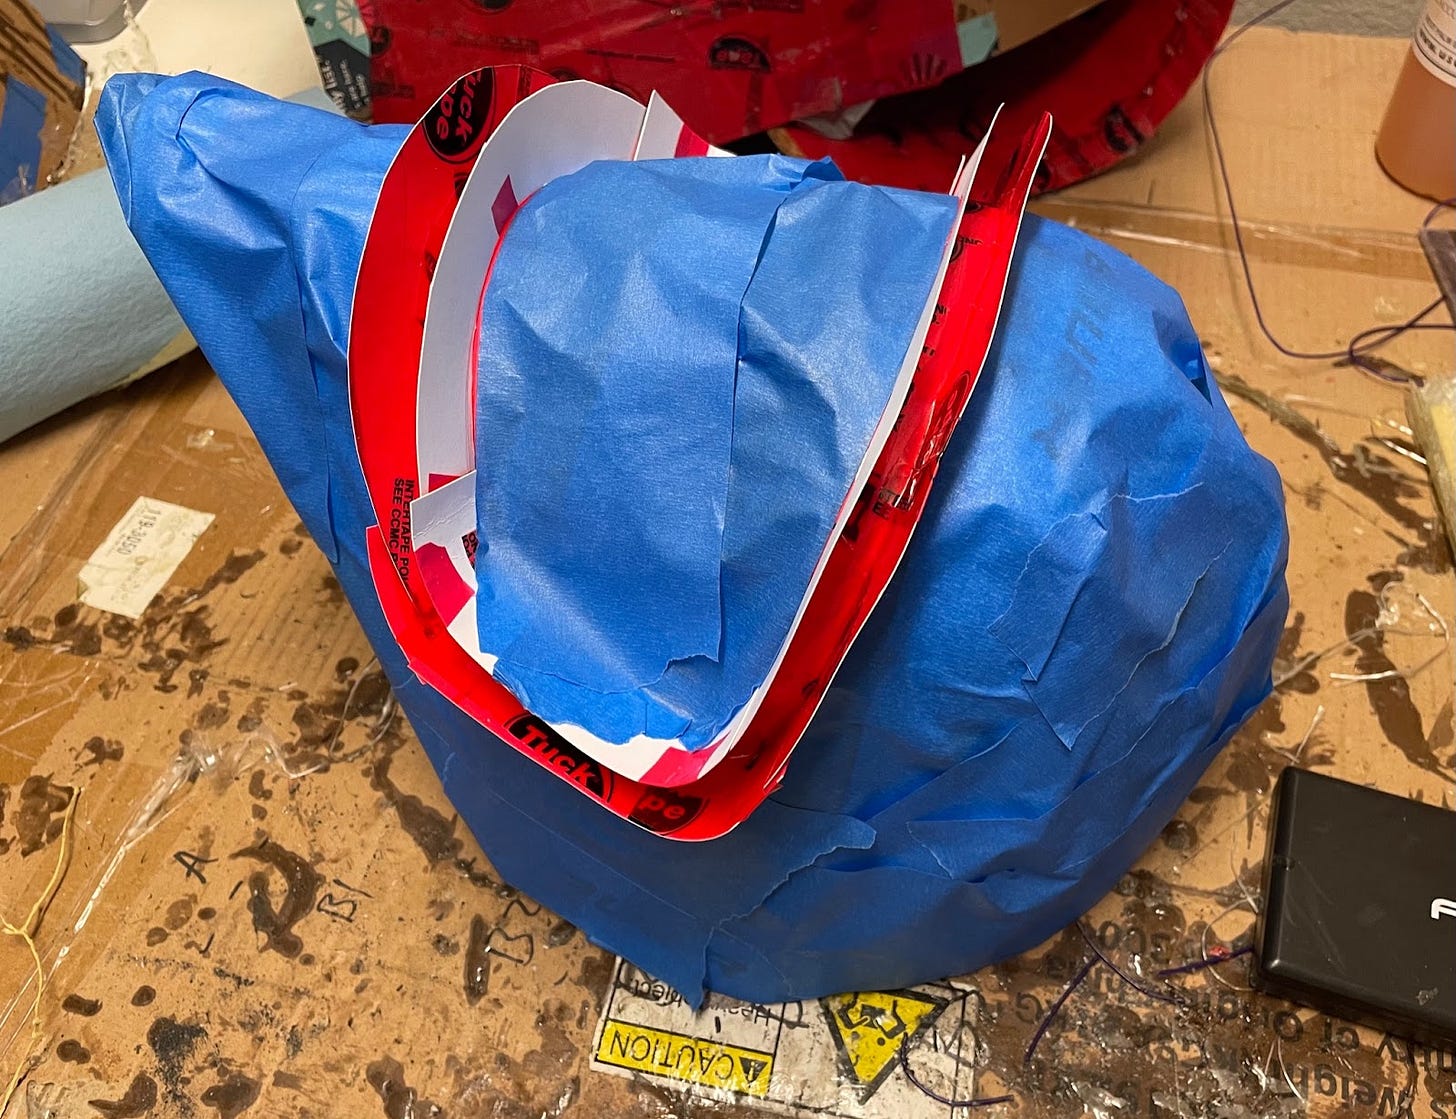
I ran a quick test to see if I’d solved anything.
That looked a lot more promising. I still have a ways to go with increasing the intensity of the testing, but I’m glad to have finally gotten to the bottom of this particular mystery.
Thanks for reading.
Surjan


