This series follows my attempt to develop a product that I dream of getting into the elite levels of hockey. Previously on the Quest: Part 1, 2, 3, 4, 5, 6, 7, 8, 9, 10, 11, 12, 13, 14, 15, 16, 17, 18, 19, 20, 21, Concept Launch, 22, 23, 24, 25, 26, 27, 28, 29, 30, 31, 32
As you might remember, a few updates ago, I attained enlightenment. I have some complaints.
The “cheerfulness regardless of outcome” feature only seems to work if things go well or if they fail in a way I fully expected.
Though I’m now completely content with where I am in life no matter where that is, there’s no guidance on how to get where I really want to go.
I’m trying to get in touch with the manager of enlightenment to discuss my options, but so far, no luck. In the meantime, I continue to work on the Uncage.
After the last update, I was left with a cage that had a broken rope and a chafing problem.
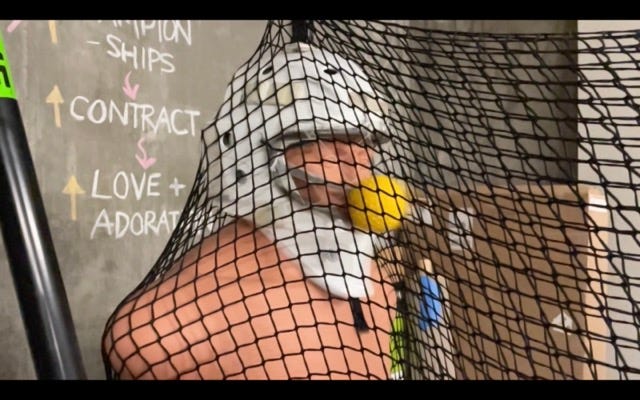
To solve the chafing problems, I ordered some 3D printed inserts. To solve the broken rope, I replaced it with a new one. And while I waited on the new anti-chafe inserts to arrive, I fired some more baseballs at the repaired cage. I wasn’t expecting much other than a quick failure, but it would still be worthwhile; every test teaches me something.
A couple of shots in and I had a good rhythm going.
Load a ball into the pitching machine
Hit record on my phone to capture slo-mo video
Flinch when the ball hits the cage at ~65 mph
Track which dark corner of the garage the ball rebounds into
Stop recording
Retrieve ball
Check for damage on the cage
Repeat 38(!) times
Yeah, 38 times! I couldn’t really believe it, but a rope only snapped after 39 shots. That was huge. By far, the most positive stretch of testing I’d had in a while. And when I investigated, I could see a few fibers of the rope caught in the chafe point that I was already re-designing.
Things were looking really good. Finally, it felt like I was on the home stretch, with all the major problems behind me and the anti-chafe inserts sure to fix the last little issue.
(If you’ve been following for a while, you can already guess where this is going.)
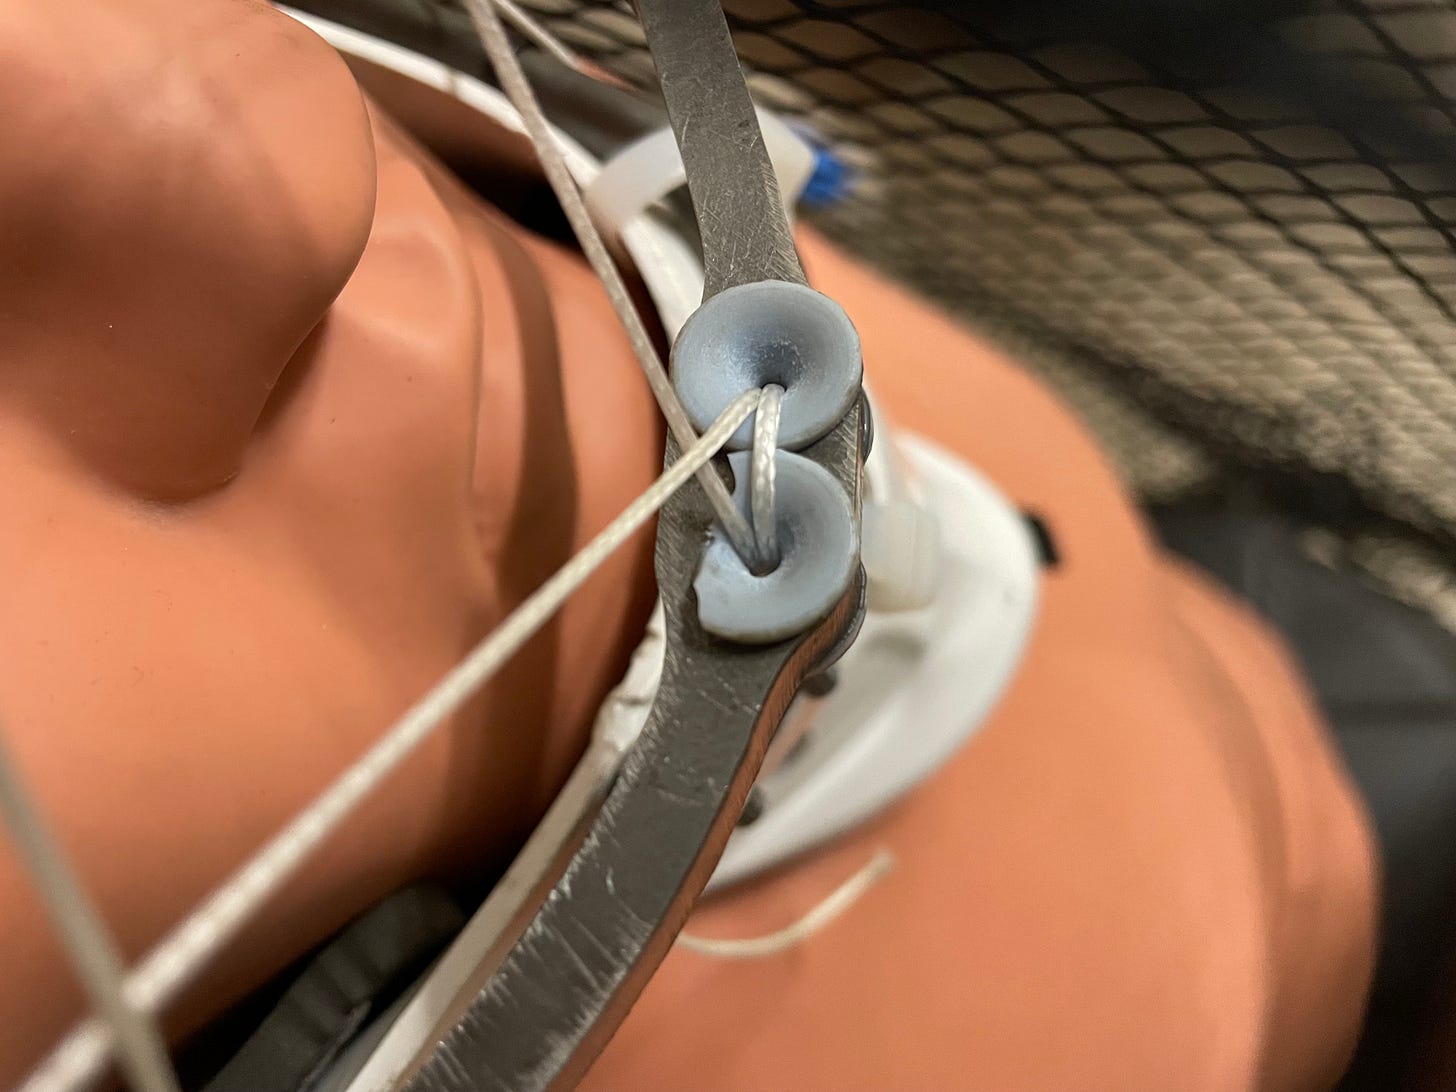
The long-awaited package arrived and I glued the inserts into a hefty, laser-cut crossbar.
WIth the glue dry, I spent the next day stringing together the new cage. And I was feeling good – the cage looked strong.
Once again, I settled into my routine. Shoot, record, check the cage. 5 shots. All good. 8 shots. Snapped a printed insert.
No sweat. I’d just change the material or something. Easy. 15 shots. Still good. 20 shots. Chipped a few more inserts but whatever, it’s not like it was going to go 100% smoothly. 21st shot. Noticed that the crossbar was bent
Uh oh.
This wasn’t a failure I was expecting. This was a .25” x .25” chunk of steel meant to be an overbuilt stand-in while I sorted out the final issues with the rope. I was planning on coming back and thinning it out at some point.
What to do? I had a bent crossbar, a six second slo-mo video clip of it bending, and that was it.
Was this latest failure telling me that something was fundamentally wrong with the concept? Or was it just another bump in the road? If so, did I need to change the design drastically or did I need to keep tweaking?
My first and strongest reaction was to quit. That would solve this problem – very neatly – and had the added bonus of solving all my future cage-related problems.
I was going to write a sentence about why I haven’t quit, but I don’t have a good reason. It still sounds pretty enticing. The failures themselves don’t sting much anymore, but the feeling of not knowing what the hell I should do next – that wears on me.
But whatever the reason, I didn’t quit, so I tried to figure out what went wrong instead.
My friend Jimmy suggested that maybe the crossbar deflected back on to the helmet, where the helmet sort of pried it apart. A really good theory and one that looked plausible from the slo-mo stills, though I didn’t see any paint from the helmet on the crossbar.
While I sat on that thought, I tried to come up with a possible fix. I could weld the crossbar to the frame like any sane person probably would’ve done by now. But, as I’ve explained before, I don’t love that option. Not only does it feel like a big departure from my original vision, it puts more stress on the rope and does away with any possible “cushioning” effect.
Alternatively, I could heat treat the steel of the crossbar so that it wouldn’t bend as quickly. Maybe I could change the design a little bit too. I should probably throw it in FEM and see if I could learn anything, I thought.
I simulated a few designs, still not nearing understanding, when the ghosts of engineers past whispered warnings over my shoulder: “garbage in, garbage out.” So, I grabbed my notebook and drew a quick free body diagram, and as soon as I drew this arrow,
I began to understand the root of the problem (I think).
For whatever reason, my free body diagrams to this point have only been a side view of the helmet.
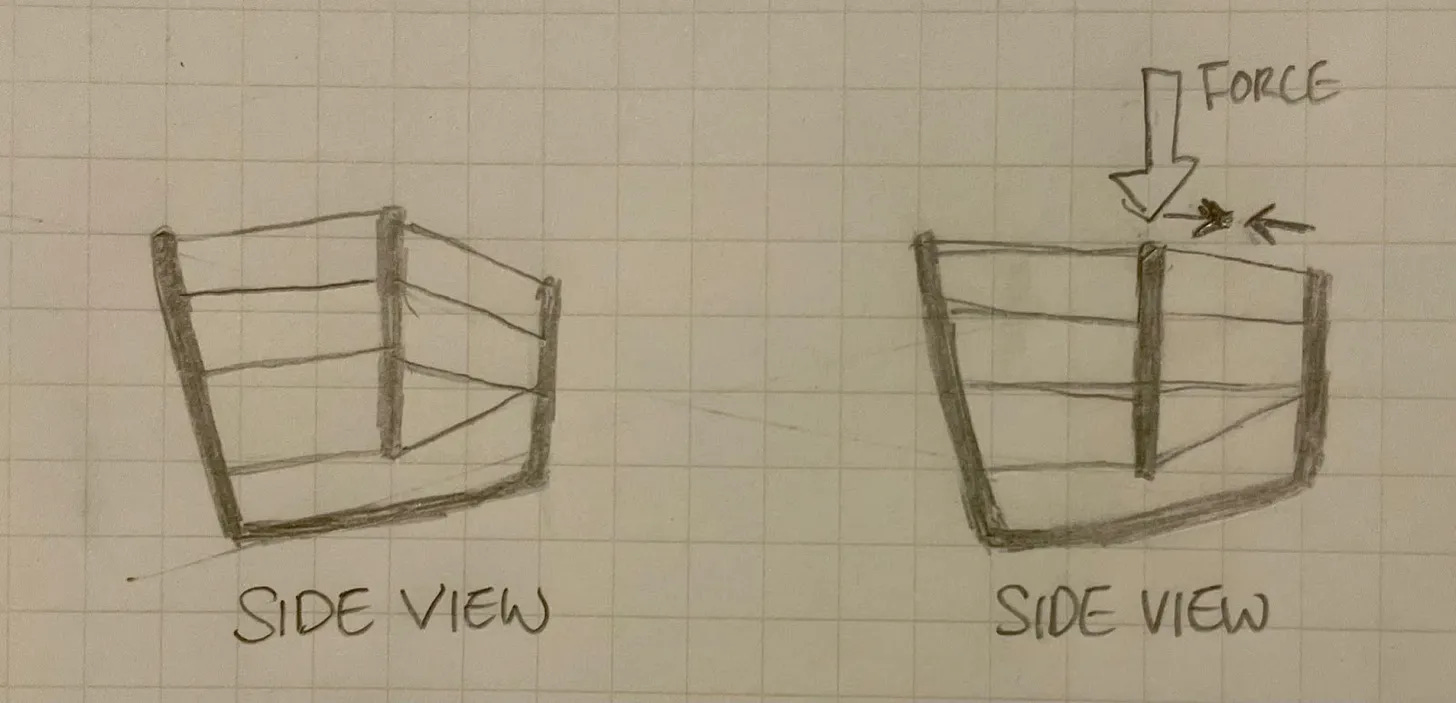
But if you look at the top view, as I just did, the crossbar looks like an arch. And arches need lateral support. You probably know this in your gut even if you don’t know engineering. If I showed you two identical arches, but one was sitting on ice and another on a sandy beach and asked you to pick the stronger one, you probably take the one on the beach. On the ice, the bottom of the arch would spread further and further apart until the whole thing bent or collapsed. On the beach, the bottom would dig into the sand and be much better supported. The sand would hold the bottom of the arch together with a sideways force.
The arrow that I’d circled was that lateral force. And currently, my cage has no way to provide that force.
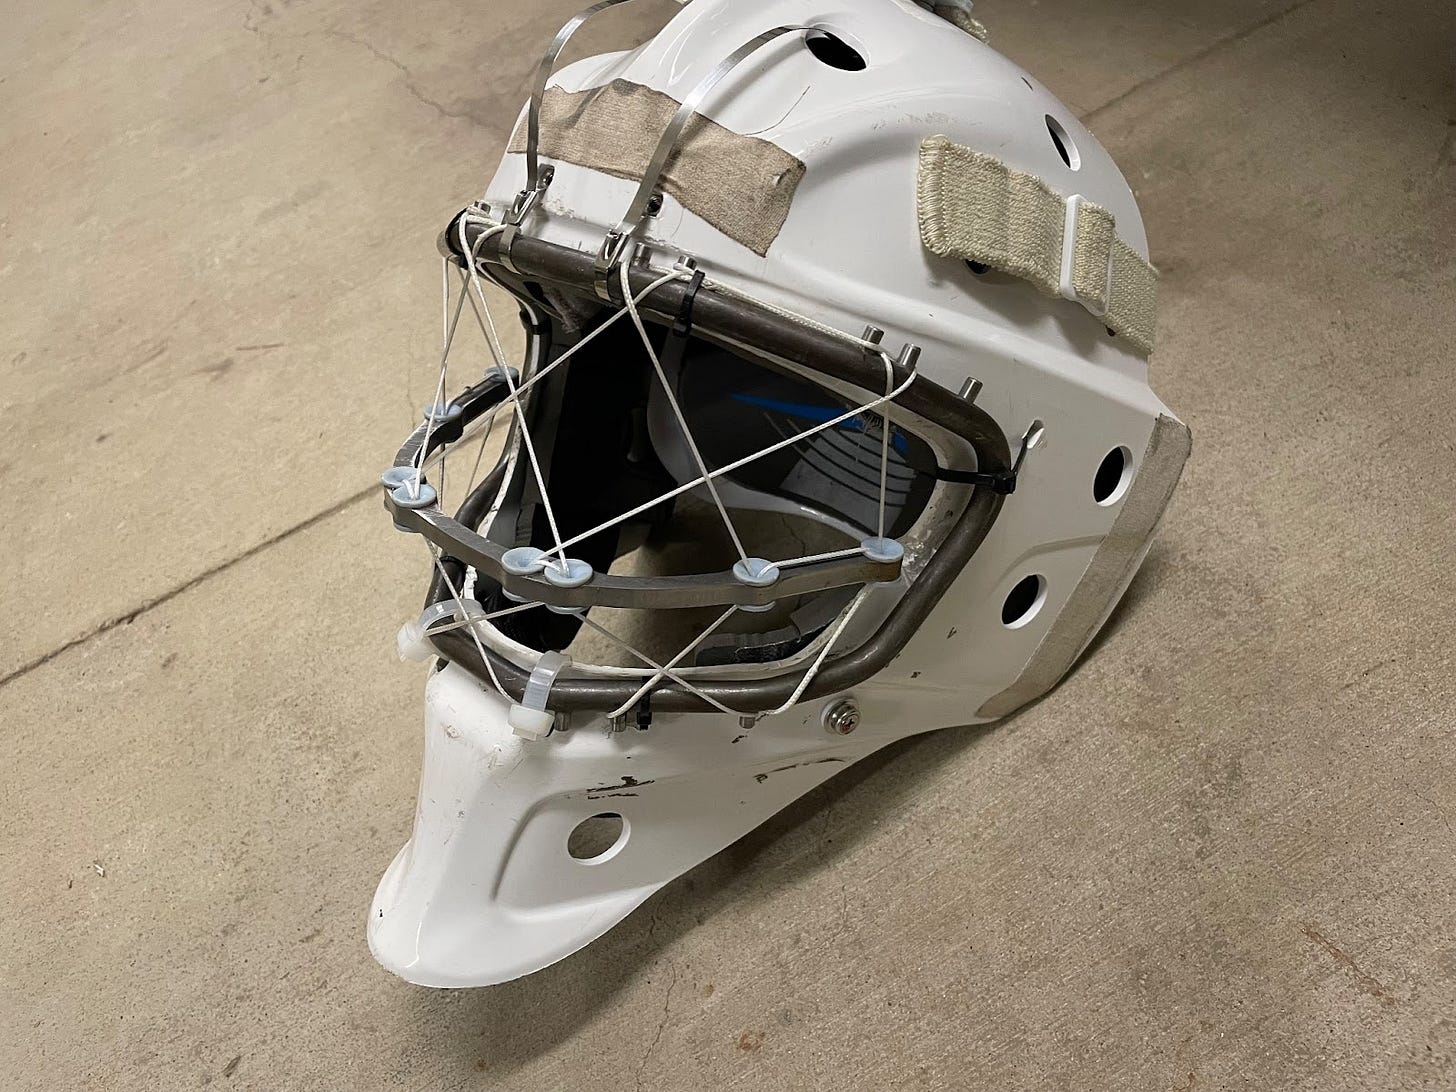
Look at this picture of the cage before the crossbar bent.
The two rear-most ropes actually point out from the crossbar. When a puck hits the cage and all the ropes get tighter, those two ropes are pulling out on the bottom of my arch. So not only is my crossbar the equivalent of the arch on ice, but there’s also two penguins pulling the bottom ends of the arch further apart.
No wonder I was having bending issues.
I might have an idea on how to fix this, but for now, I’m relieved that I have some sort of direction on where I need to go. The funny thing is that, if I hadn’t had that positive test session right before this one, I would’ve been thrilled with this outcome. It would’ve felt like a step forward instead of a step back.
Thanks as always for reading. See you next time on “how many failures does it take to drive someone to insanity”.
Surjan






hi surjan, just discovered this project and i think it's very interesting. admittedly, i haven't dug through your archives so what i'm going to suggest may have already been addressed. anyways, at a glance, it seems like this floating bar could be adding unnecessary complexity to the manufacturing of this design, as well as unintended weakness to its structure. what if this floating bar was instead replaced by a bar that connects end to end to the existing boundary of the plate. this connecting bar could have holes drilled through it at the appropriate placed that the cords could be woven through. i think this would simplify the construction of the faceplate and inherently strengthen the structure. hope this is helpful!
Hey Surjan,
I don't know if you're interested in working with anyone, but I'm a mechanical engineer that has been working as a data scientist for 4+ years. I think it'd be super fun to apply a generative approach to the design of the structure of the outer tubing, as well as the structure of the mesh.
I'm not in it for the money, If I end up making significant gains to the project we can talk, but having my own experience in startups I know how presumptuous that is. I just love working on interesting projects with cool people. You seem cool, and this project is definitely interesting.
Feel free to contact me at https://www.danielwarfield.dev