This series follows my attempt to develop a product that I dream of getting into the NHL. Previously on the Quest: Part 1, Part 2, Part 3, Part 4, Part 5, Part 6, Part 7, Part 8, Part 9, Part 10, Part 11, Part 12, Part 13, Part 14
I think I might have finally prevailed in my war against slack. I’m hedging that statement hard to ward off any potential jinxes. Feel free to knock on wood if you’d like to contribute to the effort.
To summarize the state of my project, I had a few loops that were spliced, filling out some of the pattern that makes up my cage. The splices were not only stronger than knots, but also less prone to slippage. My task at hand was to fill out the rest of the pattern with a few more ropes. Those last few ropes would be oriented in such a way that tensioning them would tension the existing loops.
This was the crux of the issue. How could I add these last ropes in a way that they would (a) be under tension when connected to the frame and (b) retain that tension in spite of impacts with a puck? Unfortunately, I couldn’t connect them with splices as I’d done on the rest of the cage, because splicing requires a little bit of slack in the ropes.
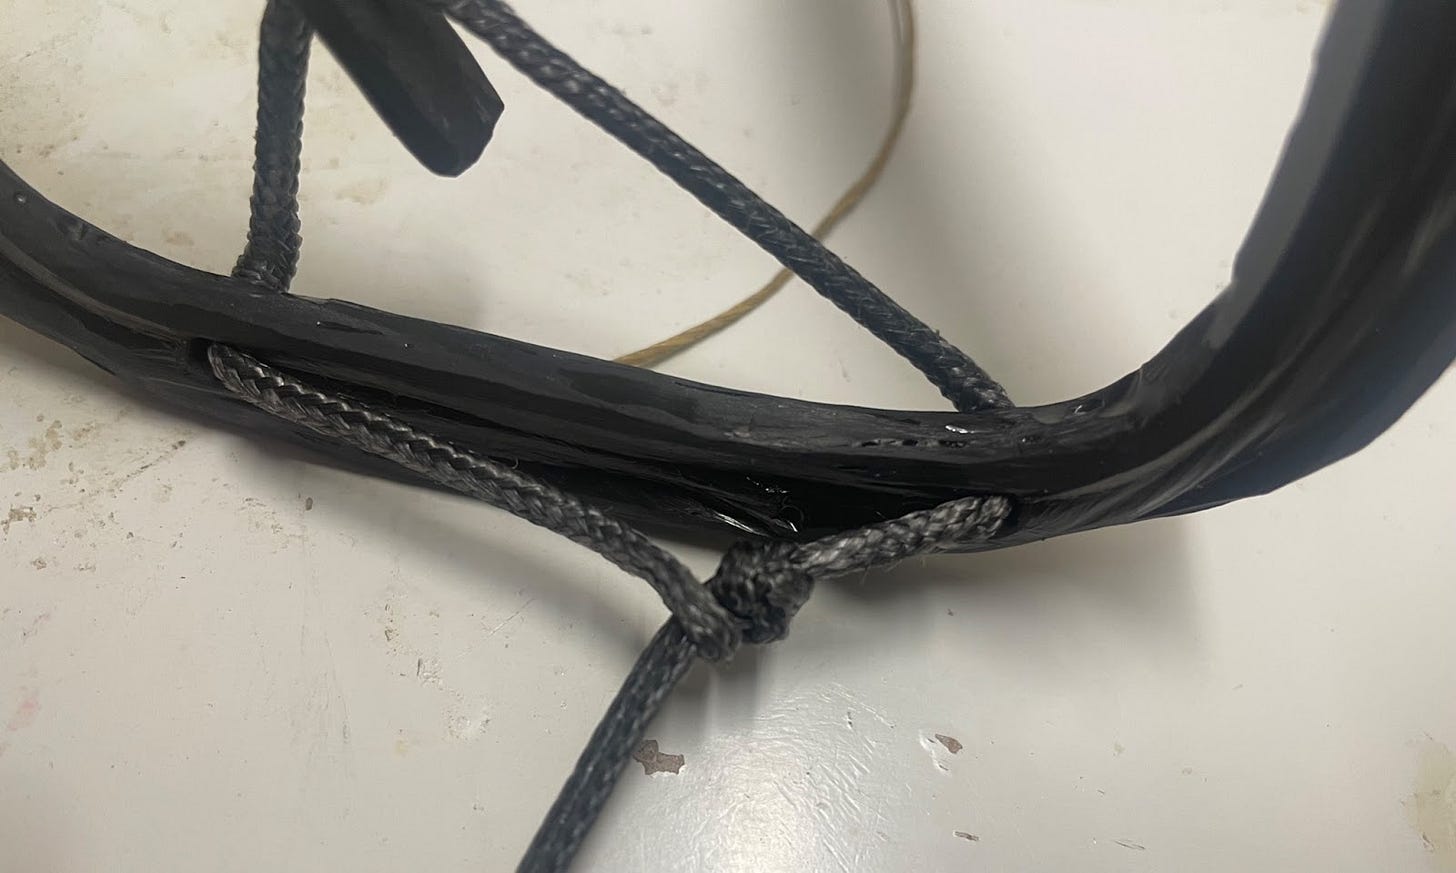
My first thought was to make a soft shackle – a loop that can be opened and closed as well as locked. That thought lasted about as long as it took me to make a soft shackle. The trouble was that I was be forced to get the length of the loop exactly right. And also, to close the soft shackle, I needed to pull the end with the loop over the stopper knot. That meant that the tension at the end was never going to be the max possible.
Think of it like a clasp on a necklace. You have to pull the ends closer together to hook them before they eventually settle into a position slightly farther apart.
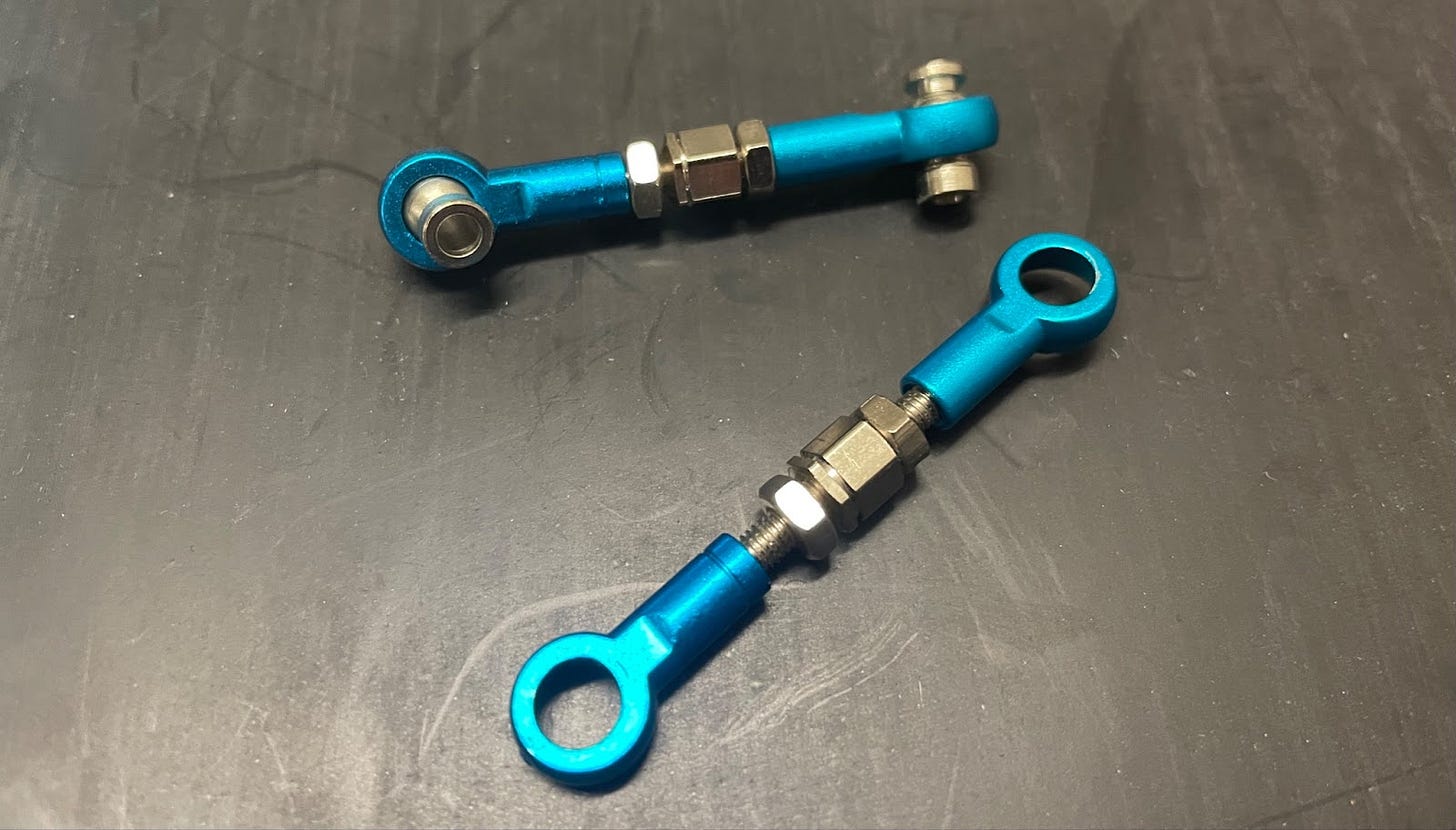
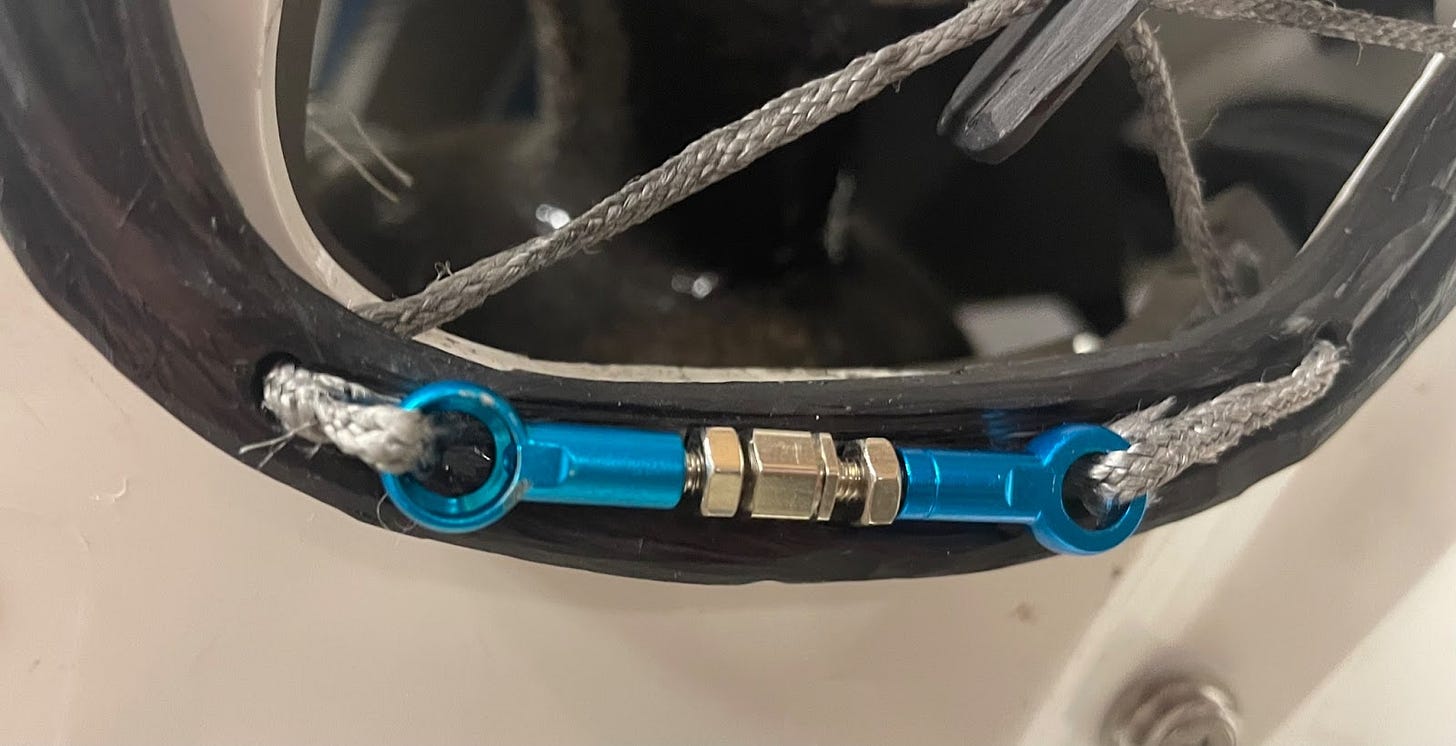
I abandoned the shackle and went to my backup plan: a turnbuckle.
A turnbuckle is a tidy little mechanism. One end has the usual right hand threads (righty-tighty, lefty-loosey) while the other end has left hand threads (lefty-tighty, righty-loosey). The effect is that when you turn the middle of a turnbuckle, both ends either pull in or push out together.
It worked well, but I couldn’t help but be a little dissatisfied. With this project, I wanted to explore and showcase the capabilities of flexible materials and yet, I was turning to a rigid element for a critical piece of it. But it was an arbitrary line in the sand – just a vision for my ideal design – so I resigned myself to the turnbuckles.
…at least until that night, when I got so carried away looking up alternatives that I found myself watching a man in camo tying knots to trees at 1 am.
The knot that captured my attention was the versatackle. I liked a few things about it. First, it’s self-locking, so I’d have a lot of assurance against slippage. Second, it’s a rope version of a block and tackle, so I could use mechanical advantage to add some serious tension. Third, I could see a path to a spliced version and get to my knot-free ideal.
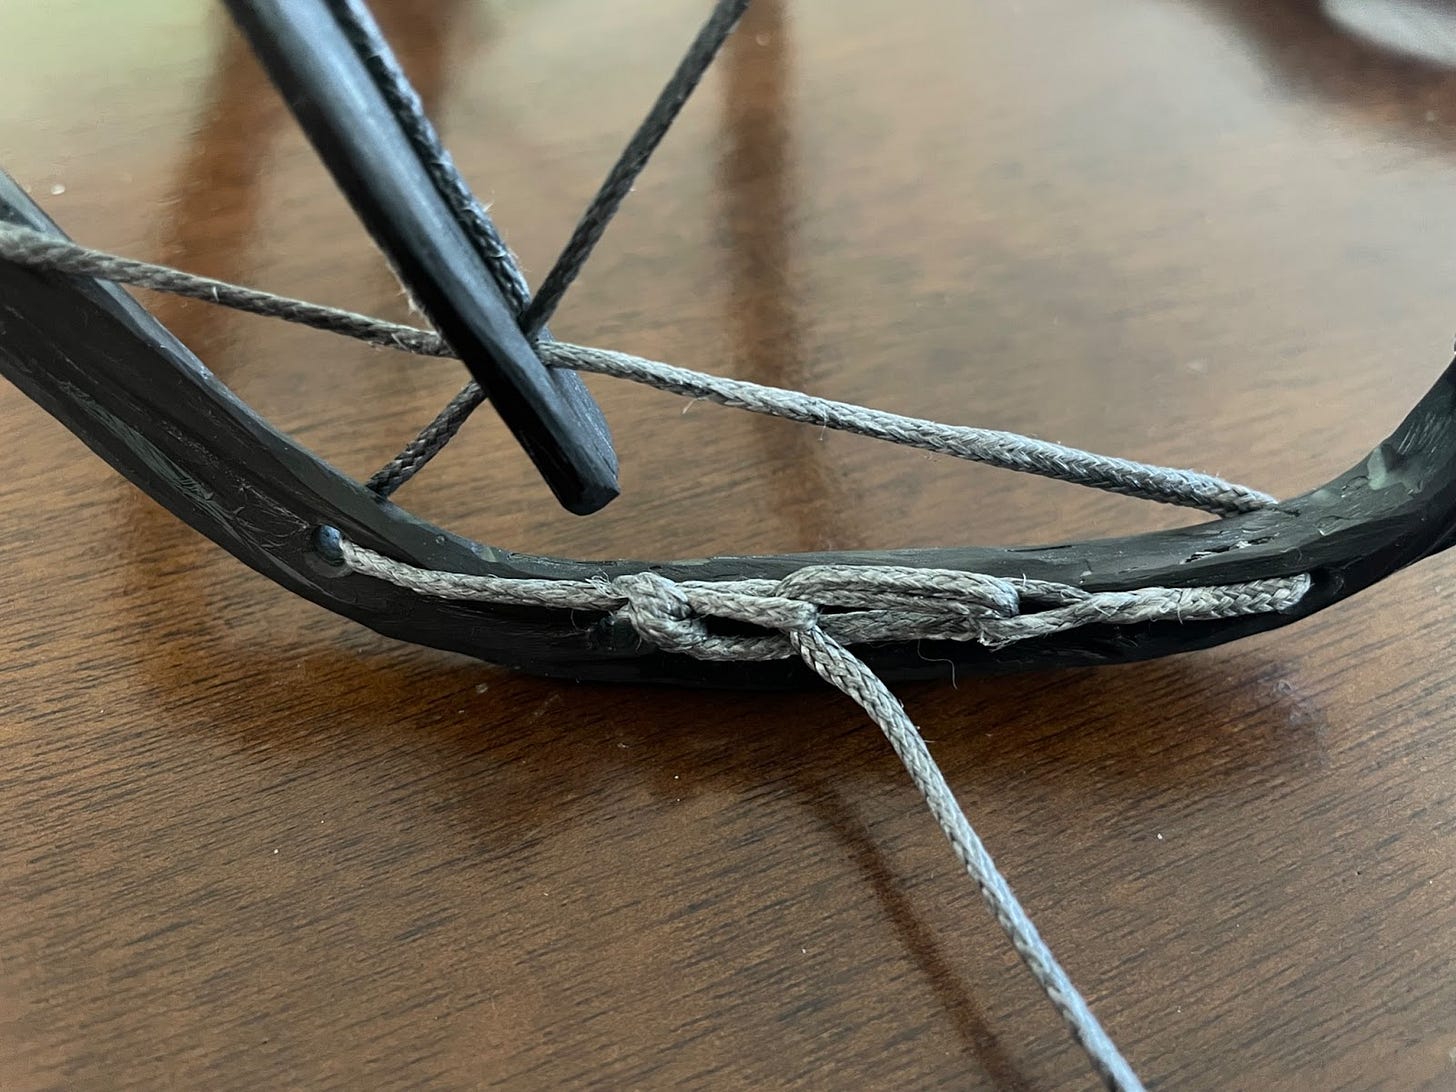
I started with a relatively conventional versatackle. My only change was to make one end a spliced loop rather than a knotted loop. On the other end, I tied an alpine butterfly.
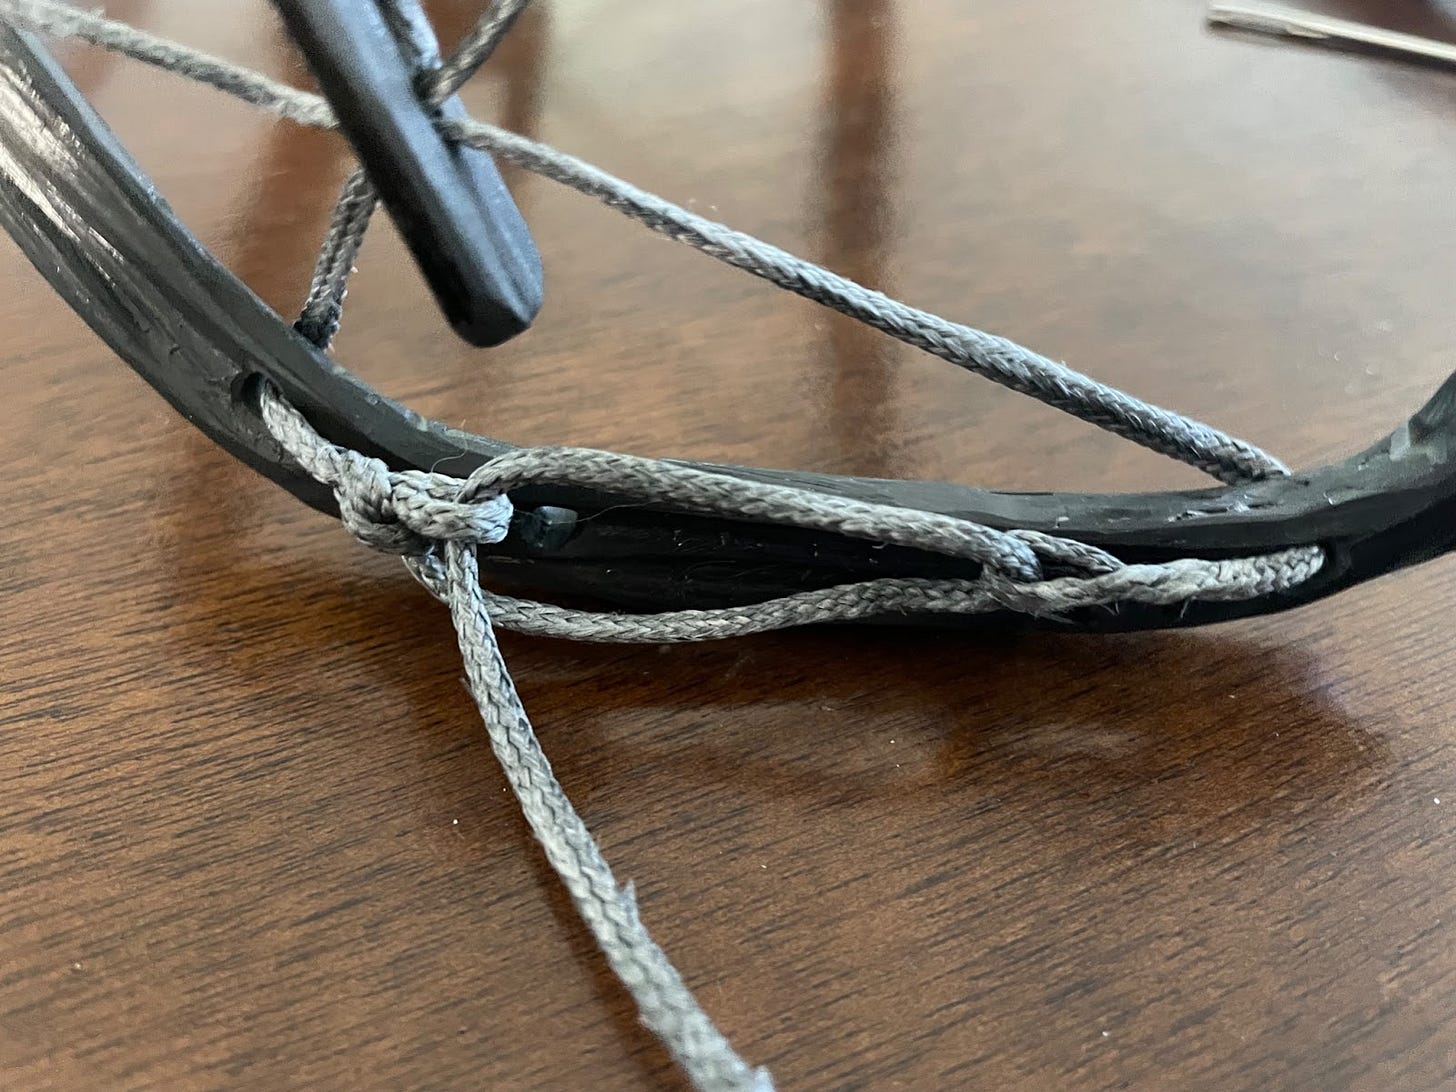
From there, I made the versatackle as instructed, passing the line through each of the loops.
And one more time, before tightening.
Pretty cool! This was already a huge improvement over anything I’d tried before. In fact, it felt so solid, I decided to try putting my whole bodyweight on it.

And it worked!
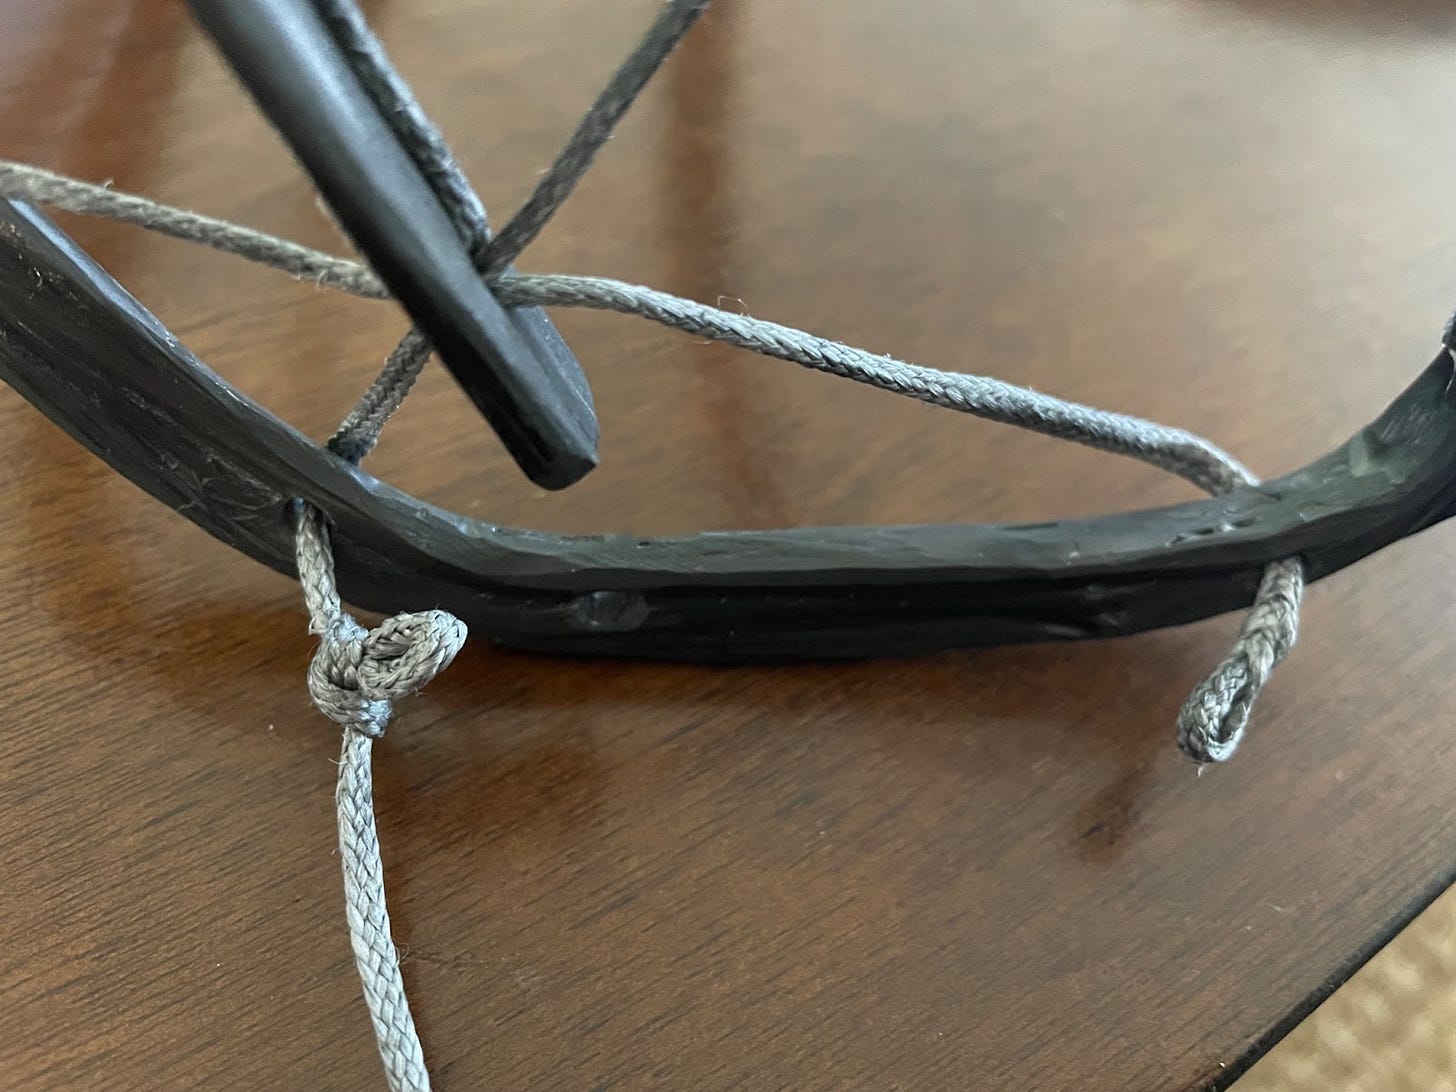
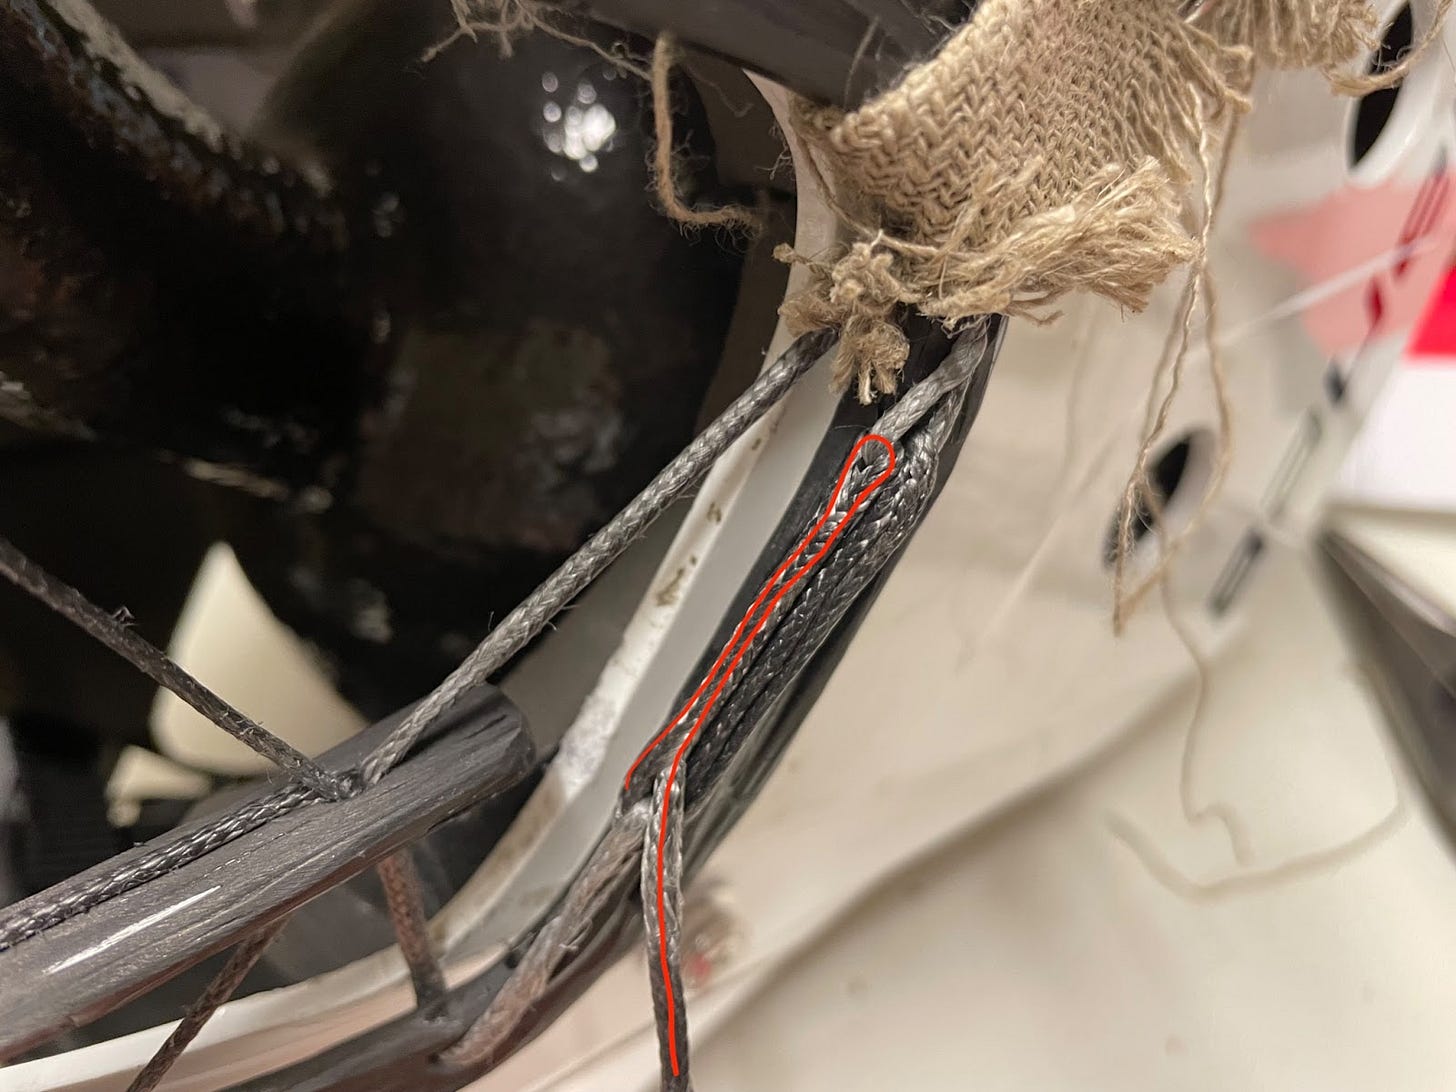
That one alpine butterfly knot was bugging me so I looked to get rid of it too. There was no way to splice a loop in the middle of a rope, but I did find a great idea on some obscure survivalist forum. Instead of trying to do it all on one rope, just use two.
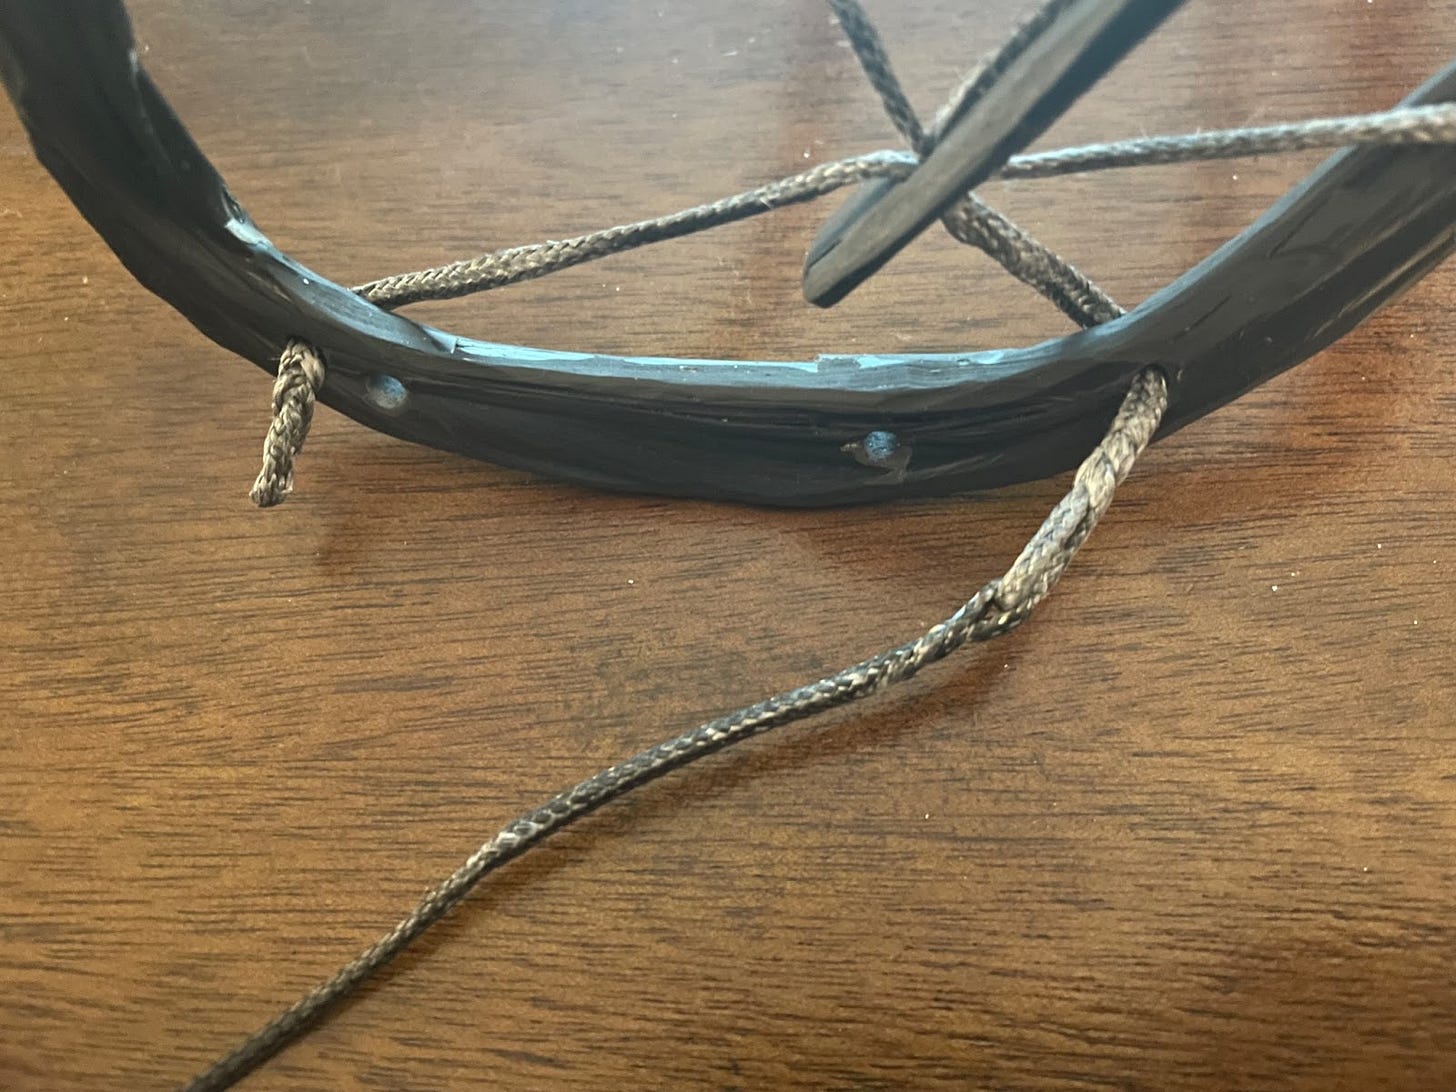
I started with a rope with a spliced loop on each end.
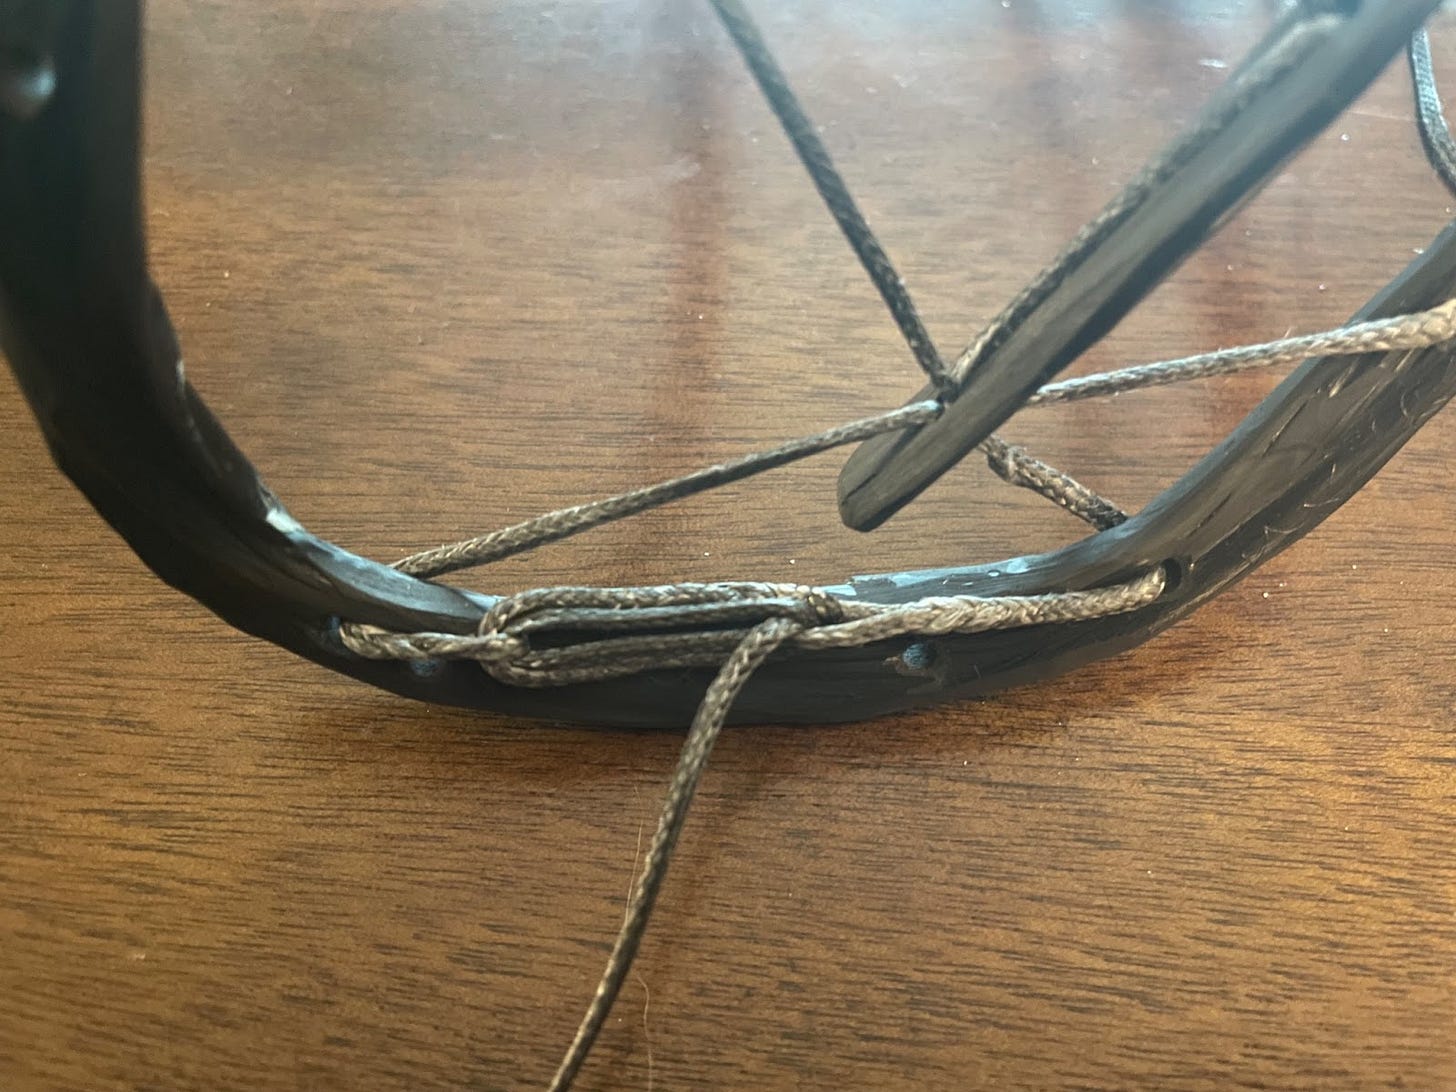
Then I added the second rope. I spliced a loop, which interlocked with one of the existing loops.
From there, it was no different than before.
Eventually, I found I could even tie off the tail with a spliced loop.
I got my wish for a fully spliced solution.
Time to test. I used my puck pendulum to simulate 15 mph shots and the cage passed with flying colors. I needed a more intense test.
I considered all sorts of things from potato guns to batting cages, but in the end, I settled on the simplest idea. Just shoot a puck at it.
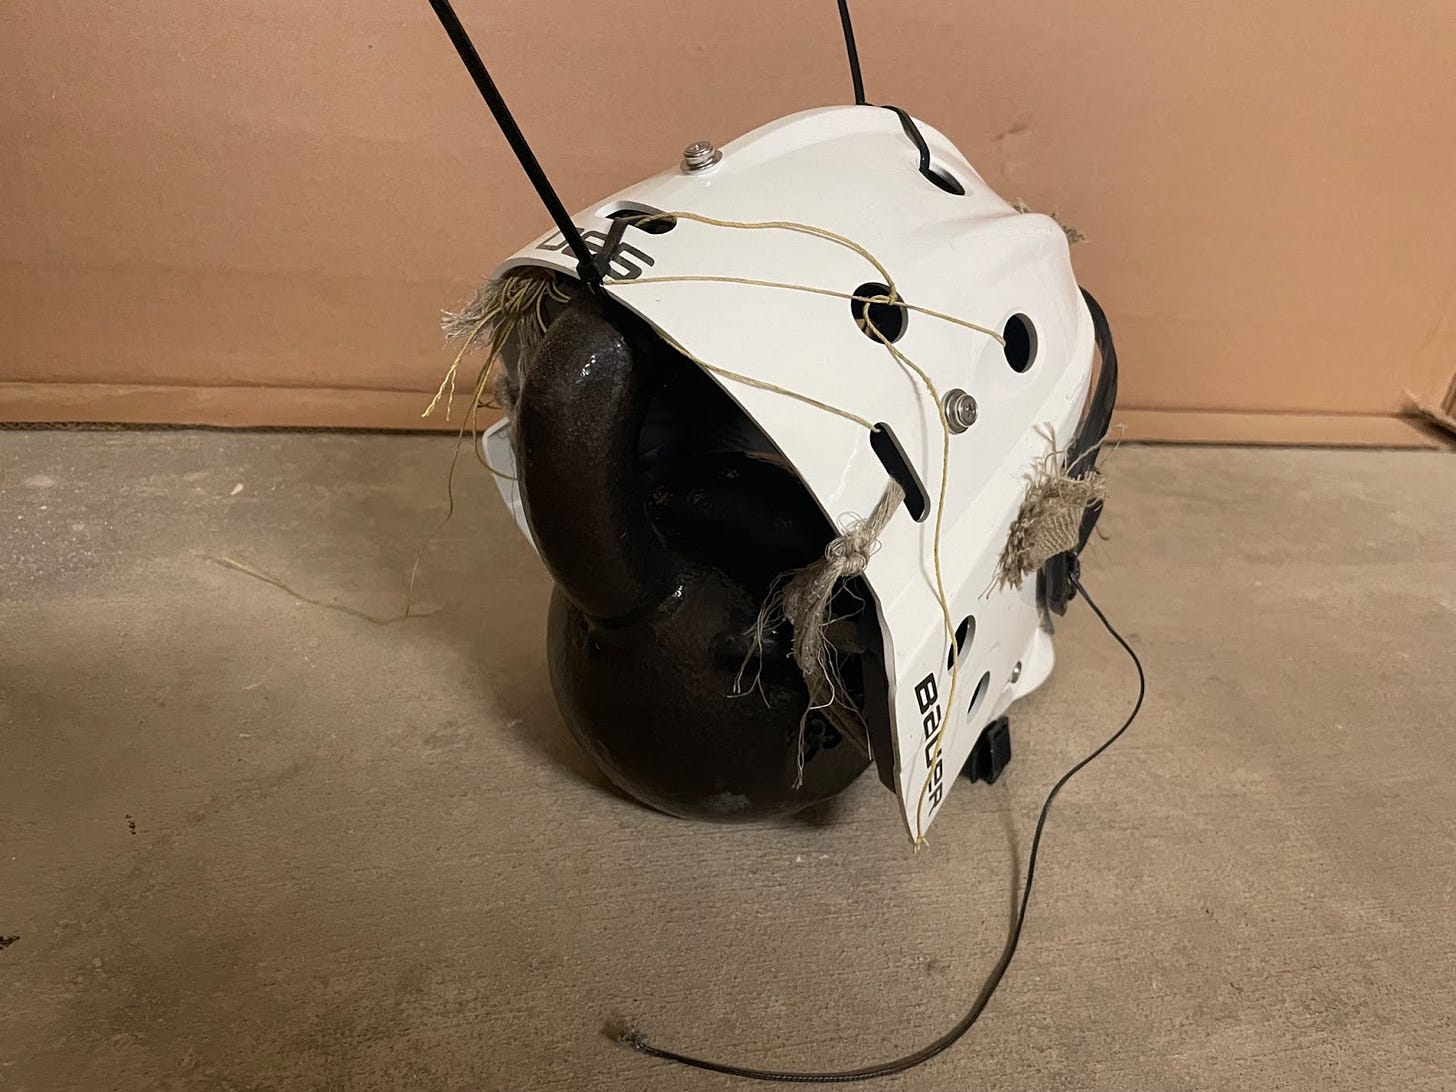
My setup was fairly simple too. I zip-tied my helmet to a heavy kettlebell to keep it in position.
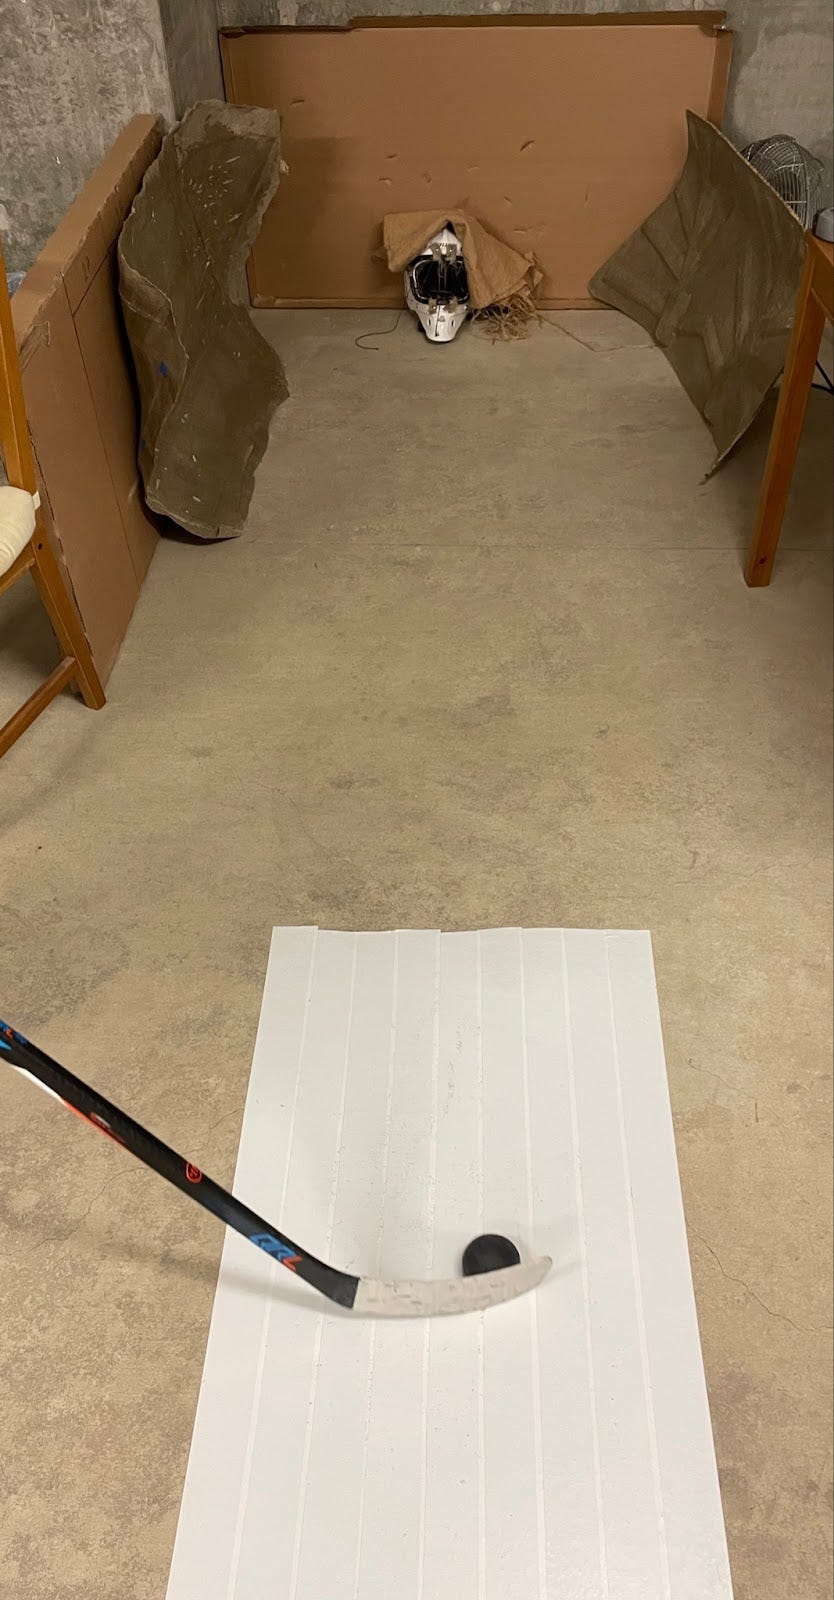
I put down a patch of vinyl tape to give me a low(ish) friction surface to shoot from and put the helmet against a concrete wall.
Cardboard against the wall prevented the puck from leaving too many rubber marks when I inevitably missed. The cloth on top of the helmet prevented the puck from deflecting wildly into the ceiling.
I had no idea how fast my shot was, so I filmed myself shooting a puck. In the background, I had a cardboard box with distances marked out. I have no control over my slapshot and I didn’t particularly want to put a hole in a wall, so I stuck to a wrist shot.
You can see screenshots from the video above, with a timestamp in the lower right. The puck took .037 seconds to travel 3 feet for a speed of 81 ft/s, or 55 mph, or 89 kph. Not too shabby! I moved on to my strength / stability testing.
I shot the puck at the mask probably a hundred times (and hit the cage around twenty).
For the first time in this project, everything was just as tense as before. And nothing broke. I think I’ve got my solution.
It’s funny, during the depths of my struggles, I’d fantasized about this moment. I thought I’d be running naked out of my bathtub, shouting “Eureka!”, but no, I’m just relieved. I’m also a tiny bit skeptical that this chapter of the project is actually over – hence my anti-jinxing efforts – but mostly, I’m relieved.
My gut is telling me that solving for slack was the hardest part of the project. We’ll see if I’m right.
Thanks for reading,
Surjan





Congrats!
Simple solution to a seemingly hard problem
thanks for posting your ups and down - great example of the engineering process!