#40 - Confronting the Unknown
Leaf-Inspired Trunk Pt. 2
An Engineering Self-Study is (morally) supported by readers like you. Thank you for reading, sharing, and subscribing.
Previous Parts in This Series: Part 1: Intro
When I watched Olympus Has Fallen (one of those mindless action movies) a while ago, I think I probably imagined myself as Gerard Butler -- saving the day and delivering crisp one-liners. Turns out, in real life, I’m just a guy on the other side of the country who watches the news, virtually plays a boardgame called Coup with friends who have a dark sense of humor, and then, unable to do anything else, continues to work on making a composite trunk for his Saab.
Here’s an update on the trunk:
I began work on the mold. You might remember that a composite part needs a mold to give it shape as it dries and hardens. The last time I made a mold, I used fiberglass and epoxy. This time around, my goal was to make a mold with non-toxic materials.
The goal was clear. How to achieve that goal was not. In the past, I would have run off and started trying things willy nilly. This time, I took my own advice and took a step back, by making a to-do list. It might seem unsophisticated, but I’ve been subjected to -- and have subjected others to -- all sorts of project management tools; I’ve liked nothing more than a prioritized to-do list. But how did I set priority?
I used an idea I picked up from hill charts, which split a project (the hill) into two parts -- figuring it out (the uphill) and making it happen (the downhill). I like the imagery. When I think back to times I’ve been frustrated by a project, it’s usually because I’ve jumped too quickly to the downhill tasks before I’ve finished the uphill ones. For this project, I’m calling the uphill tasks “the unknowns”, and the downhill tasks “the build”.
So the first step in this trunk project was figuring out my mold-related unknowns.
Before I get into the specifics of those unknowns, I wanted to introduce the Trunk Tracker. As we talk about specifics, it’ll help remind us where we are in the bigger picture. It’s heavily inspired by that most American of innovations -- the Domino’s Pizza Tracker.
How do I make the mold?
The easiest way to think about unknowns is, well, to think about what you don’t know. Ask questions and keep breaking down unknowns with more questions. “How do I make the mold?” is a big question, but “What materials do I use for the mold?” is more manageable.
So what materials do I use? I was pretty sure that I was going to use the same natural composite recipe that I’d used for my parts. But soon a different idea bubbled up and took such a strong hold that I couldn’t remember where it had come from. The idea was to use a plaster cloth (like the old-school plaster casts for broken bones). I must have thought of it when I came across a box of plaster cloth from an old, abandoned project.
The box itself advertises the two things that excited me about the idea. The top right of the box says “Non-toxic”. Even better, the top left of the box has an “E”, which stand for easy. This plaster cloth is a cotton gauze that has plaster already embedded in it. All you need to do is soak it in water and apply it.
Compared to my other natural composite recipe, the plaster cloth has a lower stiffness to weight ratio. Meaning that a plaster mold would be heavier than a linen one, but that doesn’t matter since the mold is obviously not going on the car.
So I knew which material I wanted to use. The next unknown was “How do I stop my mold from sticking to the trunk?” Long time readers will remember last time, when I ripped all the paint off the part I was trying to make a mold of. That experience left me suspicious of invisible releases. I was looking for a physical barrier.
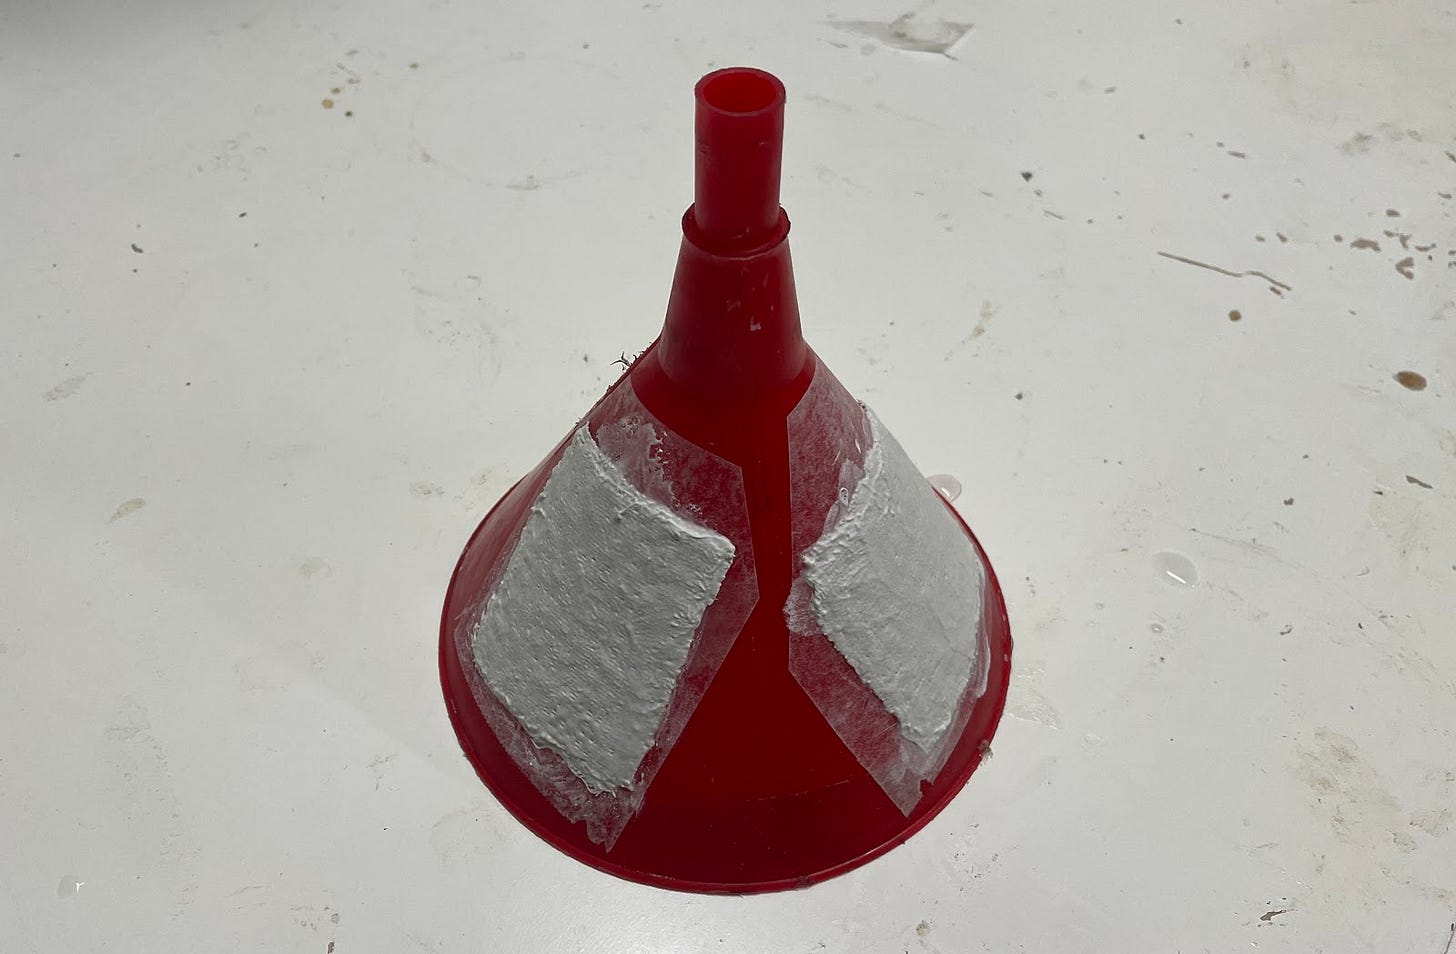
I turned to wax paper. I’ve used it successfully as a peel ply, the barrier between a composite and a vacuum bag, so why not here? Of course, I couldn’t just place it on the trunk. I needed it to lay down and match the trunk’s contours.
At first, I tried using an adhesive-free method by spraying soapy water on the part and squeegeeing the wax paper, like I’ve done when applying window film. But the wax paper curled up as the water dried. So instead, I used a thinned version of the casein glue, which is turning out to be really versatile, to stick the wax paper down.
The plaster released from the wax paper without complaint and the wax paper released from the funnel easily as well. Two questions -- material and release -- answered.
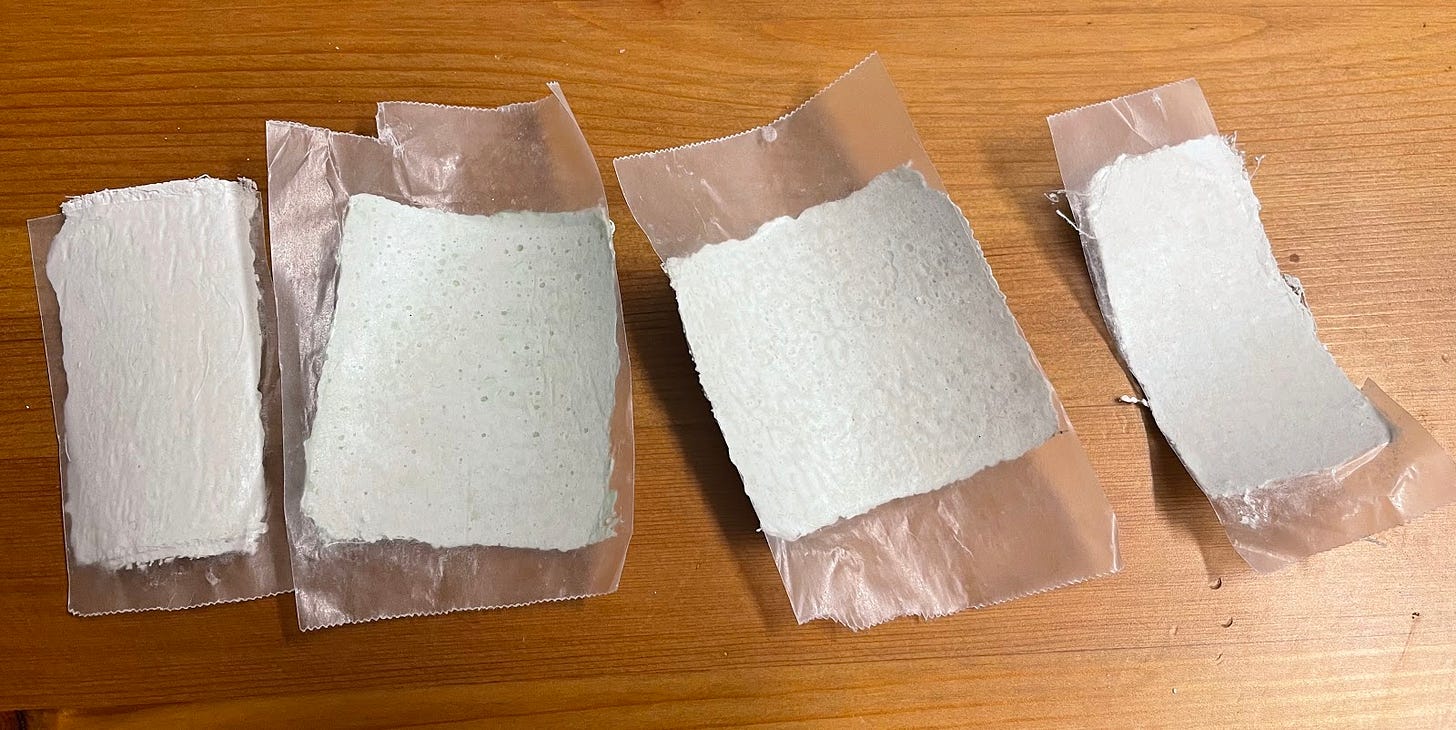
The final question was about the tool-side of the mold, the side that the part will be made against. What should that surface look like? Last time, I used a gel coat -- a hard coat that I could polish and wax to give me a smooth finish on my mold and, consequently, my part. But that was a lot of effort and I still wasn’t able to get the mirror finish on my natural composite parts that’s possible with an epoxy composite. So instead, I looked for something simpler that would prevent the part from sticking to the mold with less effort.
My solution? Wax paper. Again.
I ran a few tests to make sure I could stick the wax paper down to the plaster and still remove it after a day or two, in case I need to replace it for each layup. I tried a few different ways of sealing the plaster and gluing down the wax paper. The best was casein glue over an unsealed plaster.
This was a very unfamiliar feeling. Everything I was trying was working. But there were still more unknowns.
How do I make a mold of this trunk?
I’d answered generic, process-related questions. But I had some questions about making a mold of this trunk in particular.
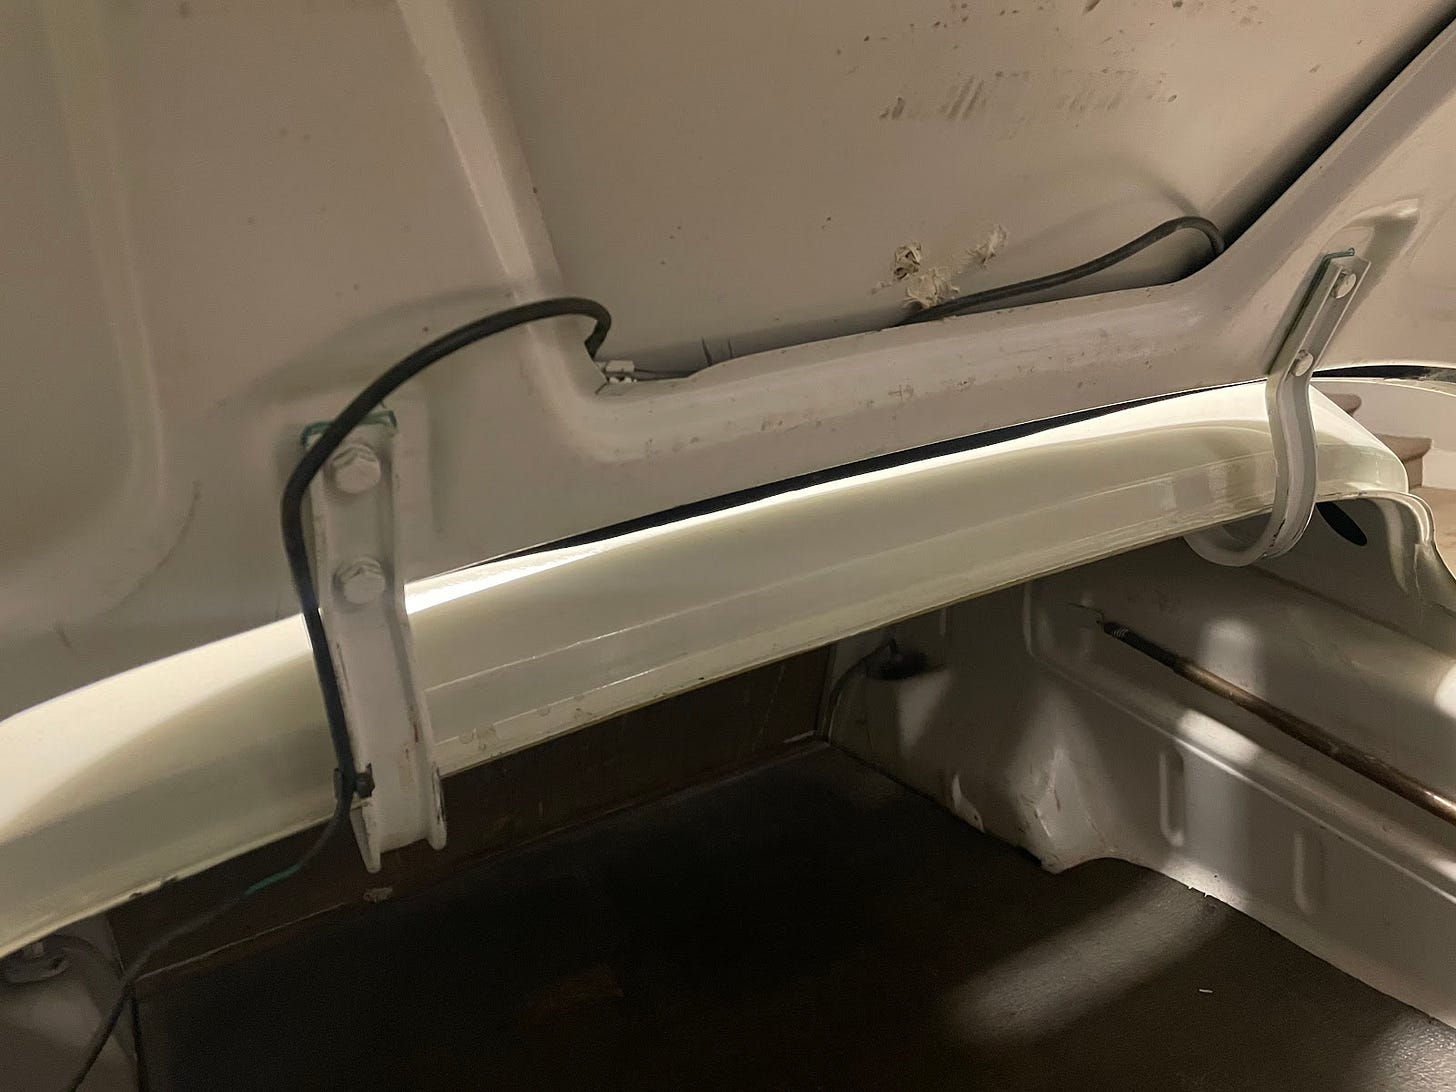
First was this gap.
Should I try to fill it somehow? I decided not to. If it was good enough for the Saab factory, it’s good enough for me.
The second was how to handle this chrome handle/license plate light.
I could bolt it back on my composite trunk or make a composite version of it or leave it off and find another way to add license plate lights. I decided to leave it off, since we’re all about saving weight here on this blog. I found an answer for the lights too -- something like these license plate light bolts.
The third and final question was if I was going to be make the arms that connect the trunk to the hinge out of composites.
If I made my own, I could save even more weight and potentially even integrate the arms into the trunk. But there were a couple of issues. If I made a one piece trunk + arms, I would have no way to tweak panel gaps. The complexity of the build and the install would also go up significantly. So I decided against that too.
That should, theoretically, be all my unknowns answered and I should, theoretically, be able to make a mold without much difficulty. We’ll see if that’s the case.
I love when readers get in touch. Leave a comment, reply to this email, email me at surjan@fastmail.com, or find me on LinkedIn.
Drawing exercise #29. If you missed it, here’s why I’m learning to draw.


