#36 - How To Make a Natural Composite
A Step by Step Guide with a Cost Breakdown
If this were a food blog, and this recipe were for Mountain Dew apple cobbler, you’d have to scroll for an eternity past a made-up story about my great-great-step-aunt Darlene, who came up with the recipe by accident when her son Jeb shot a BB gun at a can of Mountain Dew on a shelf above a pan of cobbler.
But we’re a bit more practical here on this blog, so I’ll get right to the good stuff. We’re going to make this composite from linen and a milk protein:
This recipe seemed like a good excuse to summarize a few months of experimentation. It is just that -- a recipe. It’s not the only way to do things, but it is one that allows me to work in a way that I enjoy: without gloves, at a relaxed pace, cheaply, and without too much waste. Enjoy. (Don’t eat it.)
Part 1: Preparing the Cloth
We’ll scour the fabric (stripping it of its factory-supplied sizing/chemicals) so that it accepts our glue more readily. Then we’ll cut the fabric to size, so we’re not scrambling later on.
Ingredients:
Cloth
Any natural fiber can work -- burlap (jute), hemp (hemp), or linen (flax). From the few fabrics I’ve played with, you’ll want something with a slightly open weave, but not as open as burlap, which I found hard to work with. Twill usually conforms nicer to the mold and somewhere in the neighborhood of 8.5 oz/yd2 is a nice balance of heft and drapability. This linen specifically made for composites is, so far, the best overall balance I’ve found between performance, cost, and availability.
Washing soda aka soda ash
Water
Steps:
Cut off enough cloth for whatever you’re making. Be generous.
Weigh the cloth.
Weigh out the washing soda. You want 2% of the cloth’s weight.
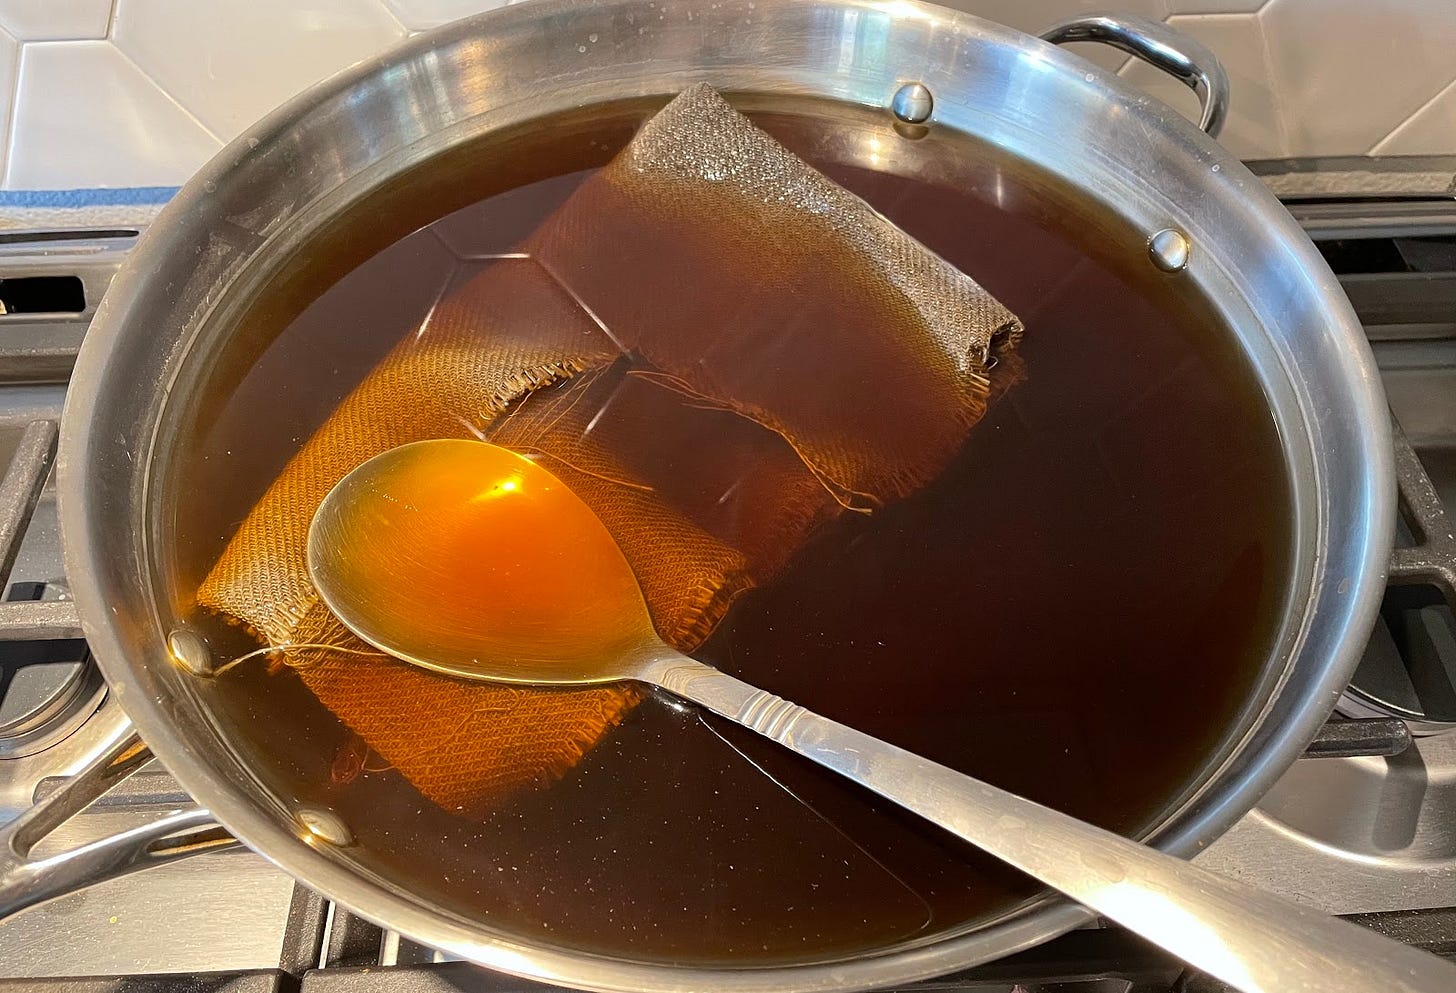
In a pot that’s large enough to comfortably hold your fabric with room to spare, dissolve the washing soda in some water. Heating the pot helps with dissolving.
Add your fabric and fill the pot with water.
Heat the water. Some websites say 180°F should be the target. I’ve gone above that and simmered without any issues. If you have a thermometer, you can be precise, but my experience says its fine if you don’t. In any case, when the water gets hot, start a timer for 30 minutes.
The water will look yellow/orange. If the color is really dark, you should consider scouring the fabric again by repeating steps 4-7. Drain the pot and rinse the fabric.
Dry your fabric in the sun or in a drier.
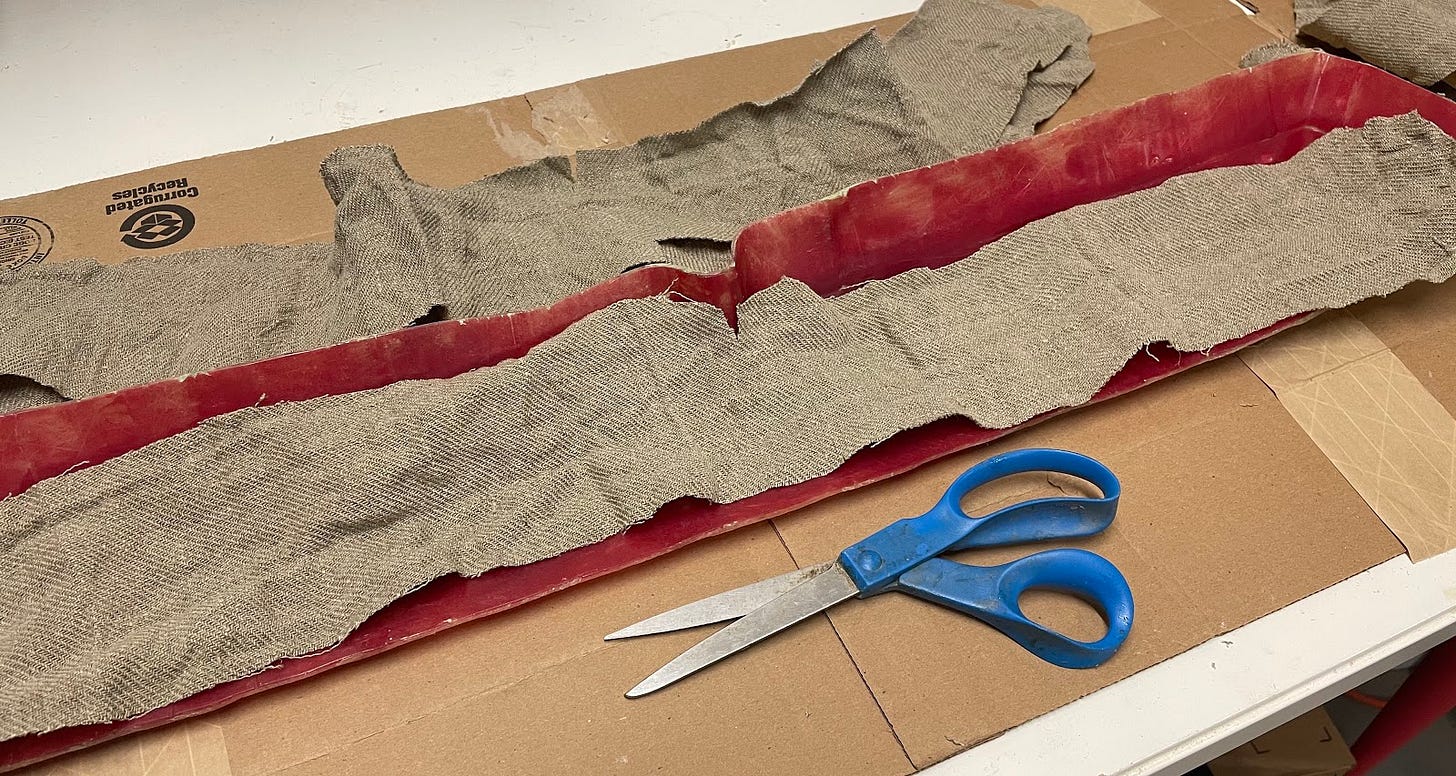
Cut out the layers (plies) of fabric. The fabric should extend past your eventual trim line, but obviously stay within the bounds of your mold.
Remember the fabric’s orientation - my second ply was at a 45° angle from the first and third plies to make my fiber reinforcement more uniform.
Dart the corners as necessary so the fabric sits well in the corners of your mold.
Part 2: Preparing the Glue
This is pretty self-explanatory. We’ll mix up the glue.
Ingredients:
Lye
I used potassium hydroxide but sodium hydroxide works too. Flakes are easier to work with than powder. Lye isn’t the nicest thing to work with, but when combined with casein, it makes a pretty harmless caseinate (normally used as a food additive).
Pickling lime aka hydrated lime aka slaked lime aka calcium hydroxide
Water
Steps:
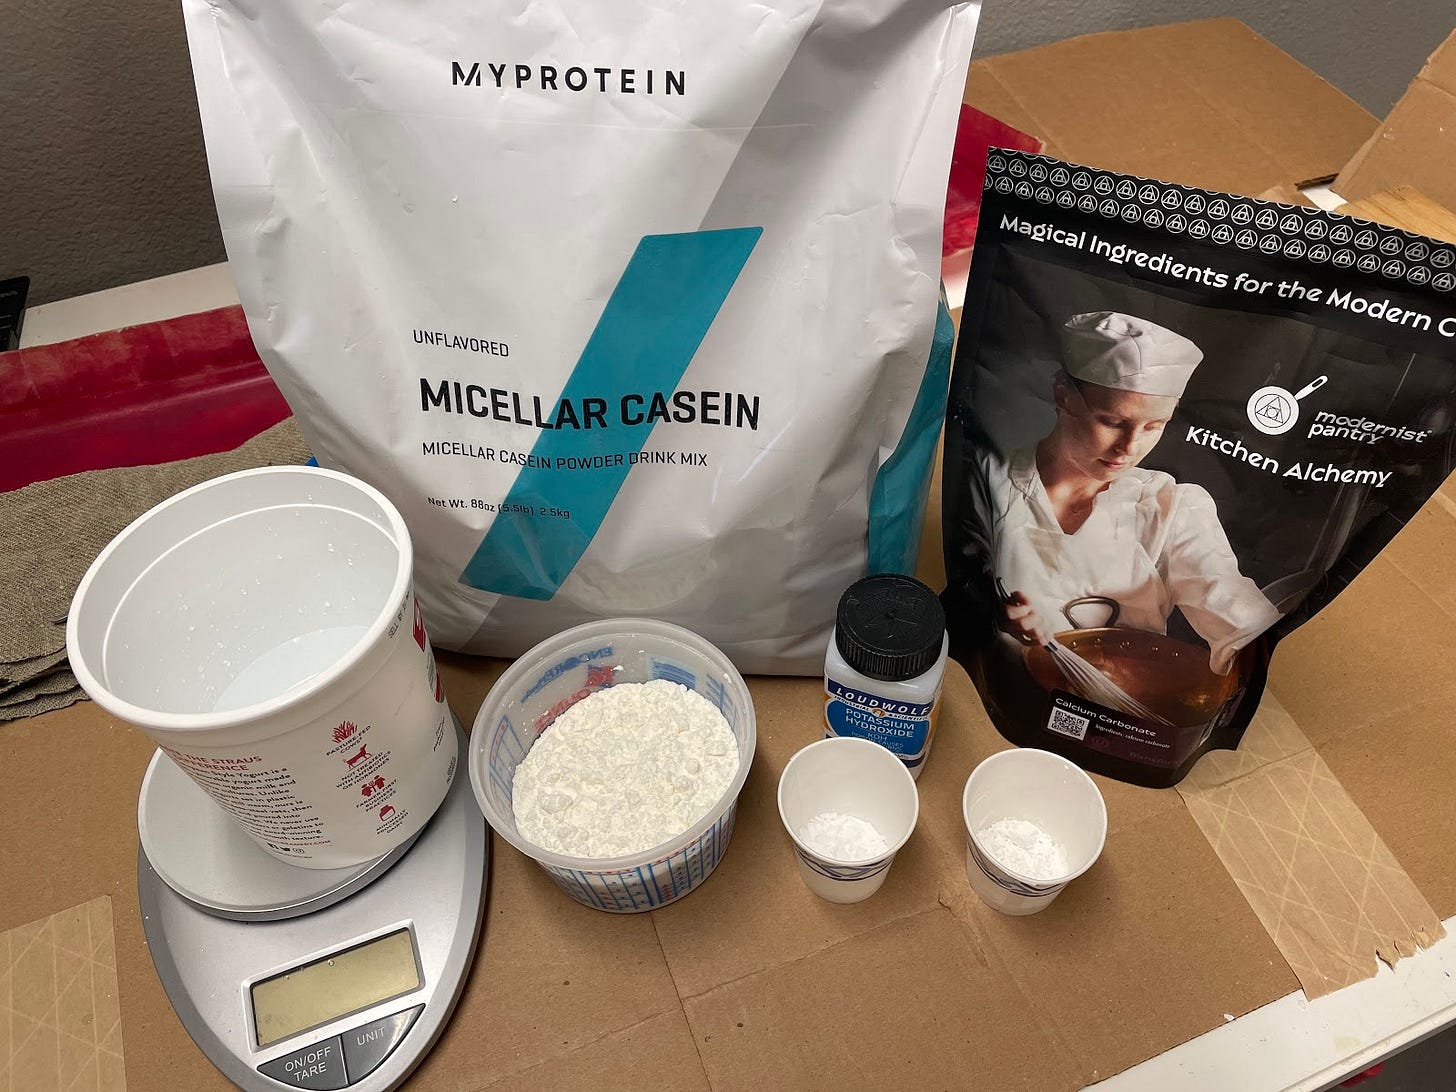
Weigh out ingredients in the proper proportions. 100 parts casein : 11 parts lye : 20 parts pickling lime : 370 parts water
Add the lye into the water. The mixture will get warm, so add a small amount of time to avoid things getting too hot. Follow proper lye-handling safety procedures.
Add the casein and the lime into the lye/water mixture. I haven’t found order to matter here.
Stir the mixture. The casein will clump together at first and then break apart.
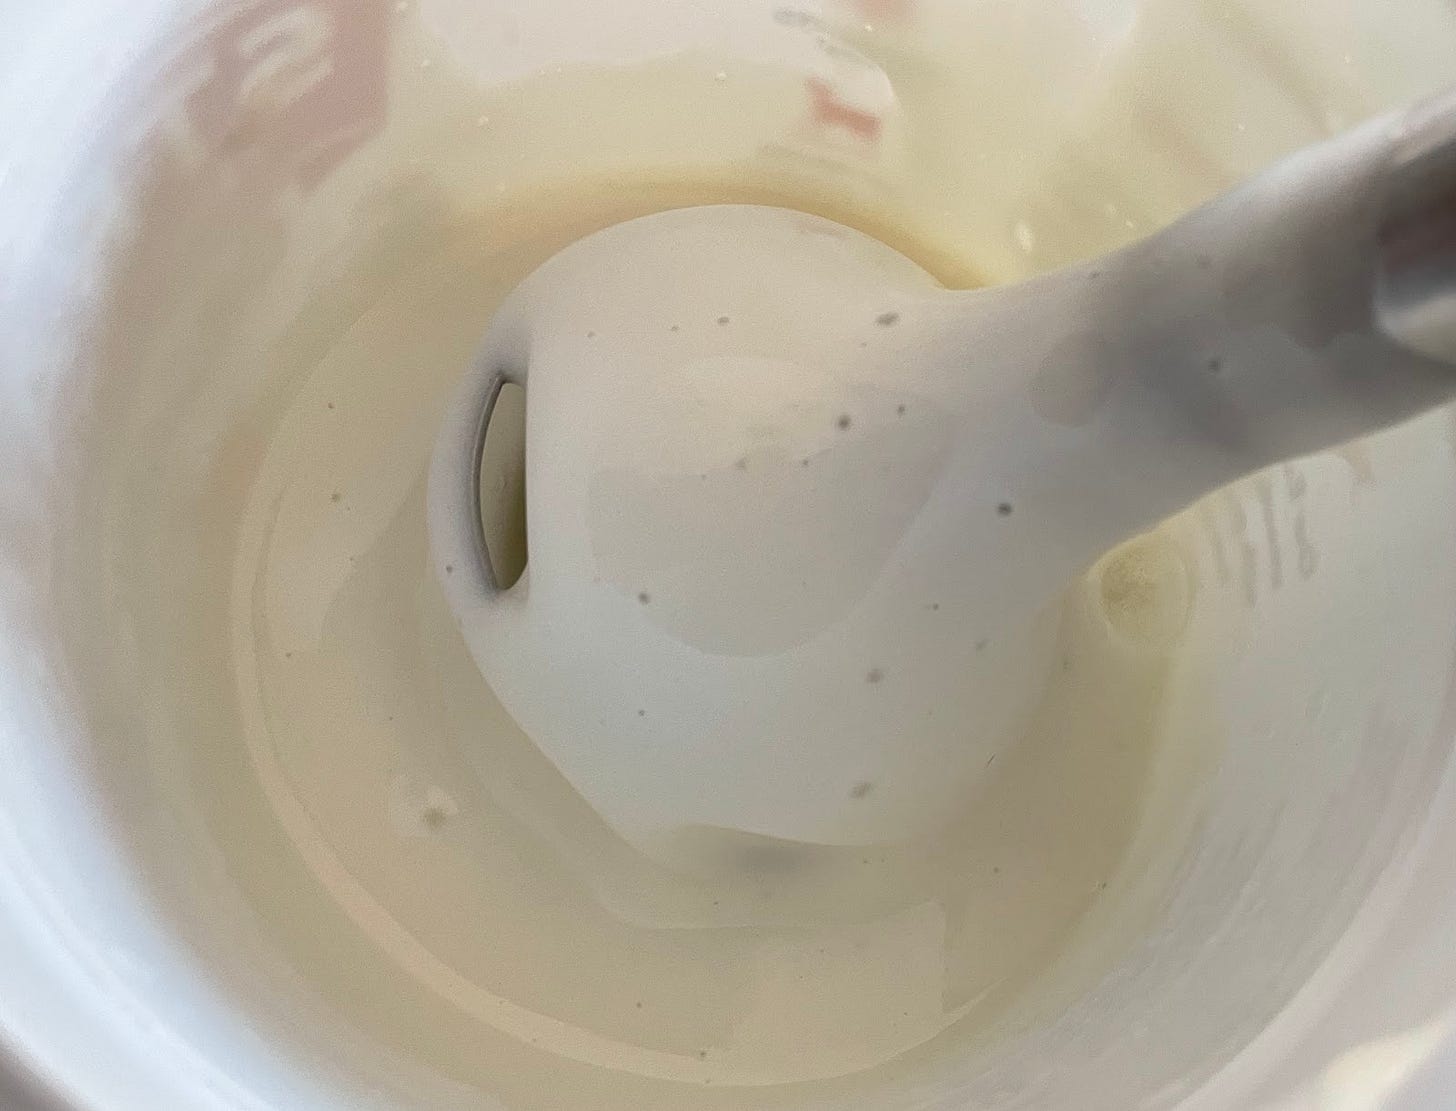
When the casein is not one big clump, use a stick blender to finish mixing the glue. The glue should be a smooth consistency with no lumps, resembling condensed milk.
Besides a stick blender, I also tried a stand mixer, which didn’t give as smooth of a mixture. Mixing by hand is impractical for anything more than a few ounces of glue.
Part 3: Sizing
We’ll treat the fabric with a thinned version of our glue so the fabric adheres better to the glue.
Ingredients:
Fabric from Part 1
Glue from Part 2
Water
Steps:
Put a container on a scale and zero the scale.
Fill the container with enough water to dunk your fabric.
Add 1 part of glue for every 8 parts of water by weight.
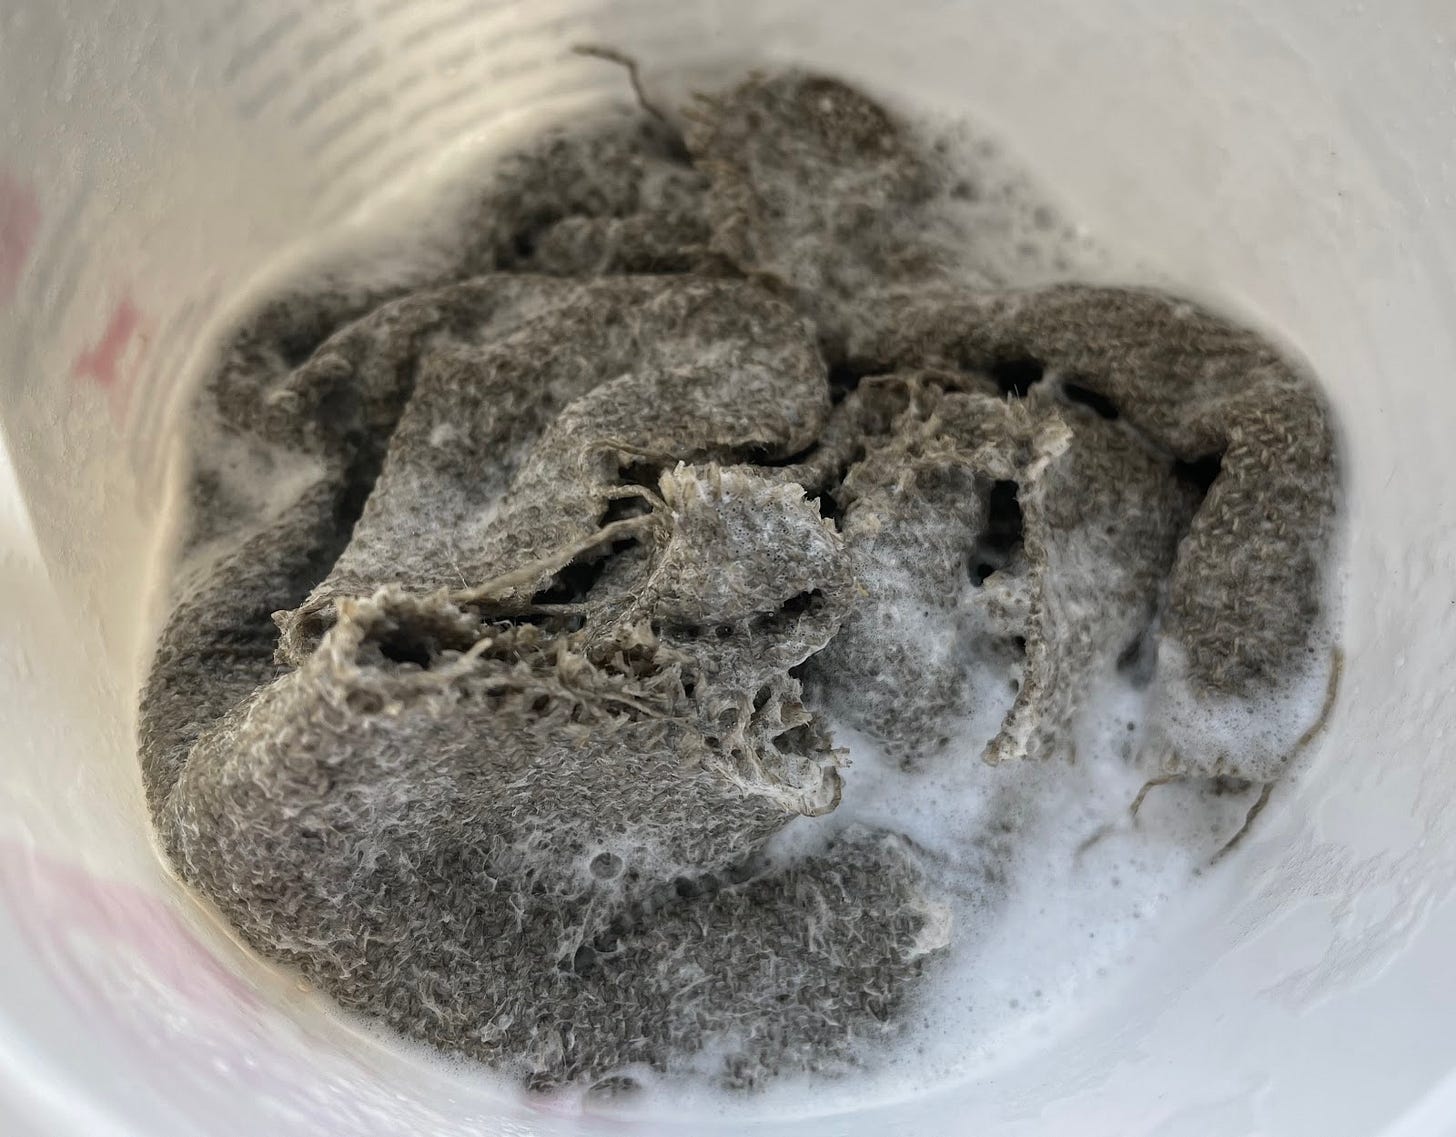
Dunk your fabric in the thinned glue and wring it out.
Dry the fabric in your oven. I used the lowest setting for about half an hour.
Part 3: Prep
Composite manufacturing is all about getting as much ready as you can before the glue touches the fabric. Even though timing isn’t nearly as critical with casein glue as it is with epoxy, it’s still a good practice. We’ll gather materials for our final step as well as release the mold.
Ingredients:
Wax paper
Mold release wax, like Partall Paste #2
PVA, like Partall Film #10
Special Equipment:
Mold (Here’s a link to how I built mine)
Steps:
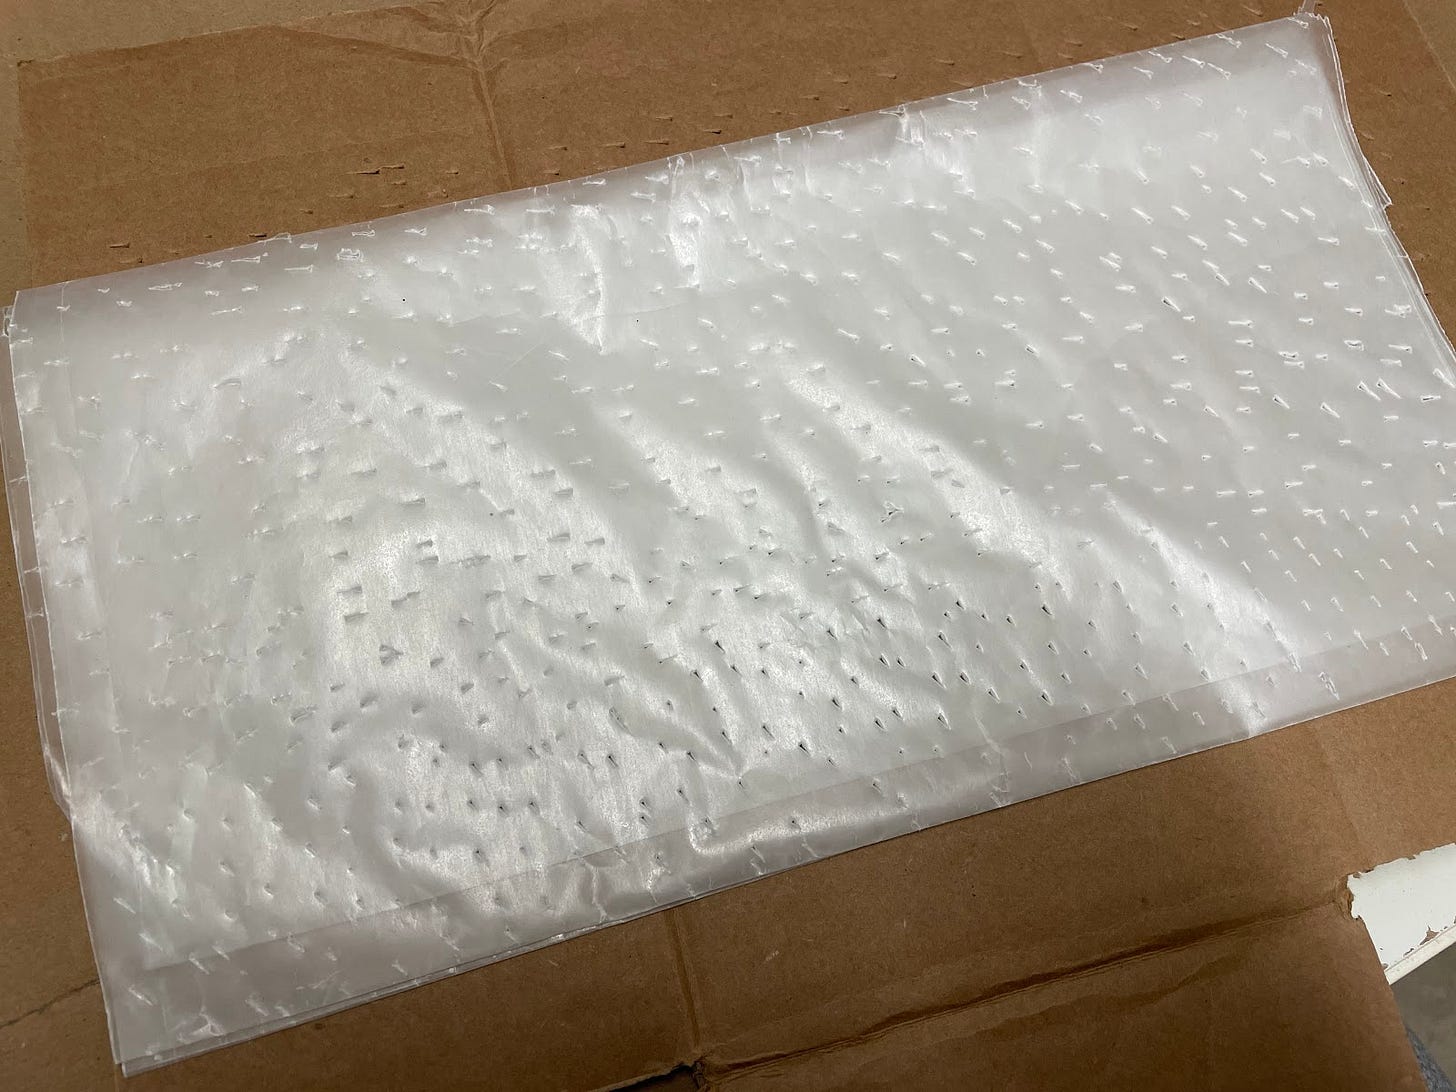
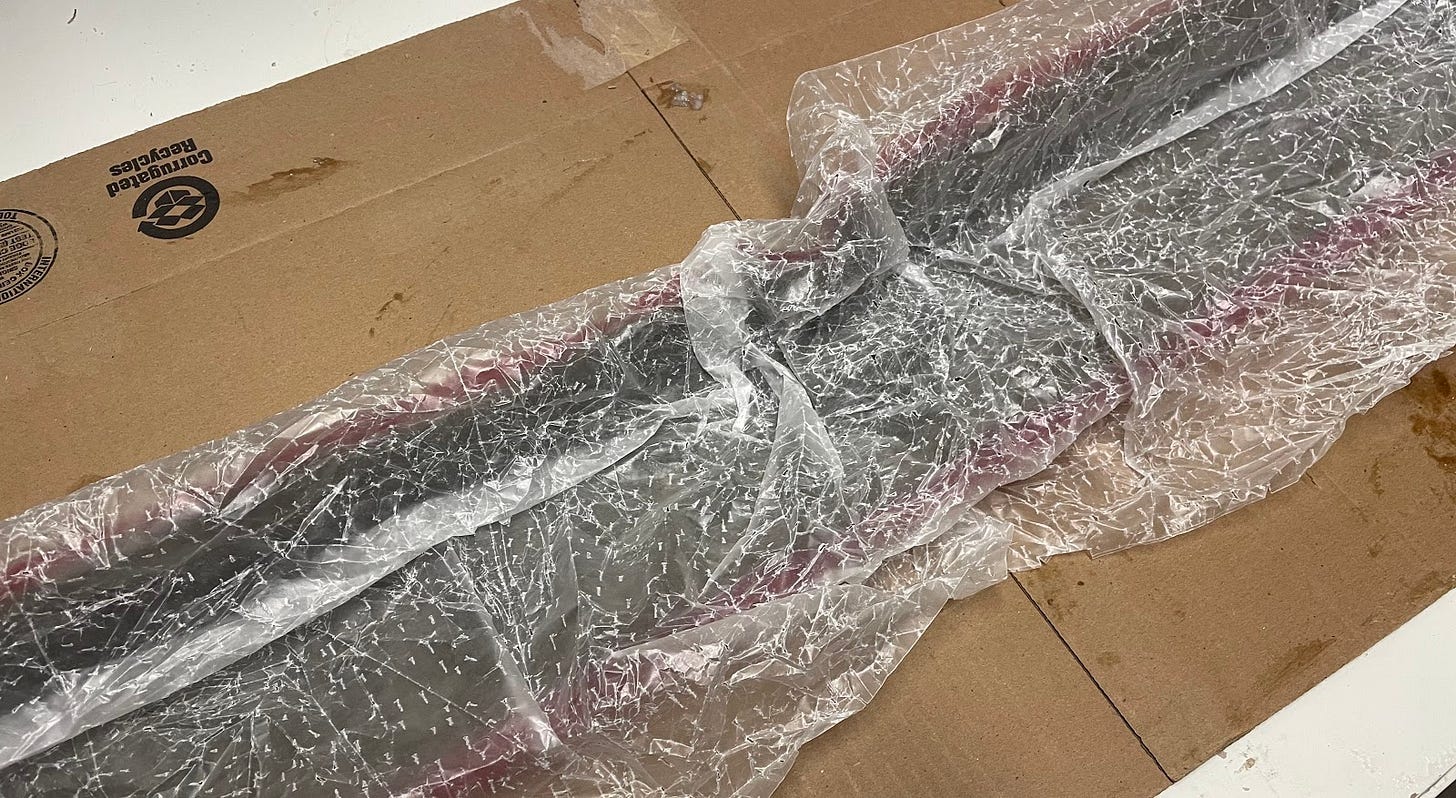
Tear off enough wax paper to completely cover your mold. You’ll want plenty of excess. This will serve as our peel ply, a peelable barrier between the composite and everything else.
Fold over the wax paper a few times and stab it full of holes. The perforations allow moisture to escape.
Set aside your peel ply for later.
Clean off the surface of your mold with a clean rag.
Apply a layer of wax. Depending on how “seasoned” your mold is, apply anywhere from one to three coats. Extra coats don’t build up thickness, just ensure full coverage.
Wax off.
Wax on.
Wax off.
Apply a layer of PVA. It’s recommended to spray it on, but I use a foam brush. The key is to apply a really thin layer. Otherwise, you’ll get puddles.
Set the mold aside to dry. Look at the next part of the recipe and collect all the materials.
Part 4: Building the Composite
It all comes together.
Ingredients:
Glue from Part 2
Sized fabric from Part 3
Special Equipment:
Prepped mold from Part 4
Rice
Vacuum bag
The first bag I bought failed, but this bag from VacuFlat has performed really well. Holds vacuum for days. Take care of it -- keep it on a tarp or sweep the area you set it on to prevent it from developing leaks.
Old blanket
Steps:
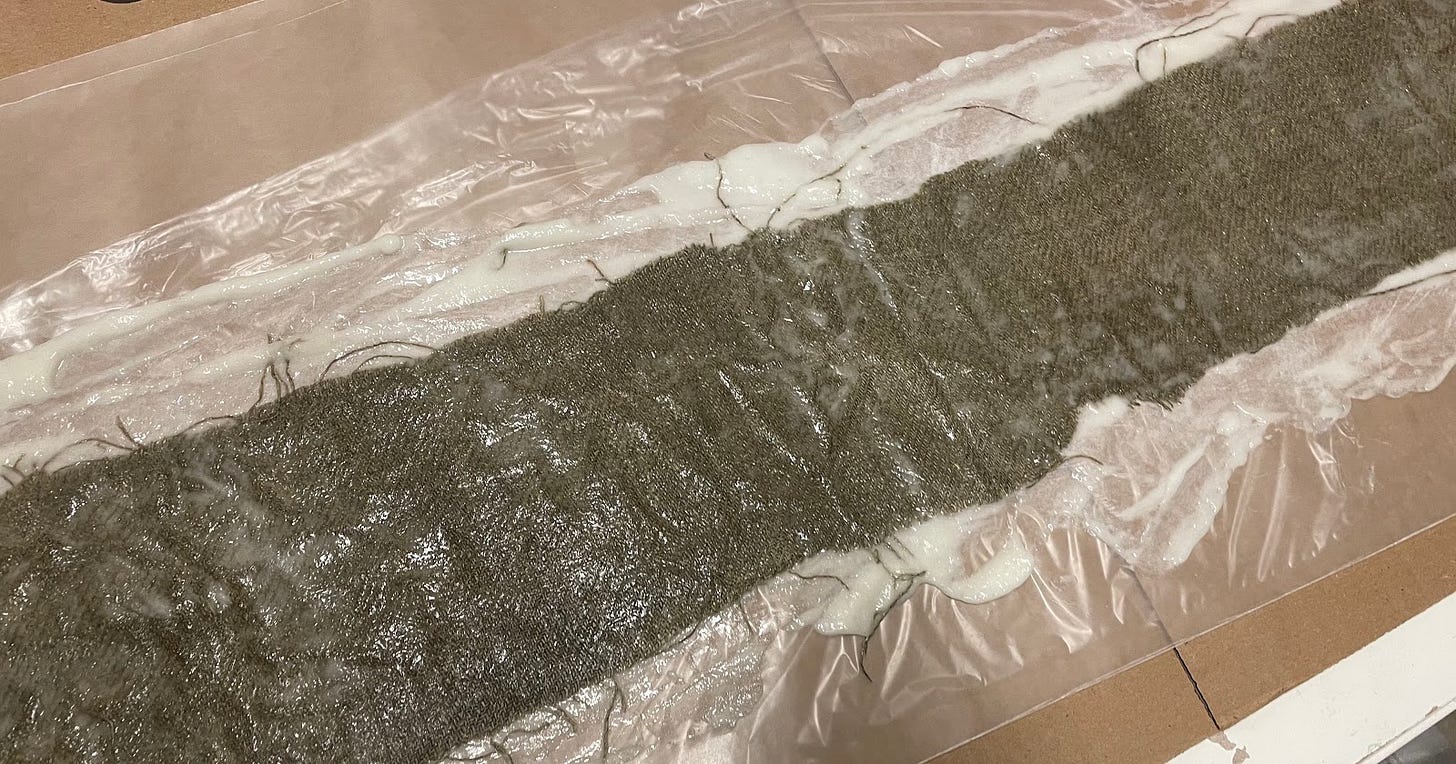
Lay down a sheet of plastic wrap. Pour out some glue on the plastic. Place a layer of your fabric on top. Pour more glue on top of the fabric. Cover with a sheet of plastic. So you should have a plastic/glue/fabric/glue/plastic sandwich.
The picture below shows wax paper, but that gets soggy and rips. Use plastic wrap.
Using a popsicle stick or Bondo paddle or other spreader, squeegee the glue in your sandwich. You want to spread it around and make sure there are no dry spots in your fabric. Once you’re certain of that, you can squeegee the excess glue off the fabric.
Lay the wet fabric into the mold. Take your time and work it down. I just use my fingers. Make sure you don’t have any bridging (fabric lifting off the mold in the corners).
Repeat steps 1-3 for each layer of fabric you have. You should be able to reuse your plastic wrap.
Get your peel ply and place it over the composite. I crumpled my wax paper beforehand and purposely kept excess materials in the corners. We don’t want the peel ply to bridge and prevent the vacuum bag from exerting pressure on the composite.
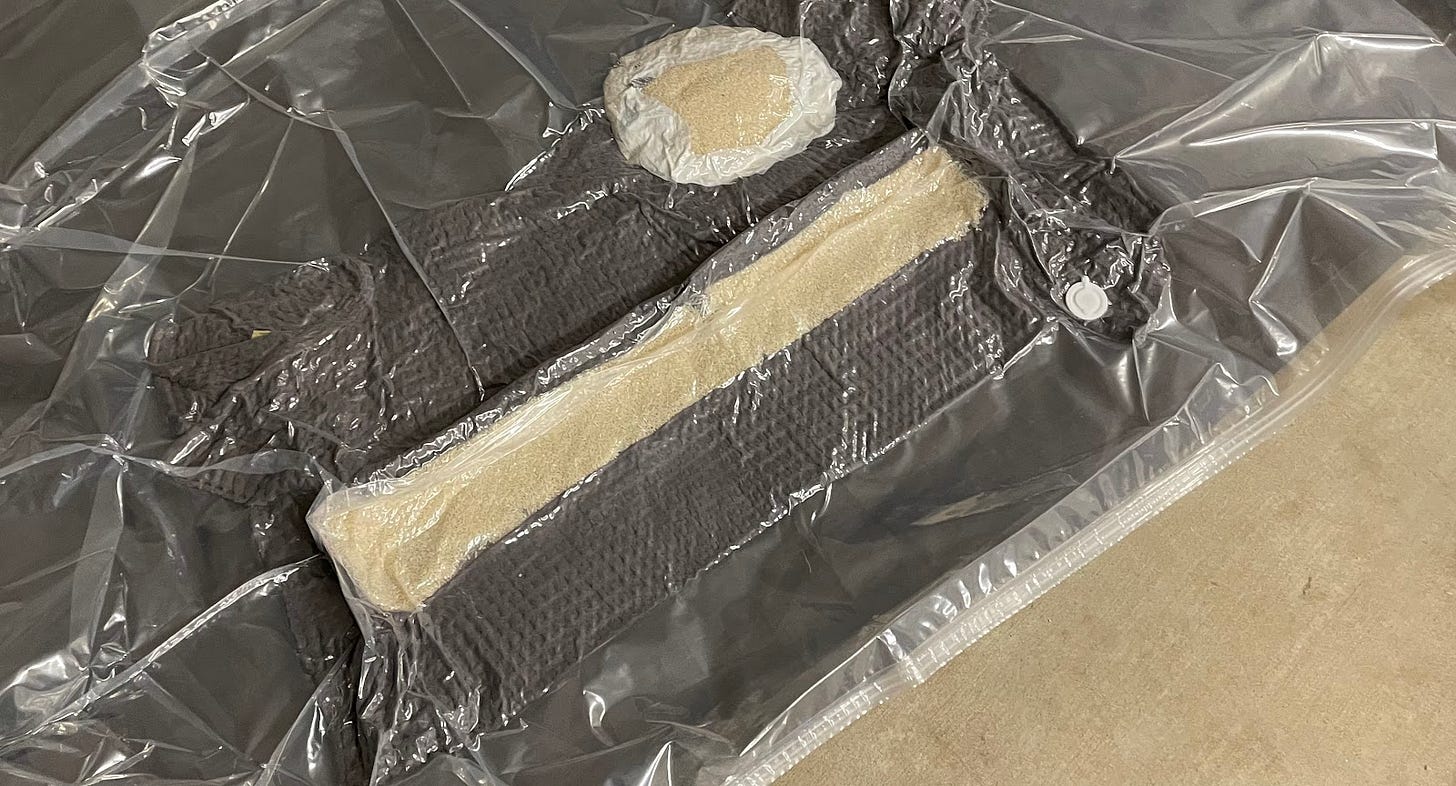
Put the part inside your vacuum bag. I placed it on top of an old blanket to minimize the risk of puncturing the bag.
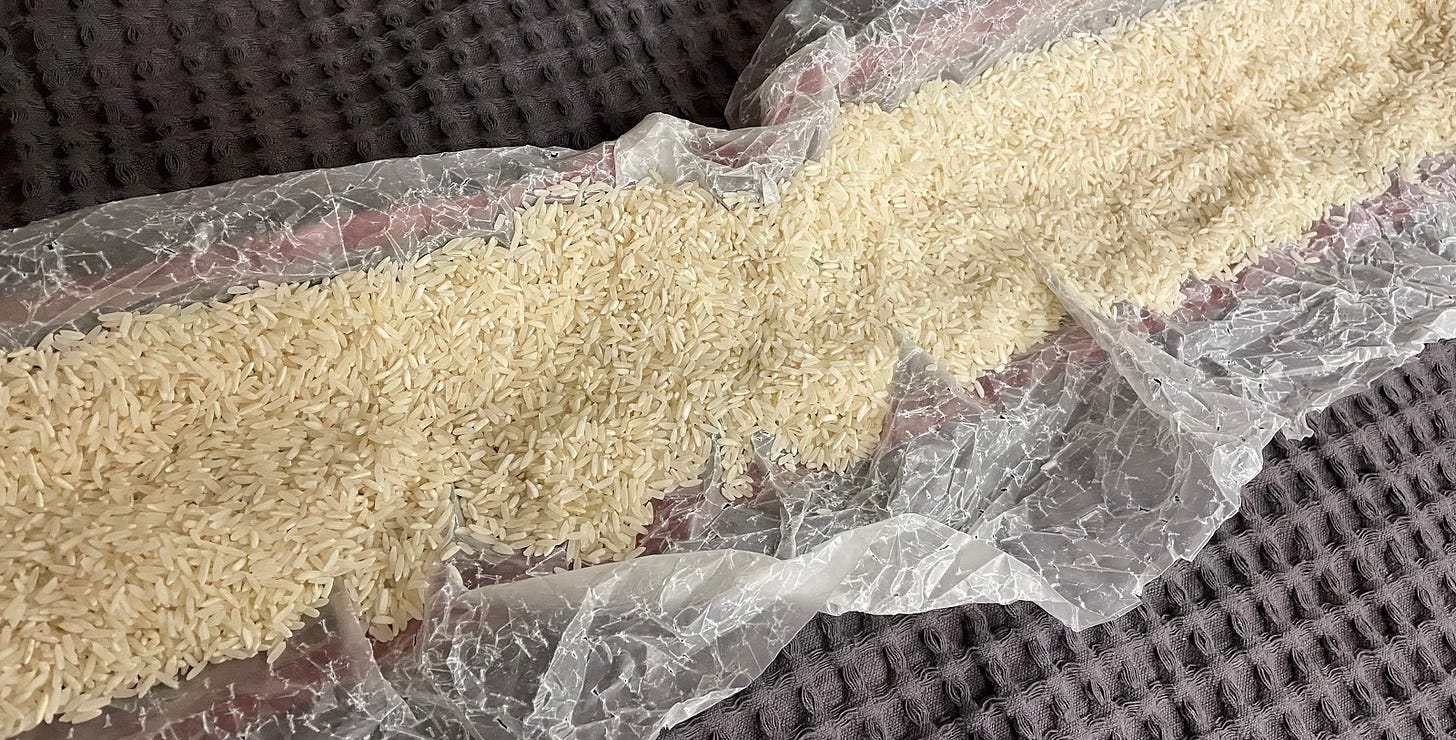
Pour the rice onto the part. The rice will absorb the excess moisture.
Fold the blanket over the edges of the mold -- again, to avoid puncturing the bag.
Optionally, place an extra bag of rice in the vacuum bag. I think the way I did it might not have an air path to the part, but oh well.
Reposition your part so that the vacuum port of the bag is on top of the blanket, so it can suck air out effectively.
Seal the bag and begin to pull vacuum. Like the peel ply, make sure you have excess material so that the bag itself doesn’t bridge.
When the bag is compressed but not so tight that you can’t shift things around, pause the vacuum.
Readjust the rice so that it contacts every surface of your part, including the vertical walls. Make sure your bag is not bridging anywhere. Pull in more material as necessary.
Turn your vacuum back on and suck the rest of the air out.
Leave the part to cure.
In all honesty, this is not something I’ve dialed in yet. My current method is to cure for about a day under vacuum. Then I pull the part out of the bag, allow the exposed surface to cure further. And finally, after removing the part from the mold, allow the tool-side surface to air dry as well. Make sure that the part is well supported throughout, or it may deform. I will update this if I come up with a better curing method, like an oven.
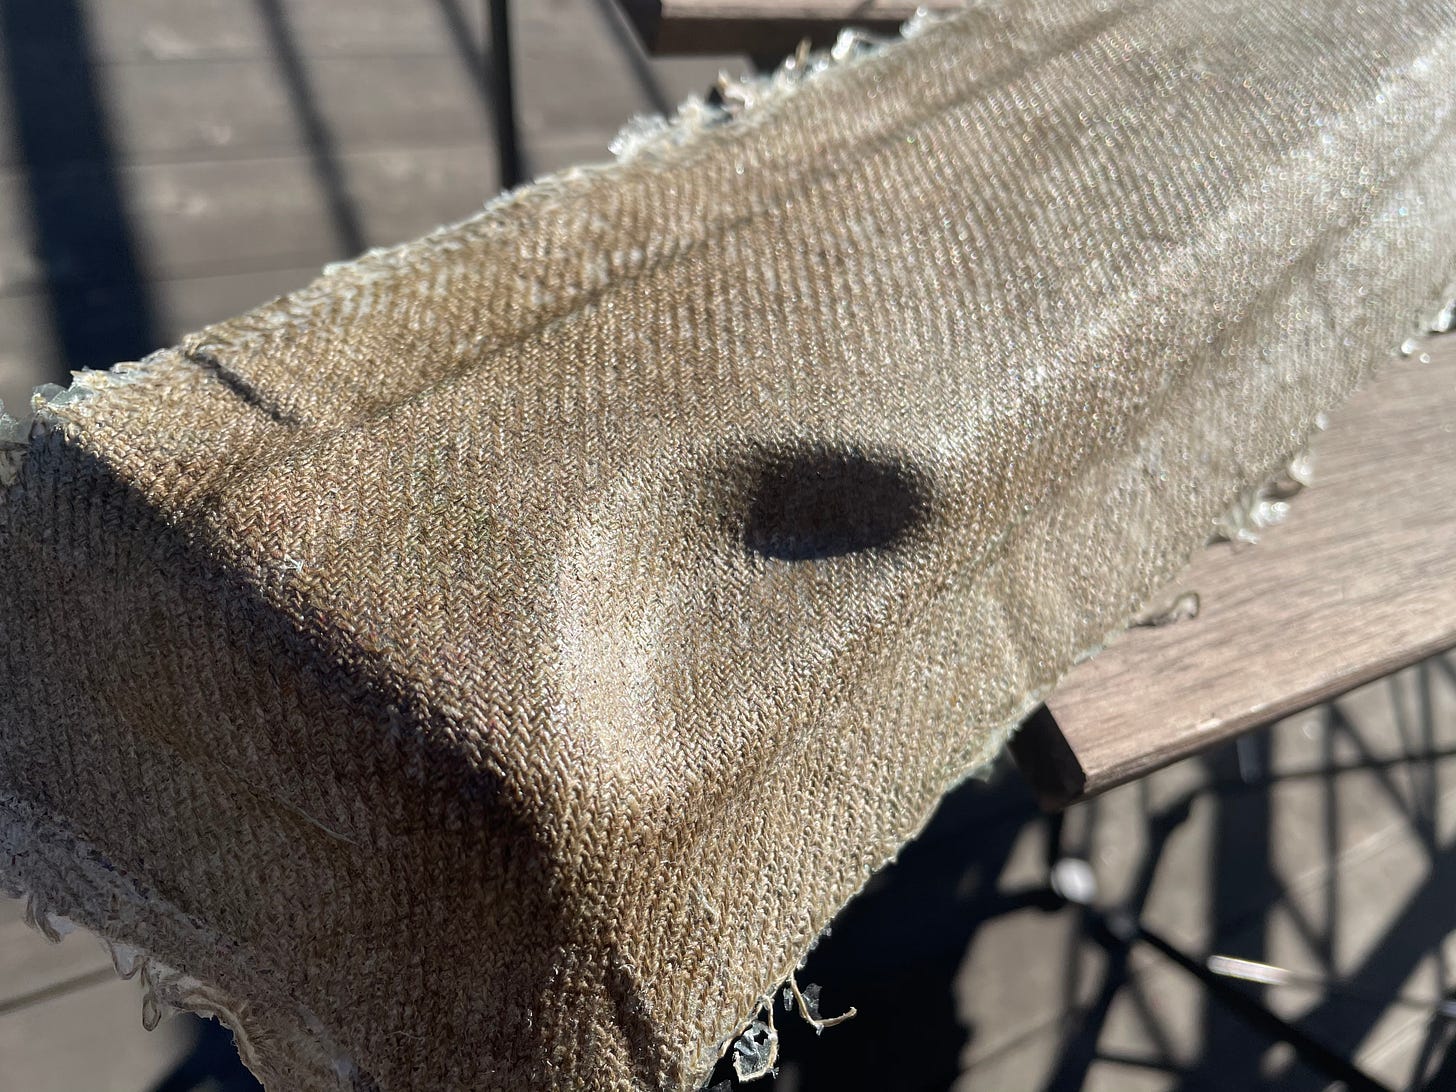
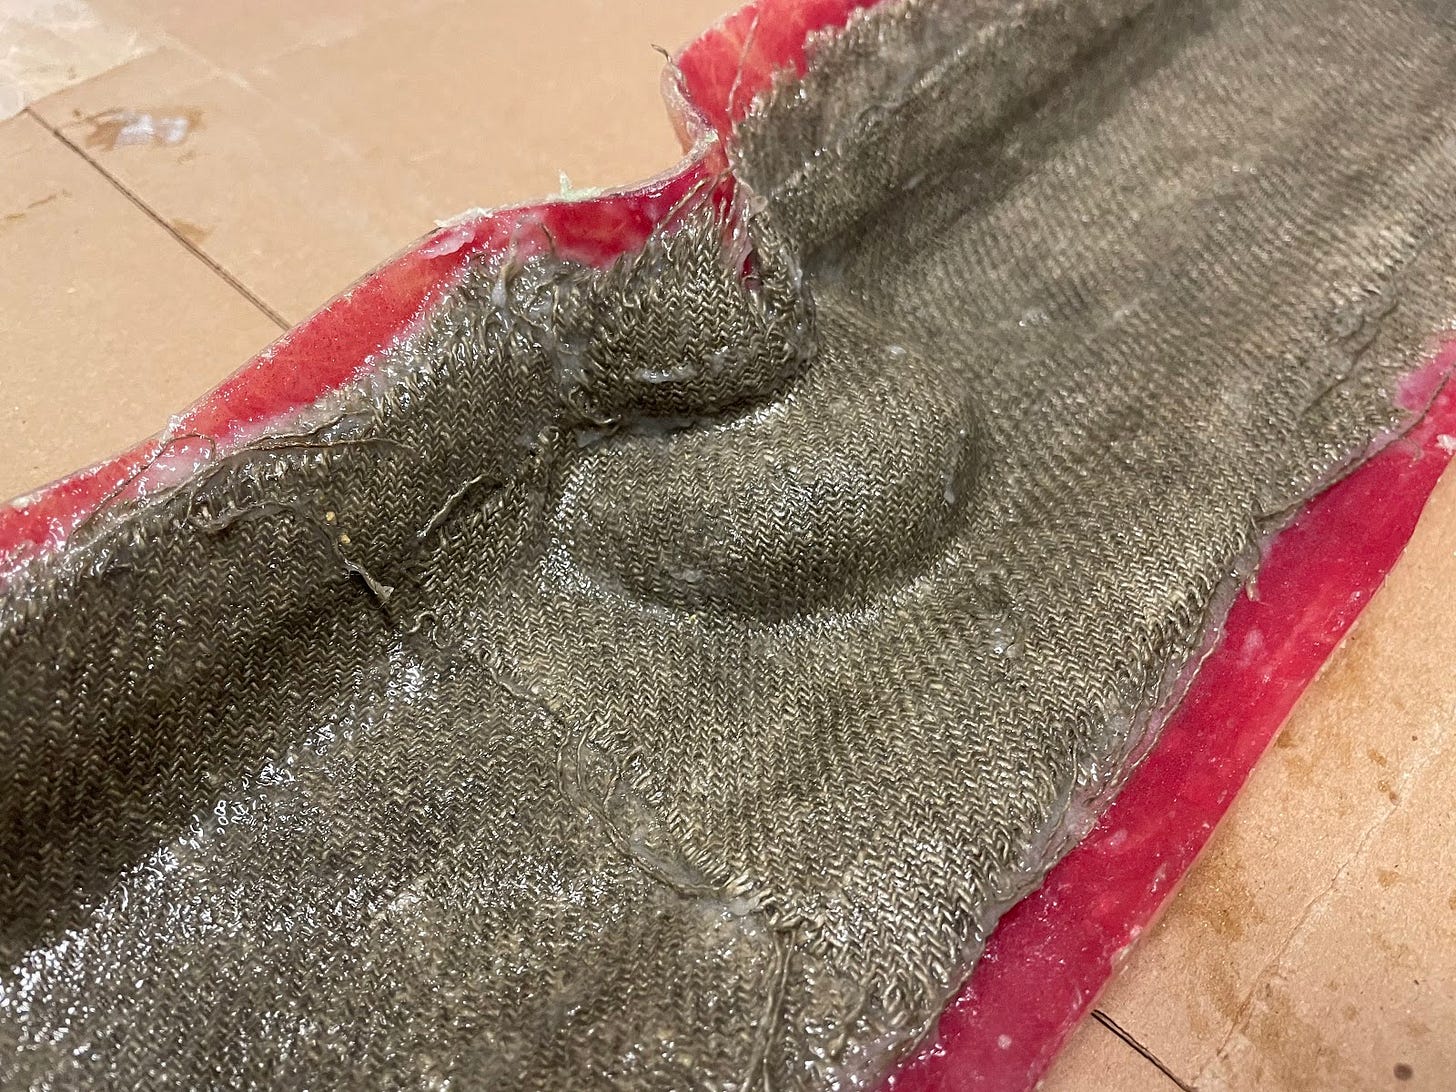
At the end, you should get something like this.
The last remaining, open question is how environment-proof this recipe is. If that proves to be an issue, I plan to seal the part with something like a shellac resin. (Update: I did end up adding a bit of extra waterproofing, though it wasn’t shellac. You can read about it here.)
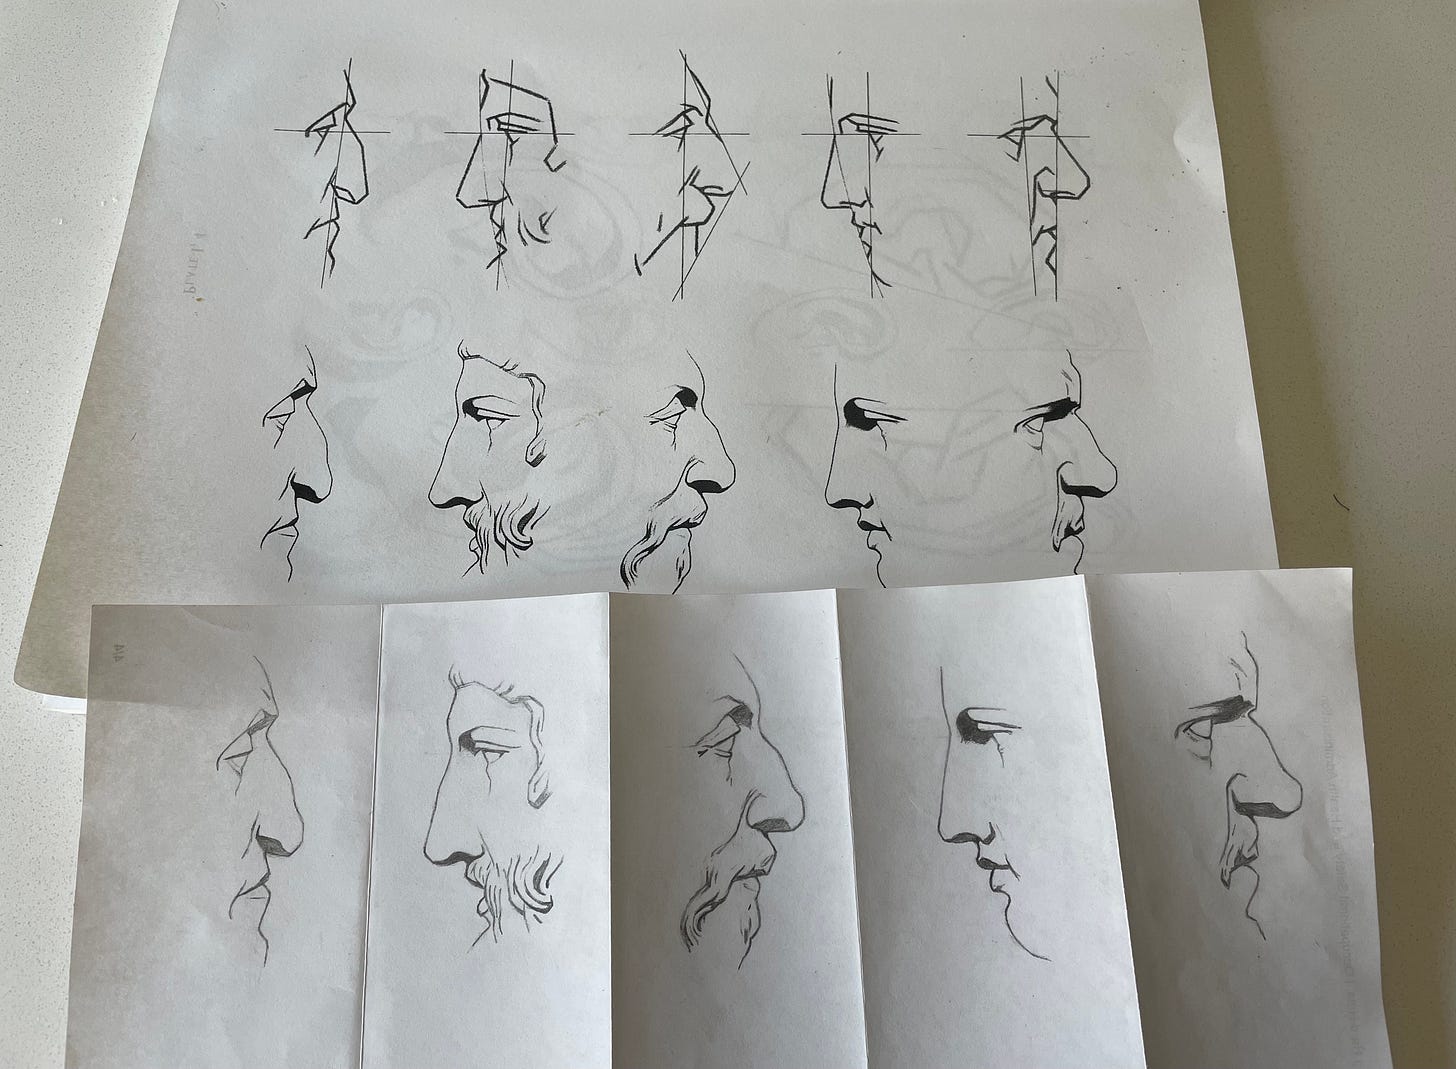
Drawing exercise #25. If you missed it, here’s why I’m learning to draw.
Done with the third plate.






This is fantastic. I want to make a violin with natural material composites. I was thinking about Amplitex linen fabric and want an epoxy replacement. I might try this according to your recipe. I also am experimenting with sizing a real wood violin with potassium caseinate before varnishing because there is evidence the old master builders did something similar. I need a process to make potassium caseinate however which is how I found your blog. Is potassium caseinate simply casein reacted with potassium hydroxide? I see you use pickling lime - calcium hydroxide - and wipinder now if I need that too to make potassium caseinate. Do you know?
Reading an engineering blog measuring density in "ounces per square yard" has to make you smile :).
Great post, and great information, thanks for writing!