An Engineering Self-Study is supported by readers like you. Thank you for reading, sharing, and subscribing.
This past week was a good one for me. With the end of the year coming up quickly, I wanted nothing more than to finish off this natural composite project and start the new year with a clean slate.
In the last project update, I gave a step by step breakdown of how I built my panel from linen and milk glue. There were just a few things left before I could finally reinstall the panel -- which I learned is called a cowl scoop -- back on my Saab.
The first was to trim the scoop to size. And here was a little bit of a surprise. The milk glue was actually harder than any epoxy I’ve cut through. Every bit I tried in my knock-off Dremel started smoking except for one. And that one -- a cutoff disk -- shattered and sent a shard flying right into my safety goggles.
Have I mentioned that I don’t really like power tools? Maybe I’m soft, but I like working with things that are quiet and don’t want to claim an eyeball or finger as a trophy. (This is all probably repressed trauma from middle school when a chop saw yanked a piece of wood from my limp-wristed grip.) Maybe I’ll come up with a way to trim these composites with a pair of scissors, but I wasn’t in the mood for experimentation. So I went with an old, reliable acquaintance, this carbide-coated Dremel wheel. Even this cutter got a little singed, but I made it through without setting off any smoke alarms.
With the trimming done, the second task was checking the water-resistance of the composite.
How do you know if something is water-resistant enough? I have no clue. My highly sophisticated approach involved placing a drop of water on a composite and seeing what happened. I observed that the composite seemed to resist valiantly for a few minutes before absorbing the water and softening. I thought the scoop could probably survive our infrequent California rains as long as there was no standing water, but I wasn’t feeling particularly bold. This was a first-born and would get the full elbow-and-knee-pad treatment. The next parts I pop out won’t be nearly as coddled.
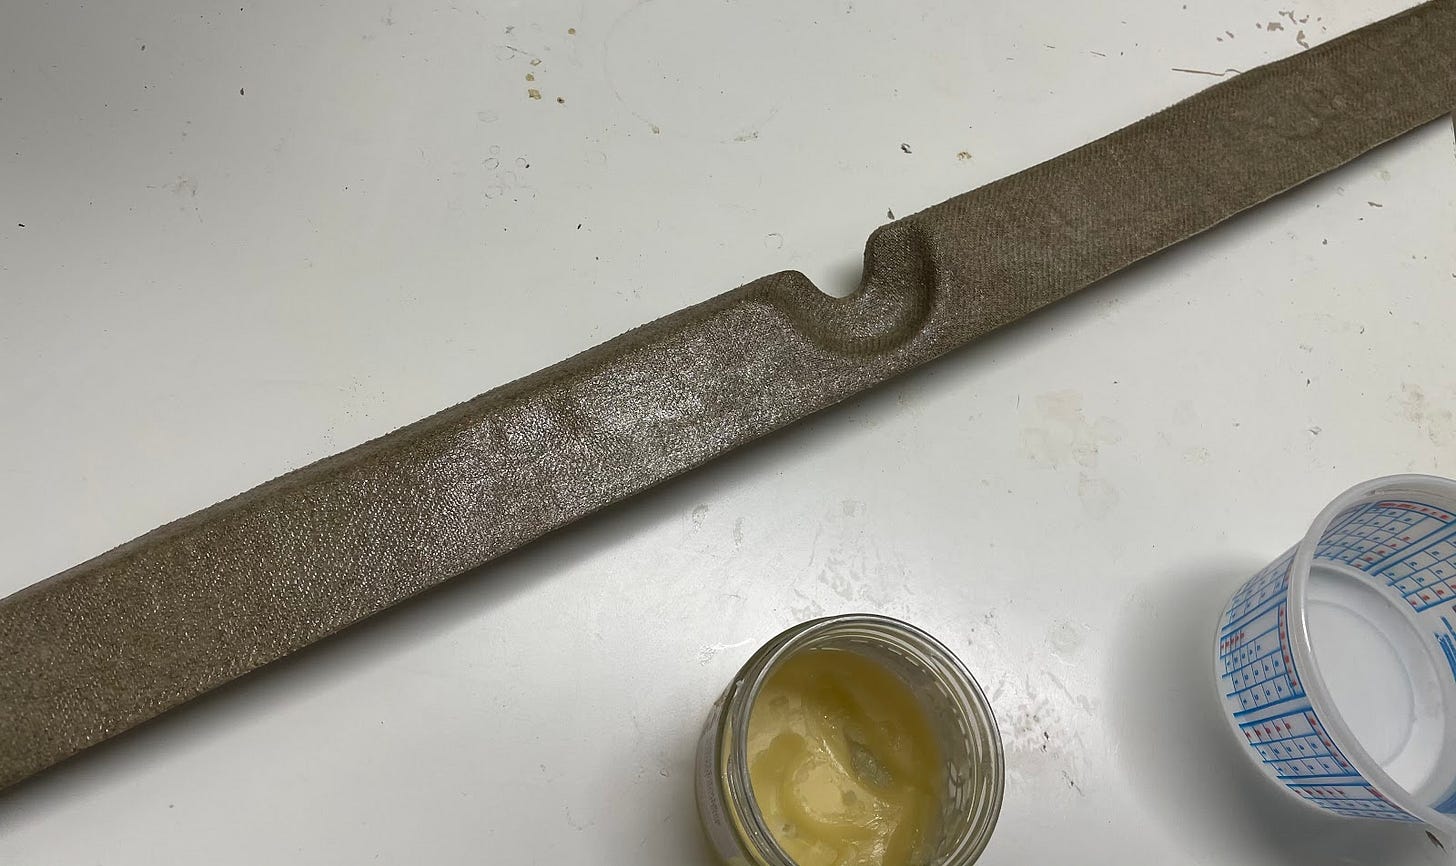
Since this was a natural composite, it was only natural that the water-proofing finish that I chose should be natural as well. The only natural finish I’d heard of was shellac, a resin made from bug secretions, so I ordered a tin of that. Meanwhile, a reader, Xavier, sent me a wonderful link about natural finishes. I, like the author of the article, aspire to use “finishes that I can apply while buck naked.” Turns out the shellac I had bought didn’t live up to that. The bug secretions are natural enough, but not the stuff that’s used to thin those secretions out. My nose agreed. The shellac smelled bad. My milk glue smells bad too, but that’s more of a rounded, organic, bad smell. This was a sharp, acrid, bad smell.
I took inspiration from the article Xavier sent me and settled on a more pleasant beeswax/linseed oil mixture. I rubbed down my composite in that “linwax” (I used 4 parts linseed oil to 1 part beeswax). It definitely helped with the water-resistance, but didn’t feel great. I don’t know if I applied too much or if wood absorbs the finish more readily, but my linwax sat on top of the part and, any time I handled it, I got greasy fingers. But as you can sense by now, my urge to finish was much higher than my desire to come up with a perfect solution. I’ll revisit when I get to parts that I actually touch more, but for a cowl scoop, this was good enough. (Update: it turns out that I just needed to wait for it to dry a bit. After a few days, it’s much less sticky to touch. Still not perfect, but I think a little bit of tweaking will give me something good.)
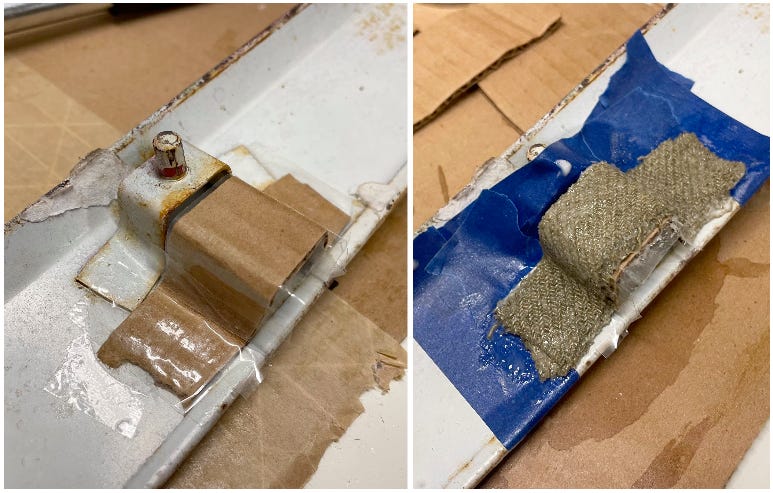
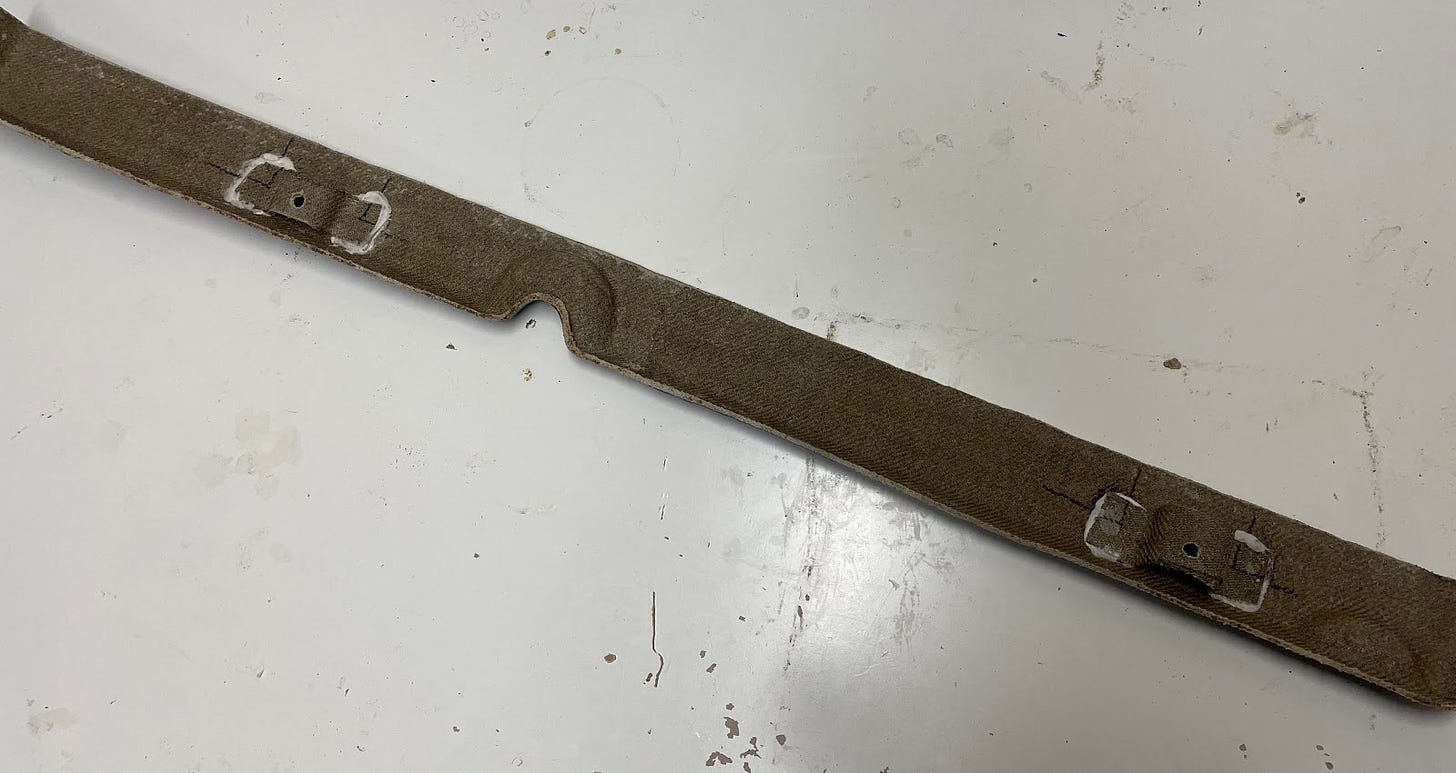
I now had a trimmed and water-resistant part. The third and final task was installing the panel on the car. I made two brackets using the same linen and milk glue combination as the panel itself. The mold was simple but effective -- two pieces of cardboard taped to the original brackets to give them shape.
That picture sums up what I love about composites. Nothing special is required. In fact, throughout this whole build, the only special tools I’ve used are the knock-off Dremel for trimming and the vacuum bag for vacuum bagging. That’s it! I always wonder why composites aren’t more popular amongst hobbyists.
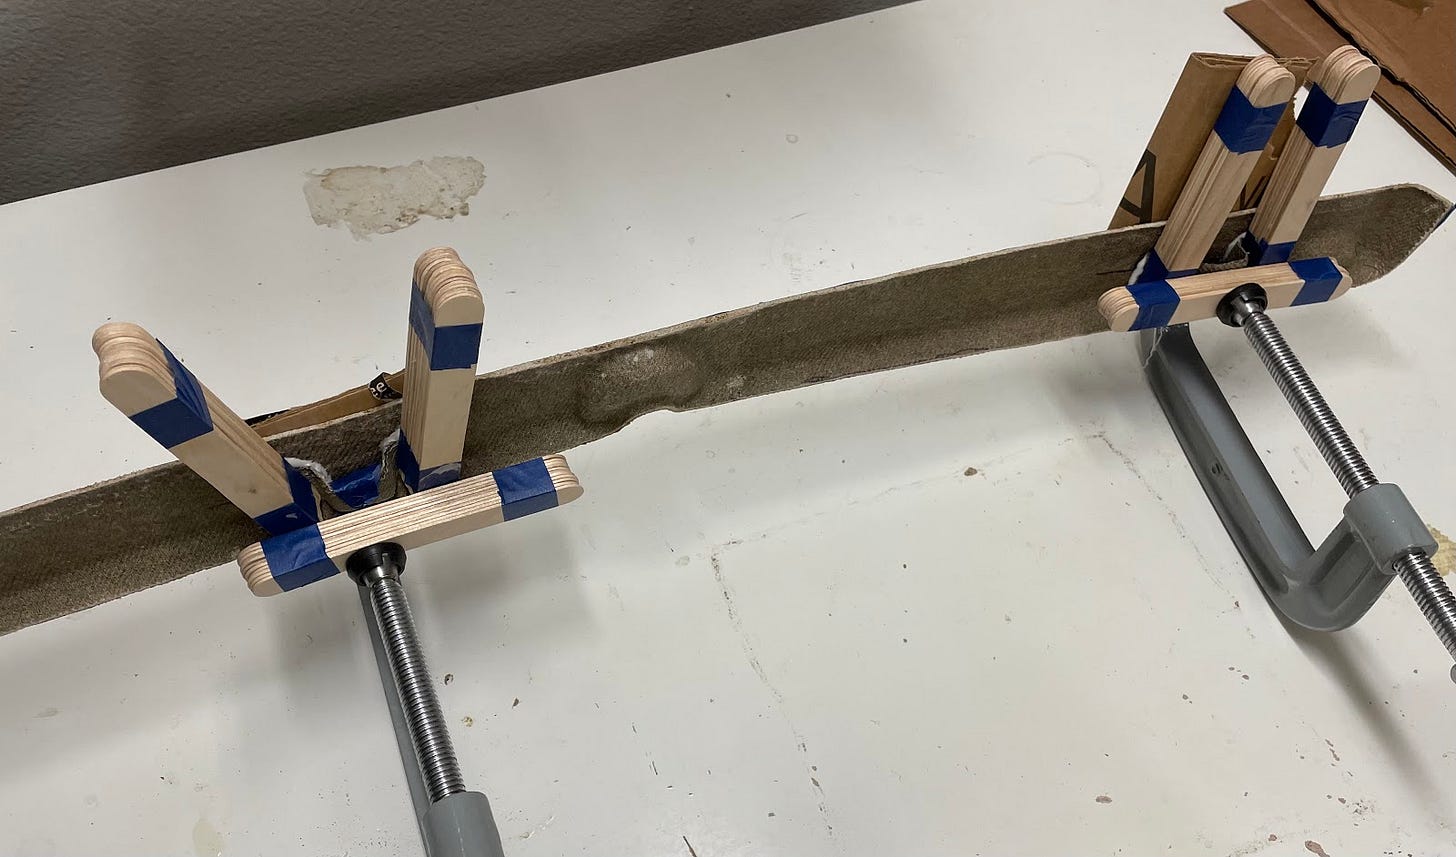
But anyways, once those brackets cured, I glued them on to my panel using -- and I’m sure this will shock you -- milk glue. I used slightly less water than my composite version, but otherwise, the glue was identical.
And just like that, I had a panel with brackets. It’s not super pretty but it’s the bottom of the part. Nobody will ever see it unless I’m dumb enough to post a picture of it.
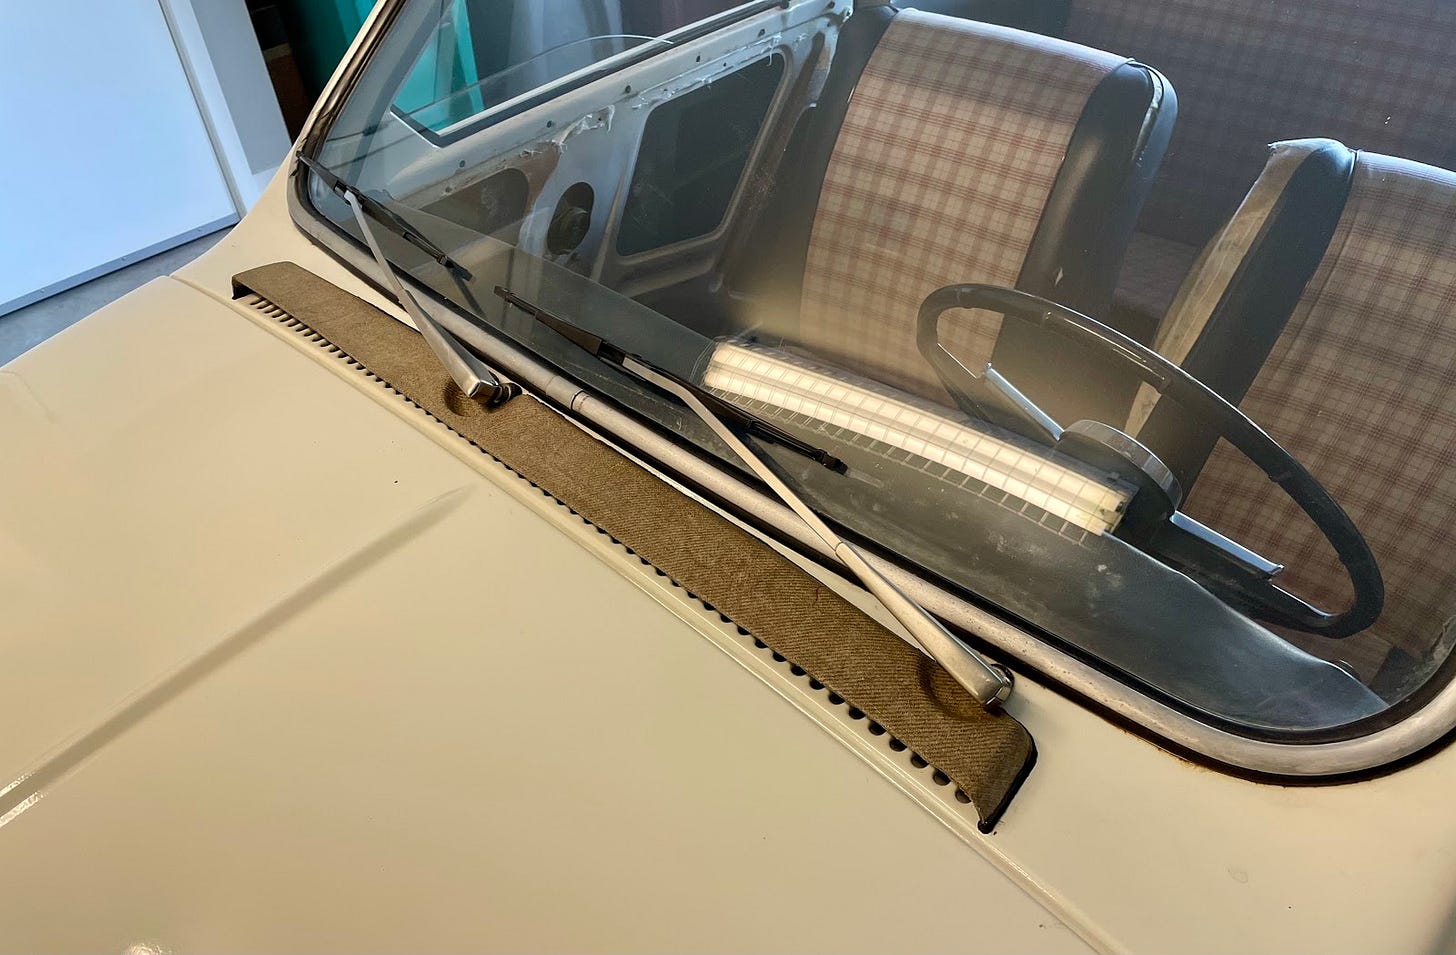
I bolted the scoop down and ran some black silicone sealant around the outside.
And hey presto! A build and installation a few months and a handful of prototypes in the making -- all to replace a part that was perfectly fine in the first place. It feels great to be done. My brother and I took the car out for a spin and I’m pleased to announce that the scoop did not fly off despite being a featherweight. (The original scoop was 1.05 lbs, this new version is 0.23 lbs.)
I know there are still things to improve, but I needed to see that scoop back on the car. New project ideas have been knocking louder and louder at the door that separates the back of my mind from the front. It will be a pleasure to let them in and to finally share some of them with you. And even if I’ll be battling some of the same issues, at the very least, I’ll have a new shape to look at.
Happy holidays. I’ll talk to you next year.
Corrections? Questions? Comments? I’d love to have your input. Leave a comment, email me at surjan@substack.com, or find me on LinkedIn.
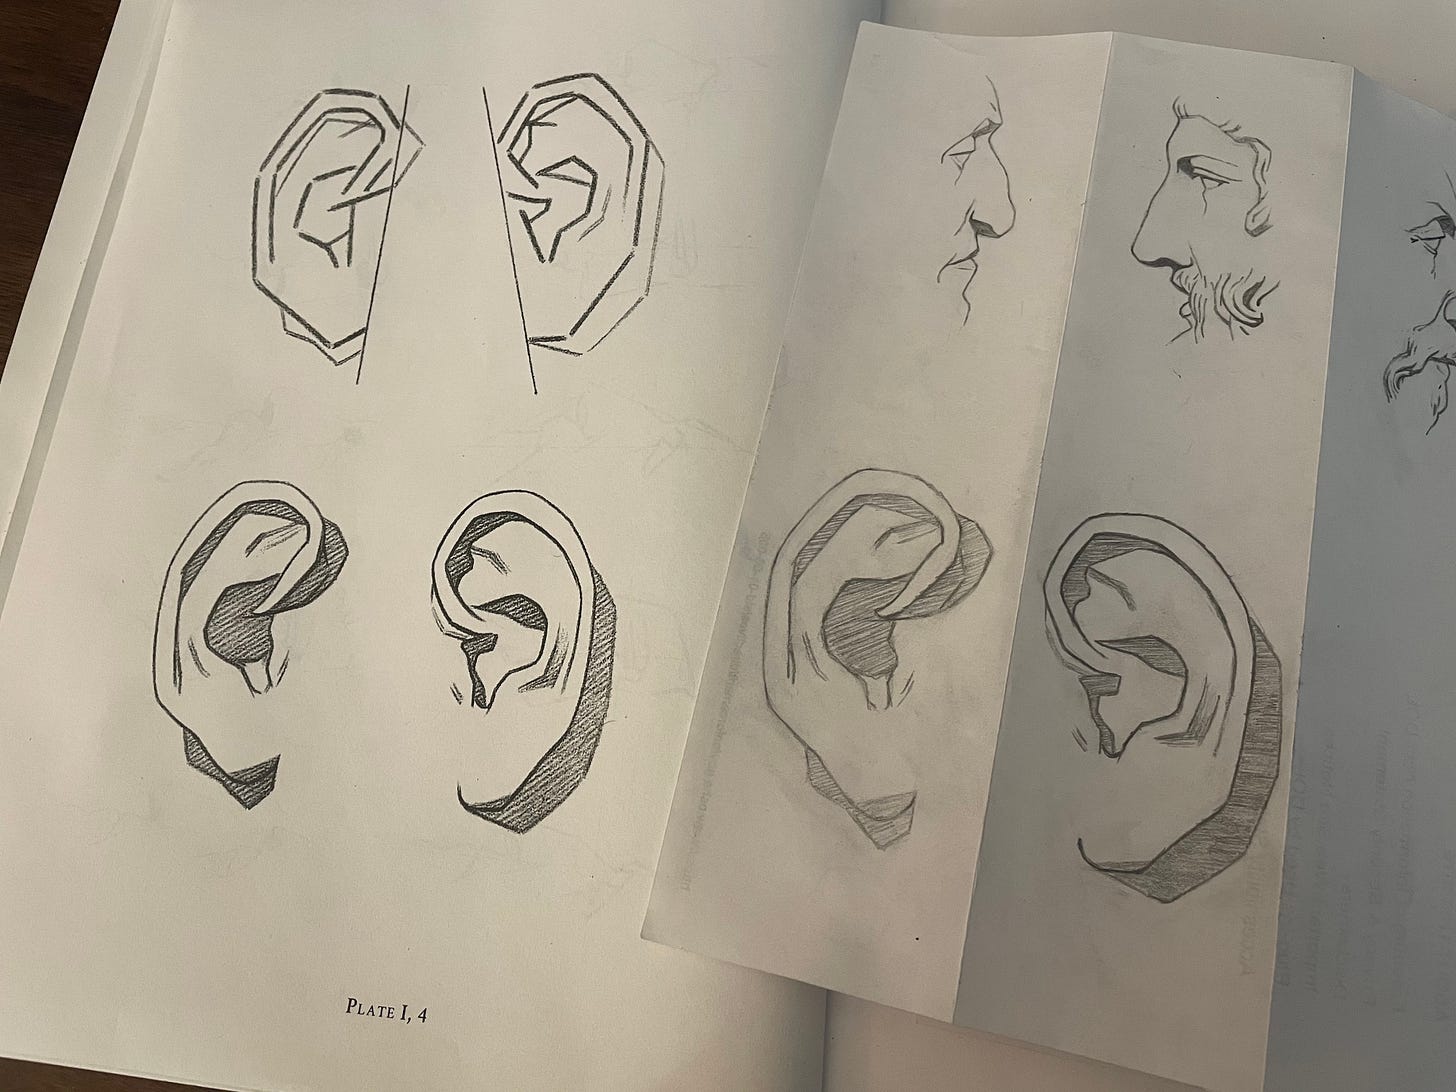
Drawing exercise #27. If you missed it, here’s why I’m learning to draw.
Done with the fourth plate.





Surjan, this is just such an impressive process you've gone through. Many thanks for documenting it; inspiring.