#41 - A Descent Into Mold-Induced Madness
Leaf-Inspired Trunk Pt. 3
An Engineering Self-Study is (morally) supported by readers like you. Thank you for reading, sharing, and subscribing.
Previous Parts in This Series: Part 1: Intro, Part 2: Mold Unknowns
This week, I entered the downhill section of my non-toxic mold project -- the build.
I expected to FLY, as my high school cross country coach used to say. FLY stood for Forward Leaning Youth and reminded the team to lean forward -- youthfully? -- during downhill stretches in races and let gravity pull us forward. (I suspect he might have come up with the acronym before the phrase.)
Those expectations faded quickly as I took the trunk off and removed the badges.
Underneath the badges were holes, which I hadn’t planned for. It wasn’t a big deal -- a solution came to mind pretty quickly -- but it shows why it’s worth trying to plan every step. Even a small oversight breaks momentum. It took me out of build mode and put me in “what do I do” mode.
I ended up filling the holes with plaster.
Next, I added flanges to the trunk. (The flanges, you might remember, give me room to make an oversized trunk and trim the excess off for a clean edge.) I didn’t have “How do I make flanges?” in my unknowns last week, because I was happy with the packing-tape-covered cardboard flanges from my last mold. I know it’s hard to believe, but I am trying to get to a point where I don’t have to reinvent every step of every manufacturing process every time I make something. When I get to that point, I’m sure I’ll be completely satisfied and everything I build will fall into place exactly as I imagine it.

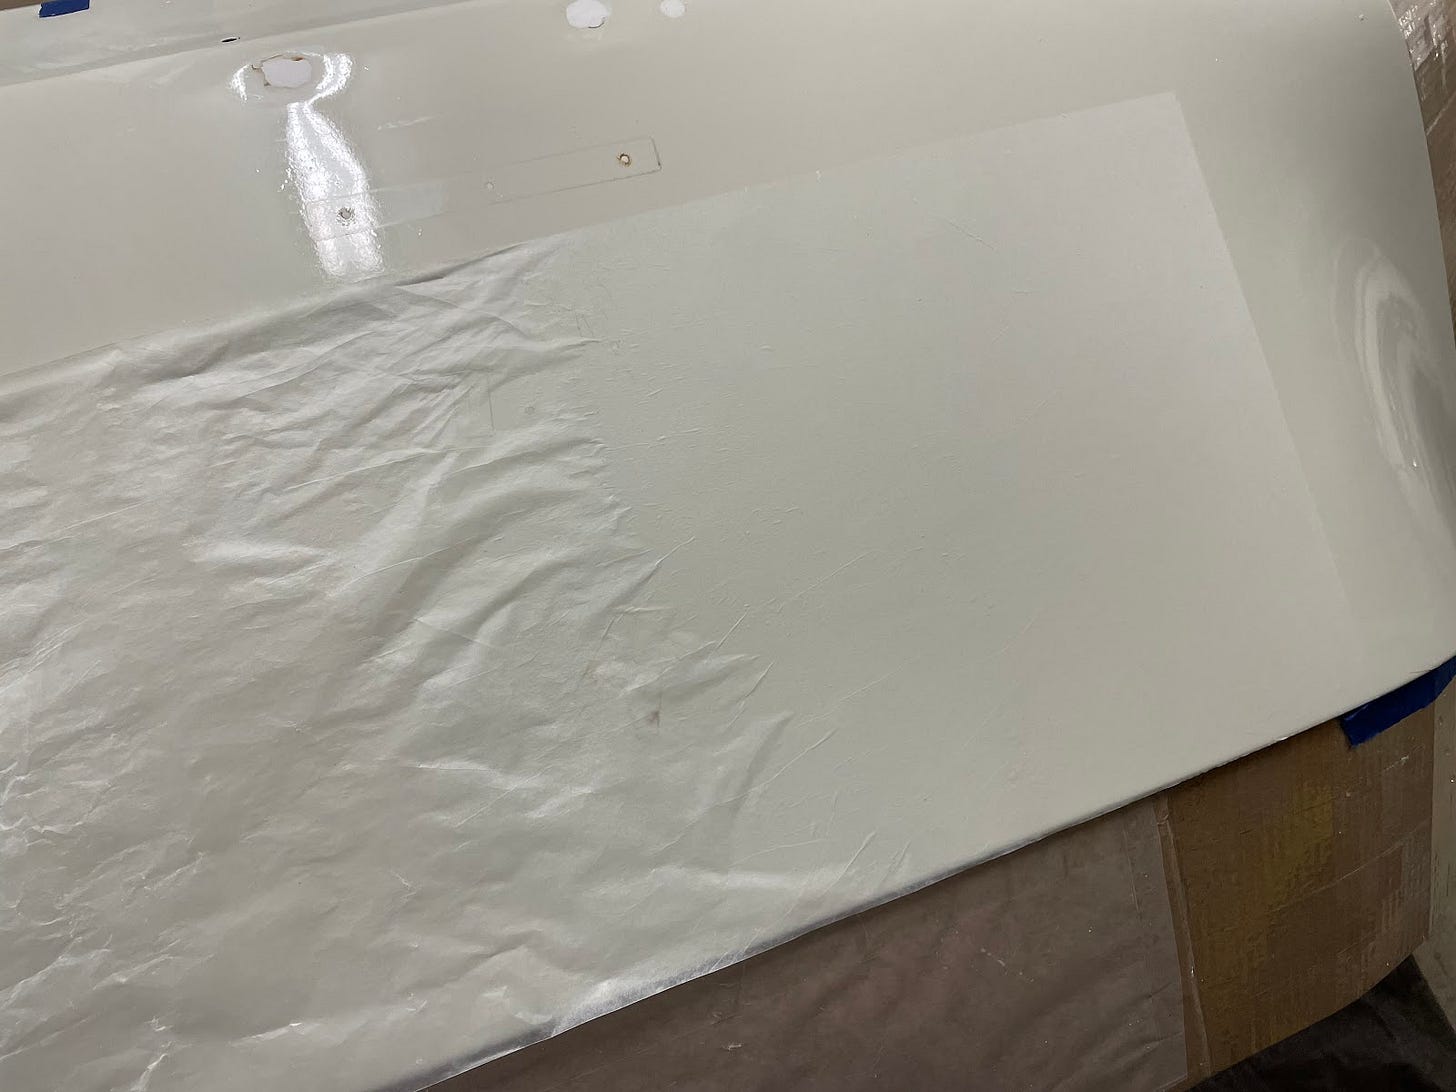
The next step was to protect/release the trunk, so that the mold wouldn’t get stuck to it. I began glueing down wax paper as I had planned.
Apparently, when you’re trying to cover a whole trunk and not just a little funnel for a test, wax paper is really annoying. It didn’t conform to the complex curvature and wanted to wrinkle and pucker unless I babysat each section I laid down. On top of that, if I overworked it, the paper would rip. I tried a few times, but my patience ran out.
Once again, I was in “what do I do” mode. Of course, I didn’t pause, take a step back, and try to methodically work my way through my options. I was on the downhill remember? I was FLYing. There was no way I was going to let a little setback, like having to reevaluate my plan, get in my way.
Instead, I had an internal debate. Half of me argued for laziness, “Plaster probably won’t stick to the trunk anyways. Or if you’re really worried, just slap some oil on it.” The other half urged caution, “Remember what happened last time. You stripped all the paint off! Take a second and think of another physical barrier.” They went back and forth, but their arguments soon devolved into angry shouting about unity and peace.
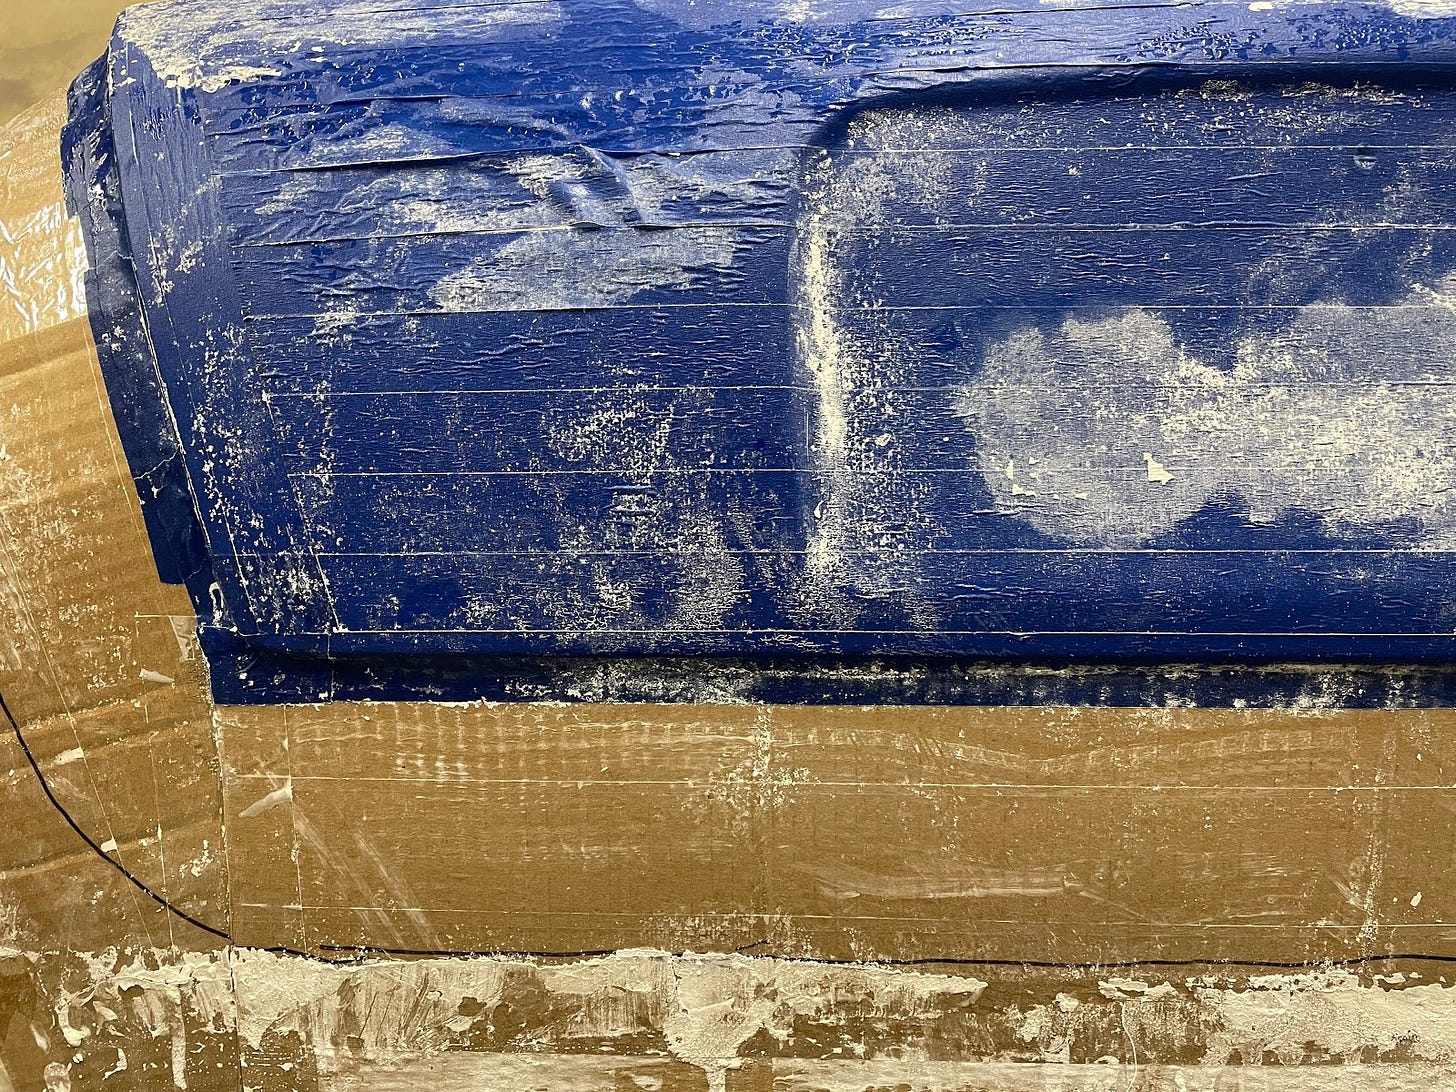
In the end, I went with the cautious half. But what to use instead of wax paper? Luckily, just that morning, my first thought after waking up was about painter’s tape. Maybe it was the only thing I remembered from a boring dream, but the thought was: if paint doesn’t go through painter’s tape, surely plaster wouldn’t either. Brilliant, I know.
After a quick test confirmed my genius, I taped the whole trunk, wishing my roll was wider.
I also taped down to my cardboard flange to create a smooth transition.
I felt pretty good that my trunk was going to escape with all of its paint. It wasn’t until later, after I had finished laying the plaster over top, that I stopped to think about the slipperiness of the tape. The plaster definitely wouldn’t get stuck to the trunk surface, but would it get stuck to the tape itself? There was nothing I could do at that point, except wait and find out.
Back to the action.
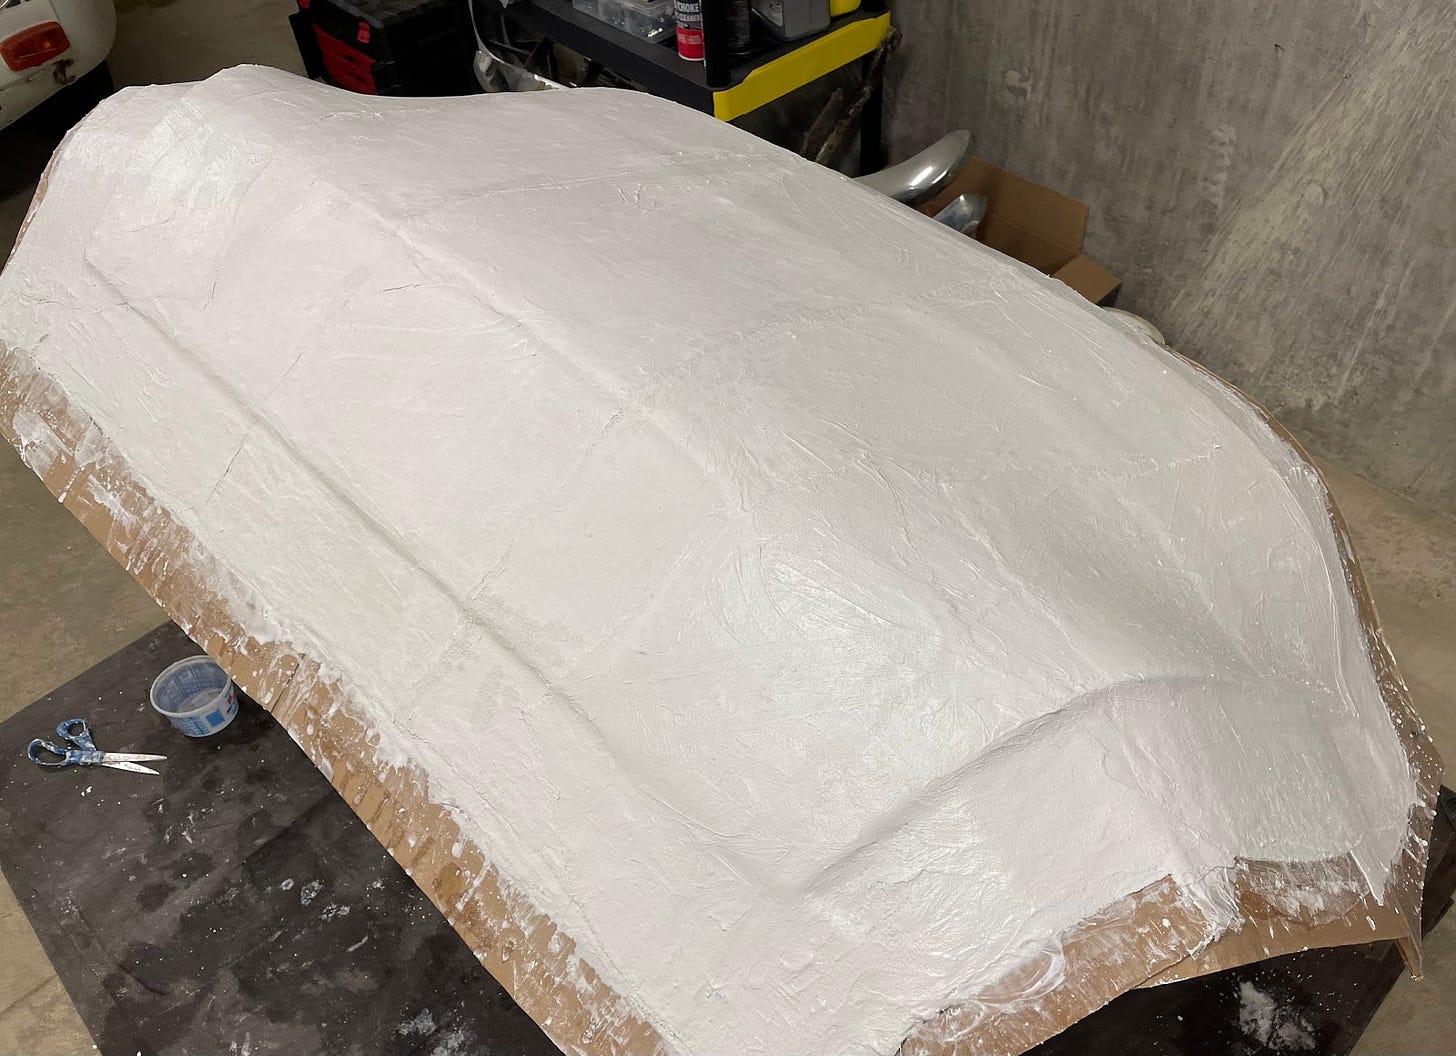
The trunk was taped up and ready for the mold, so I started wetting the plaster and laying it over the top.
Working with plaster was really fun. I don’t know why I’m drawn to messy materials, but plaster definitely qualifies. Maybe there’s something about having dirty hands that makes the work feel more real. I did feel a bit off that day though. I’m not sure if it was plaster fumes or the mole sauce I had the night before.
In any case, I laid down three layers of plaster cloth. Why three? Two was obviously too few and I ran out of plaster cloth for a fourth.
I checked the mold after an hour and ... the plaster felt soft.
Noooooooooooooooo.
How could this be? Plaster was supposed to dry in half an hour. Maybe it just needs to sit overnight, I thought.
I checked the mold the next morning and … the plaster still felt soft.
Fuuuuuuuuuuudgemuffin.
How could this be?! I stared at it for a while and willed it to get harder, but no matter how much I checked, the plaster was still soft.
What happened? The plaster I’d tested on my funnel had set hard, right? I went to the trashcan and fished around until I found my samples.
Soft.
What? Now I began to question my sanity. Had I just imagined stiff plaster? Was I the part of some grand conspiracy? Maybe this was all a big mole-fueled hallucination.
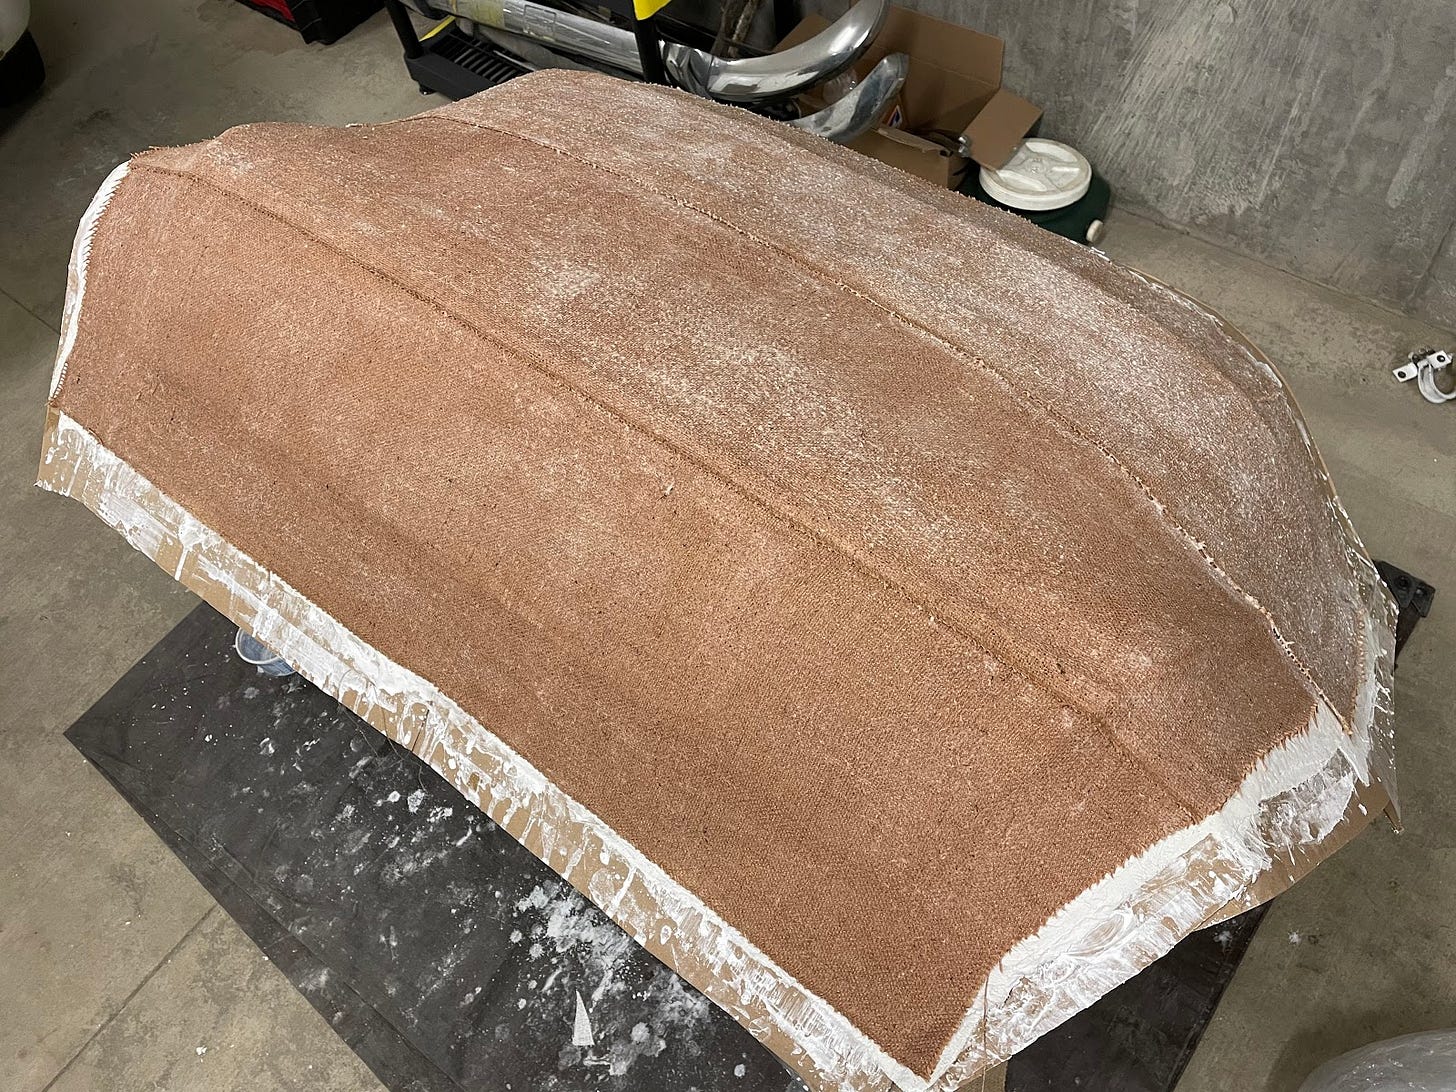
I got a hold of myself. This was no time to figure out what had happened. I was on the downhill remember? I was FLYing. I could fix this. I looked around the garage and found a roll of burlap from a previous experiment. I slapped that on the back of the mold with casein glue.
Another day went by as I waited for the burlap bandaid to dry. I even moved the trunk out into the sun to give it a fighting chance. But as I periodically poked at the plaster underneath, I gradually began to accept that this mold was a lost cause.
So I brought the mold inside and took it off the trunk. After going around and prying up the flange with my hands, I was able to lift the mold off pretty easily. Thankfully, it hadn’t grabbed on to the tape.
I was cheered by what I saw. The inside of the mold looked smooth and captured every detail. There was still hope for this idea. Of course, this one in particular was a floppy failure. Before trying again, I’ll need to understand what went wrong. (If you’re familiar with plaster and have any insights, please let me know.)
After some initial searching, it seems like my plaster may have expired. I didn’t realize plaster could expire, but apparently it absorbs moisture from the atmosphere and is best within three months of opening. I’d first opened my plaster a year or two ago.
Maybe that’s all it was and I can do the same things with newer materials and have a functional mold. But I will take the opportunity to reset and see if I can improve a few things, like finding an easier alternative to painter’s tape.
There will be one change for sure. I won’t say anything that could be interpreted as “this will be easy” for fear of the plaster deciding it needs to humble me again.
I love when readers get in touch. Leave a comment, reply to this email, email me at surjan@fastmail.com, or find me on LinkedIn.
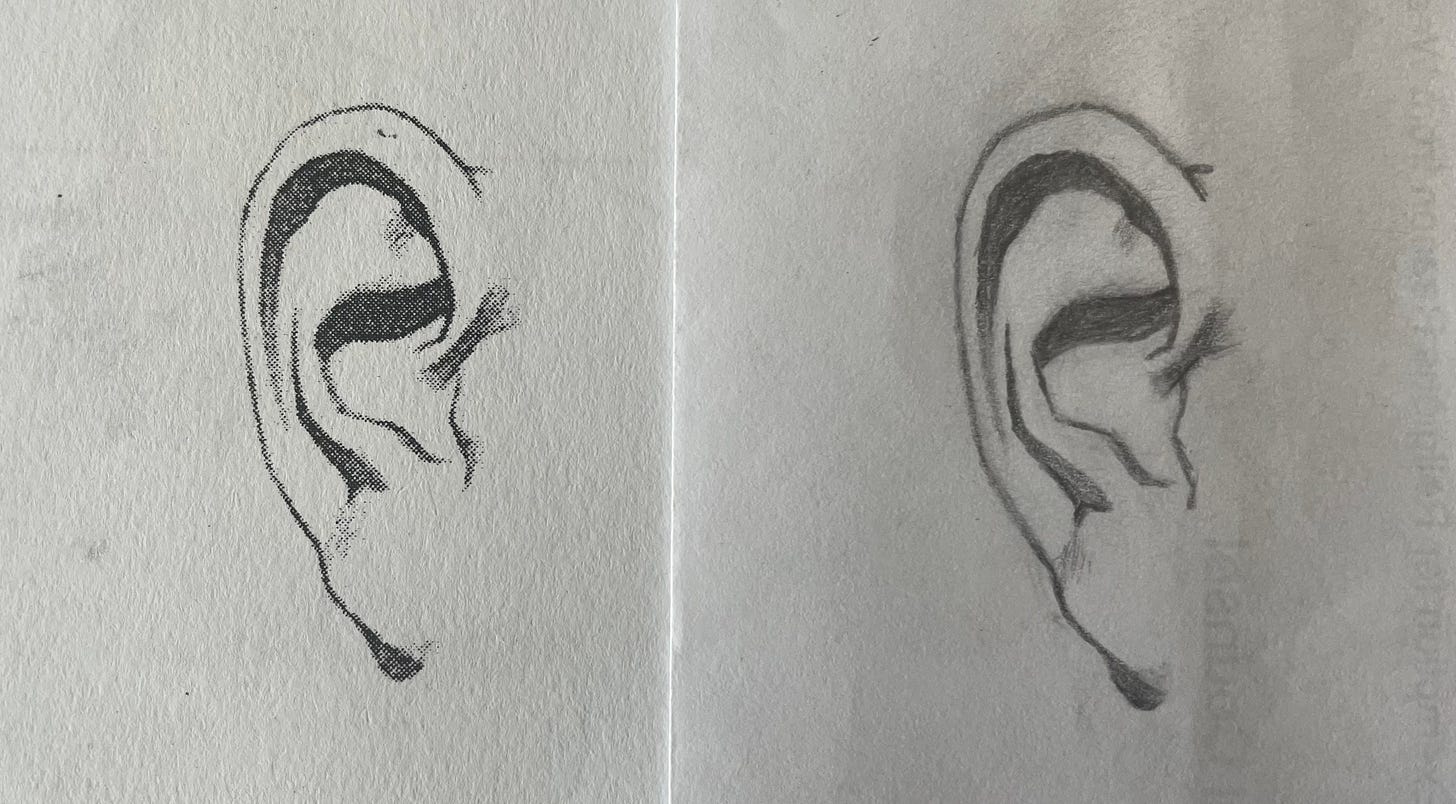
Drawing exercise #30. If you missed it, here’s why I’m learning to draw.






perhaps leaving the holes or not filling them completely would come in handy for leaving a mark to allow for the correct location of the holes to remount the badges.