#32 - One Small Step In Know-How, One Giant Leap In Confidence
Progress in Natural Glue Composites
An Engineering Self-Study is supported by readers like you. Thank you for reading, sharing, and subscribing.
The Mighty Ducks movies changed my life. By jurisdiction, I should’ve been an LA Kings fan, but the movies resonated so deeply that I became an Anaheim Ducks fan and got to watch one of the greats -- the Finnish Flash, Teemu Selanne.
He was entertaining on and off the ice. And the way he described goal-scoring has stuck with me:
You know how you can't get the ketchup out of the bottle and you keep beating on it and beating on it, and nothing comes out. Then, all of a sudden, here it comes — splat!
That's how it is with goal scorers. You have to be patient. As long as you keep getting your chances, you feel it's going to happen.
The ketchup bottle describes exactly how I’ve felt about my recent natural glue composite experiments. I’ve put in a consistent effort but haven’t had that splat of progress. Well, ladies and gentlemen, I am pleased to inform you -- there’s been a splat.
A Step Back
Let’s pick up at the end of the last post, where I was feeling a bit sorry for myself. I had learned a few more things about natural, milk-based glues for composites, but nothing that made me say “Yeah, this will work.” That’s been true of all of my natural glue builds. From your end, this is a story. From my end, this is real life. There’s no guarantee of a happy ending. I’ve kept moving forward mostly on the blind faith that something will work eventually.
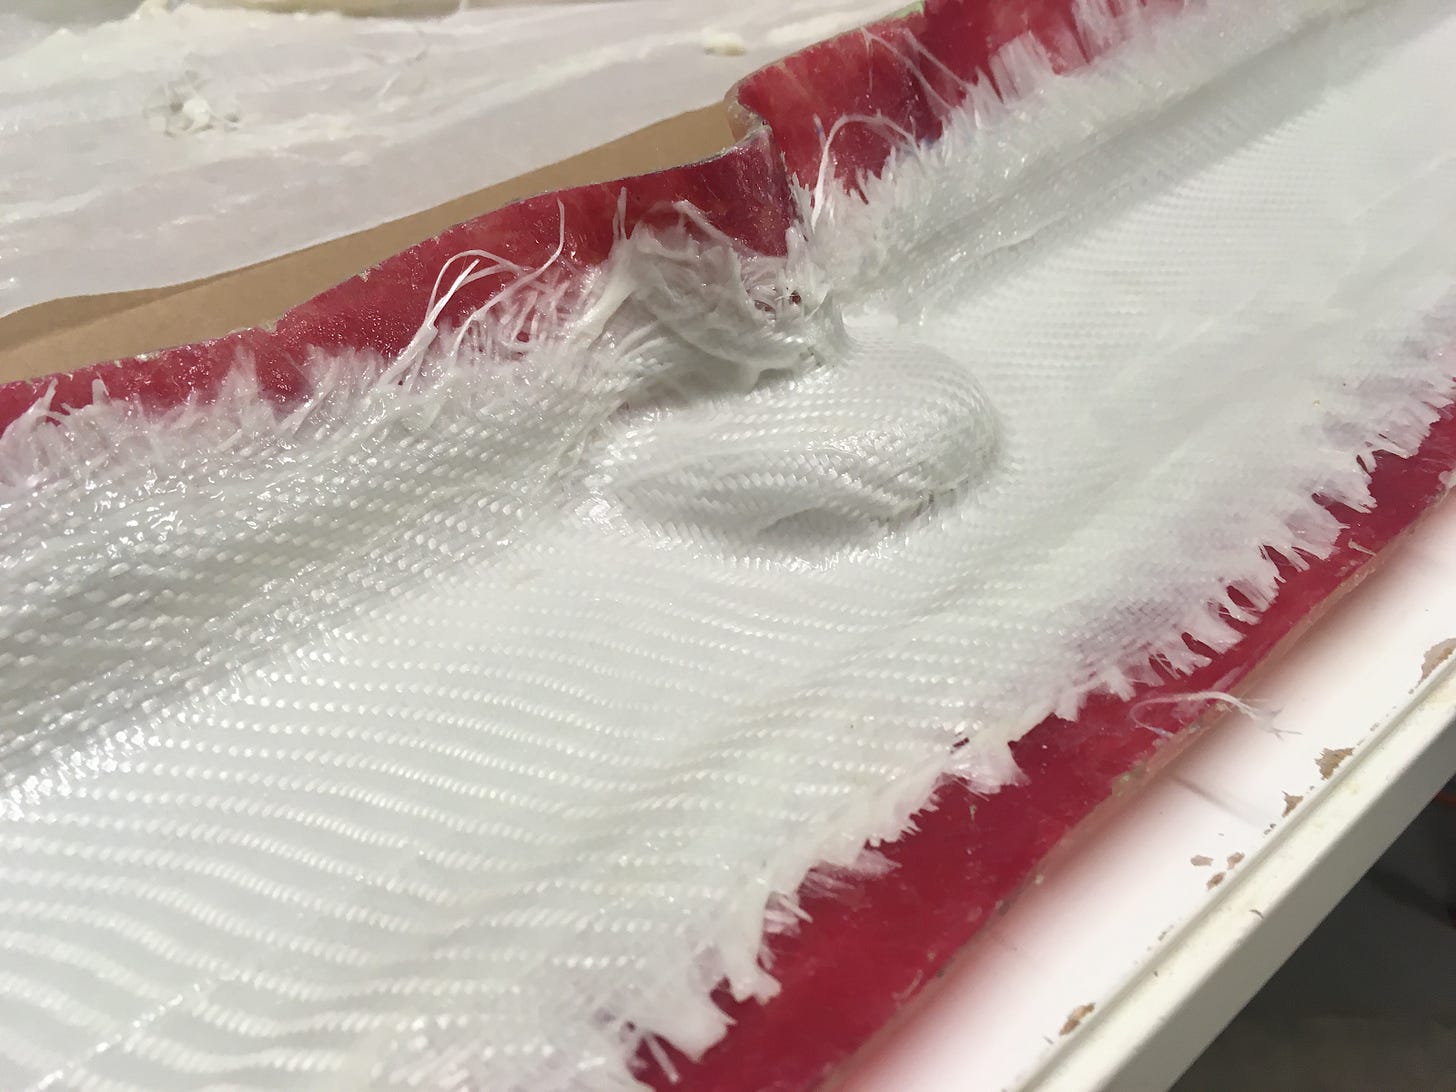
In that last post, I tried to do too much. I didn’t have a good method for making parts with casein glue and, on top of that, I added another unknown by using linen. This time, I took a step back and shelved the natural fibers to nail down the casein. I had three issues in that last part: the fabric lifting away from the mold, the glue not completely wetting out the fabric, and some mystery issue either in the linen or the linen/glue interface.
I put off the mystery linen-related issue for later and set out to solve the first two problems.
The Case of the Lifting Fabric
The first step of problem-solving is finding the problem. Why was the fabric lifting off the mold? As casein glue dries, water evaporates from it. (That’s not true of epoxy.) The glue contracts, and the fabric comes along for the ride -- curling or bridging depending on its preordained constraints. So how could I solve that? There wasn’t a different glue I could use; every natural glue dries in the same way. I could thicken the glue so there would be less water to evaporate and the glue would remain stable. But that would create bigger problems in wetting out the fabric.
The solution seemed to be a vacuum bag. A vacuum bag works by attaching an airtight bag to (or around) a mold and sucking the air out of it, applying an even pressure all over the part and compacting the fabric against the mold. For traditional composites, it’s used to get rid of air bubbles. For my casein composite, I hoped it would anchor the fabric as the glue cured.
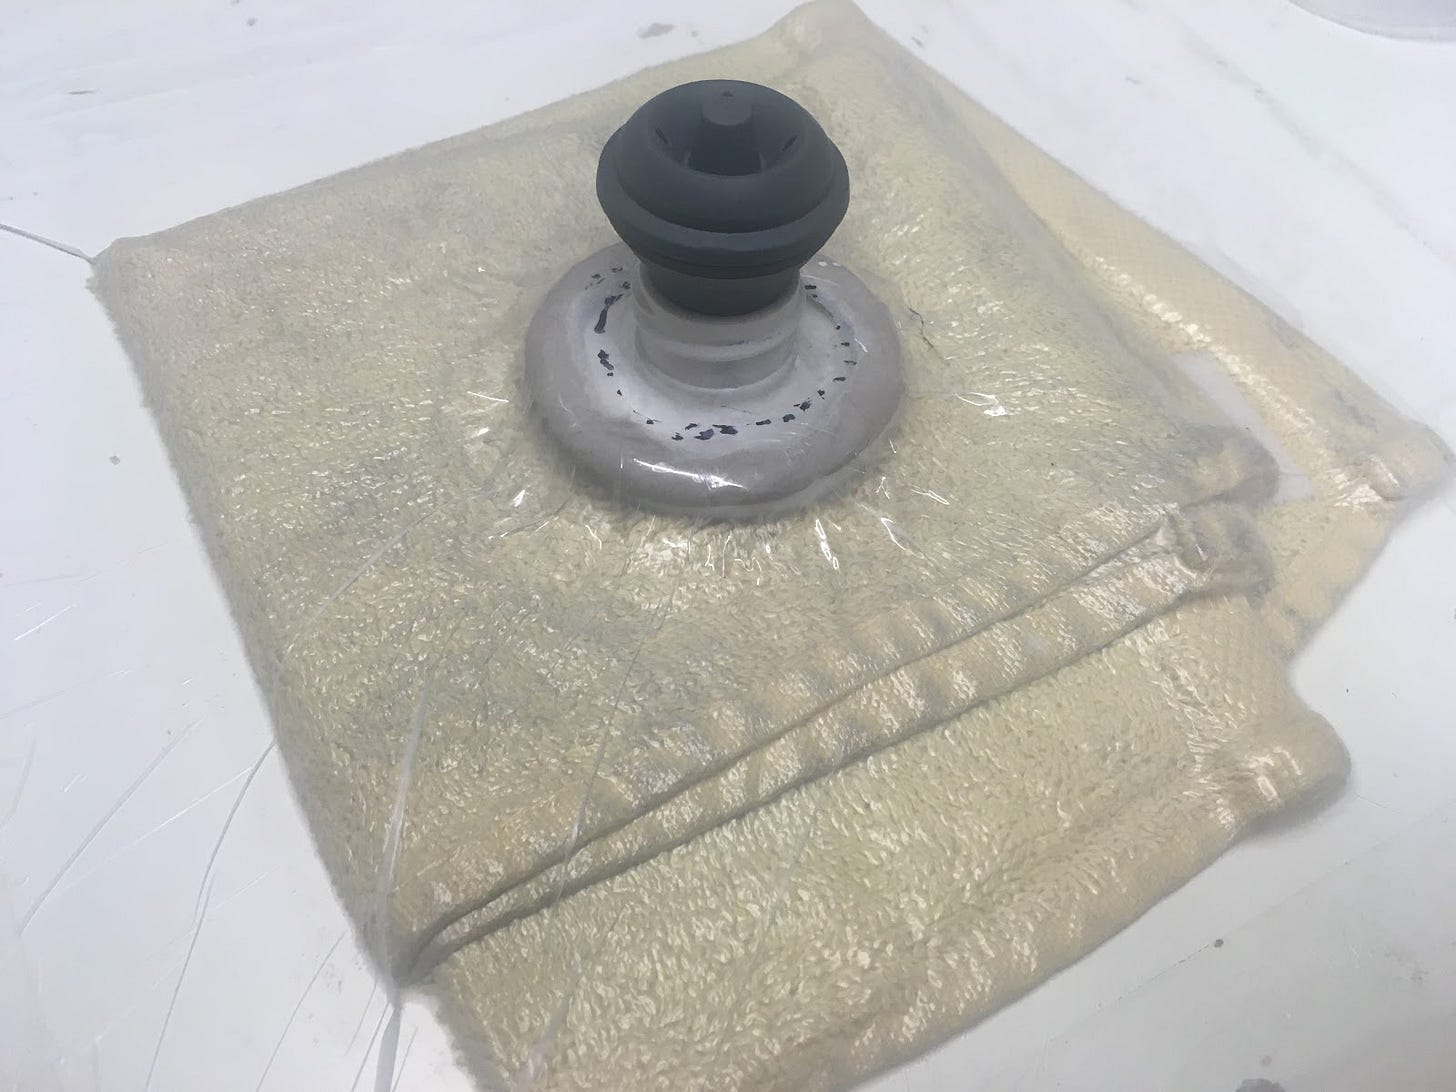
So how could I make a vacuum bag? I needed two things to start: a vacuum and a bag. The bag was easy -- I flattened a trash bag. The vacuum was a little trickier. I could buy a vacuum pump or I could make something like this bike pump conversion, but I wanted something convenient AND cheap. The author of the bike pump eHow mentioned a wine bottle vacuum. $12 on Amazon. Perfect. Two days later, the vacuum -- destined to breathe in heady aromas with floral notes and buttery bouquets -- was instead huffing fumes from a bastardized protein powder mix.
The pump worked well, but I struggled to make an air-tight connection between the vacuum-port/“cork” and the bag. I tried every combination and every permutation of tape, tops of bottles, caulking cord, and plastic I could think of, but air always found a way back in.
If sealing a table was this hard, a real part would be even harder. Though I’d invested a decent amount of time in the wine pump concept, it was time to move on to an entirely different one. Iterate big before iterating small.
The new idea actually came from my brother. (I only give him credit in the interest of roommate relations.) He suggested using a vacuum storage bag. For those unfamiliar, the slightly creepy image below should paint the picture.
The storage bag sounded better for a few reasons: 1. I wouldn’t have to seal each part individually, just toss it in the bag and close it up. 2. I could use a regular vacuum instead of pumping by hand or buying a special pump. 3. It would be reusable; sealing parts individually requires a lot of one-time-use materials.
I bought a bag meant to compact queen size mattresses for $30 off Amazon and tested it out on some scrap cloth, which squished down enough for my liking.
Vacuum Accessories
So that was the vacuum and bag part of the vacuum bag solved. But without anything else, the vacuum bag would just lay directly on the composite and get stuck. A barrier was needed. In my last post, I successfully used wax paper as a barrier between the part and the bags of lentils. Wax paper is also 10x cheaper than the over the counter solution, peel ply.
There is one problem with wax paper though. It doesn’t allow moisture through, so water would be trapped and the composite wouldn’t dry. I got around this by poking a bunch of holes in the wax paper.
But now, the water would escape through the wax paper only to be trapped in an airtight vacuum bag. I needed to add something into the bag that would absorb water. Cue another brief experiment. I tried a packet of silica gel and rice.
The rice was better.
Note: During this trial, if there was enough moisture in the bag, the glue would reabsorb some water and the composite would get floppy. This was predicted for my casein + lye mixture by that Forest Service document I got the idea from. So I switched to their recipe, which adds some hydrated lime and should be better against moisture.
The Case of the Dry Fabric
Theoretically, the vacuum storage bag and the rice would be enough to take care of the whole fabric-lifting-off-the-mold problem. But before I put them to the test, I had to think about my second issue: the glue not completely wetting out the fabric. For this, I could lean on my aerospace experience.
Most garage-based composites are made by laying dry fabric in a mold and then painting with glue. In aerospace, the glue is usually pre-impregnated in the fabric (pre-preg). But when it’s not, the fabric is combined with the glue outside the mold. The fabric and glue is sandwiched between two layers of plastic and the glue is squeegeed around. You get a much more even coating with just the right amount of glue. It’s a little difficult picture so you can check out the entertaining Mike Patey demonstrating the technique below. (Check out his channel if garage-built bush planes sound interesting to you.)
I was out of plastic wrap, but wax paper would do well enough.
The Trial
Finally, it was time to put everything together. Remember, I was back to using fiberglass to isolate the linen-related issues for later.
I started by wetting out the fabric with the squeegee sandwich method. Things were looking good for the first ply.
I did each ply separately to make sure of the glue coverage. As I moved on to the second and third plies, my glue was thickening in its cup, so I added a bit more water until the consistency felt right. The wax paper got a bit soggy, so I’ll probably switch to plastic in the future. But it got the job done.
I laid the plies into the mold.
Covered it with my hole-y wax paper.
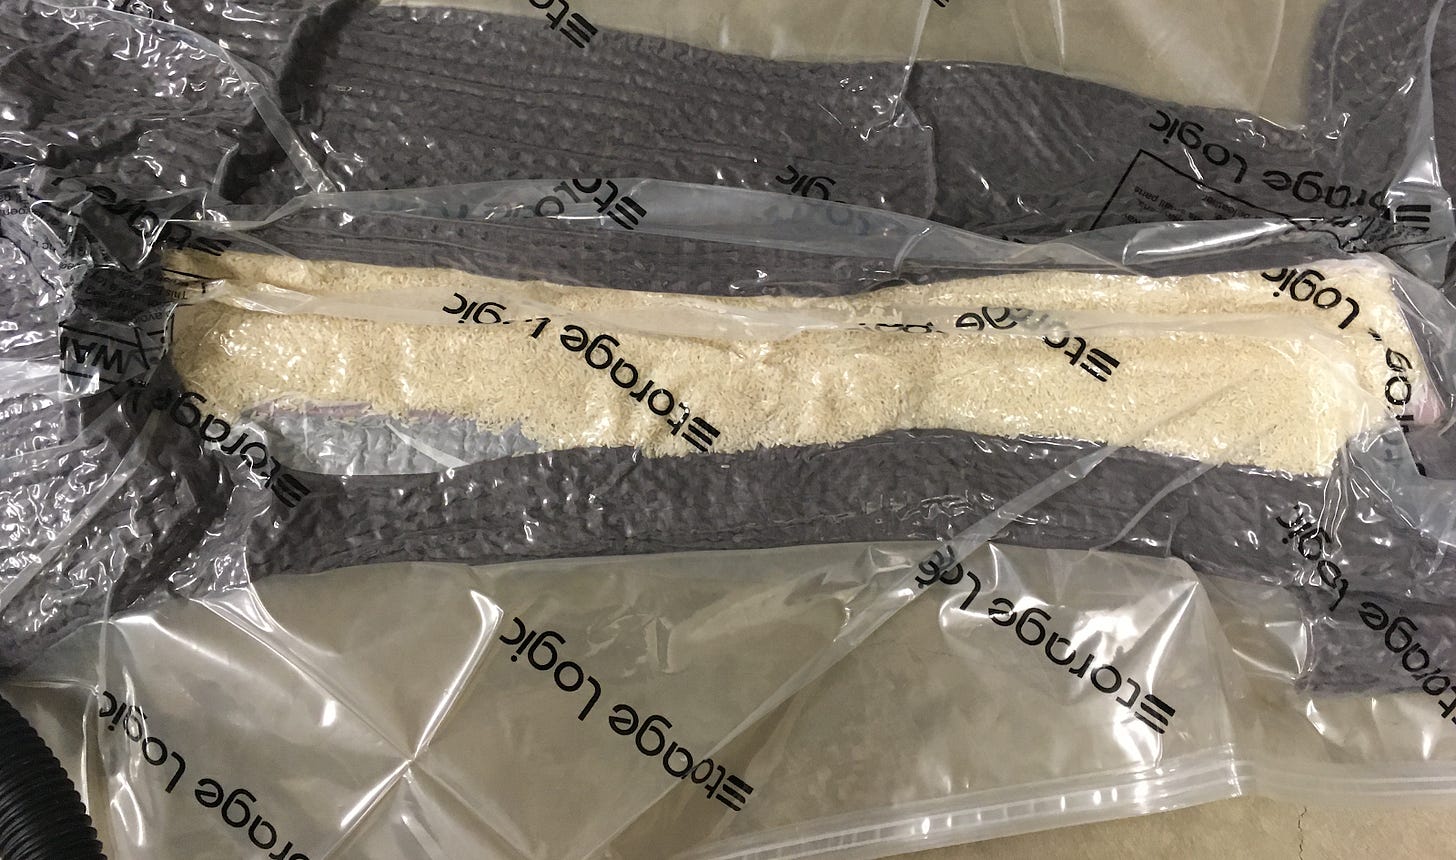
And finally, put it in my vacuum bag.
You see the rice on top of the part. (I switched to white rice, which is supposed to be more absorbent than brown rice.) The rice absorbed the water but also served as a “breather” to help the vacuum spread through the whole part. That blanket (or whatever it is) also functioned as a breather and covered the edges of the mold to avoid popping the bag. Everything is dual function.
The vacuum sucked down well, but when I checked in on it an hour later, the suckage had gotten a bit weaker. My stopgap fix was to reapply vacuum, but next time around, I might try to shore up the opening with caulking cord.
A day later, I opened the bag and pushed off the rice to reveal a still damp part. I left the part on the table and tried to decide what to do with it. Put it back in the bag? Heat it? Add more rice? But it was dinnertime and, well, I forgot the part overnight. All that work I put into the part and I just let it sit out. All the other parts I had left to dry in the open air had lifted away from the mold.
This one, thankfully, was different. I came back the next morning to a dry part that was still firmly clutching to the mold. The part had cured enough under vacuum to hold its position during the last of the cure.
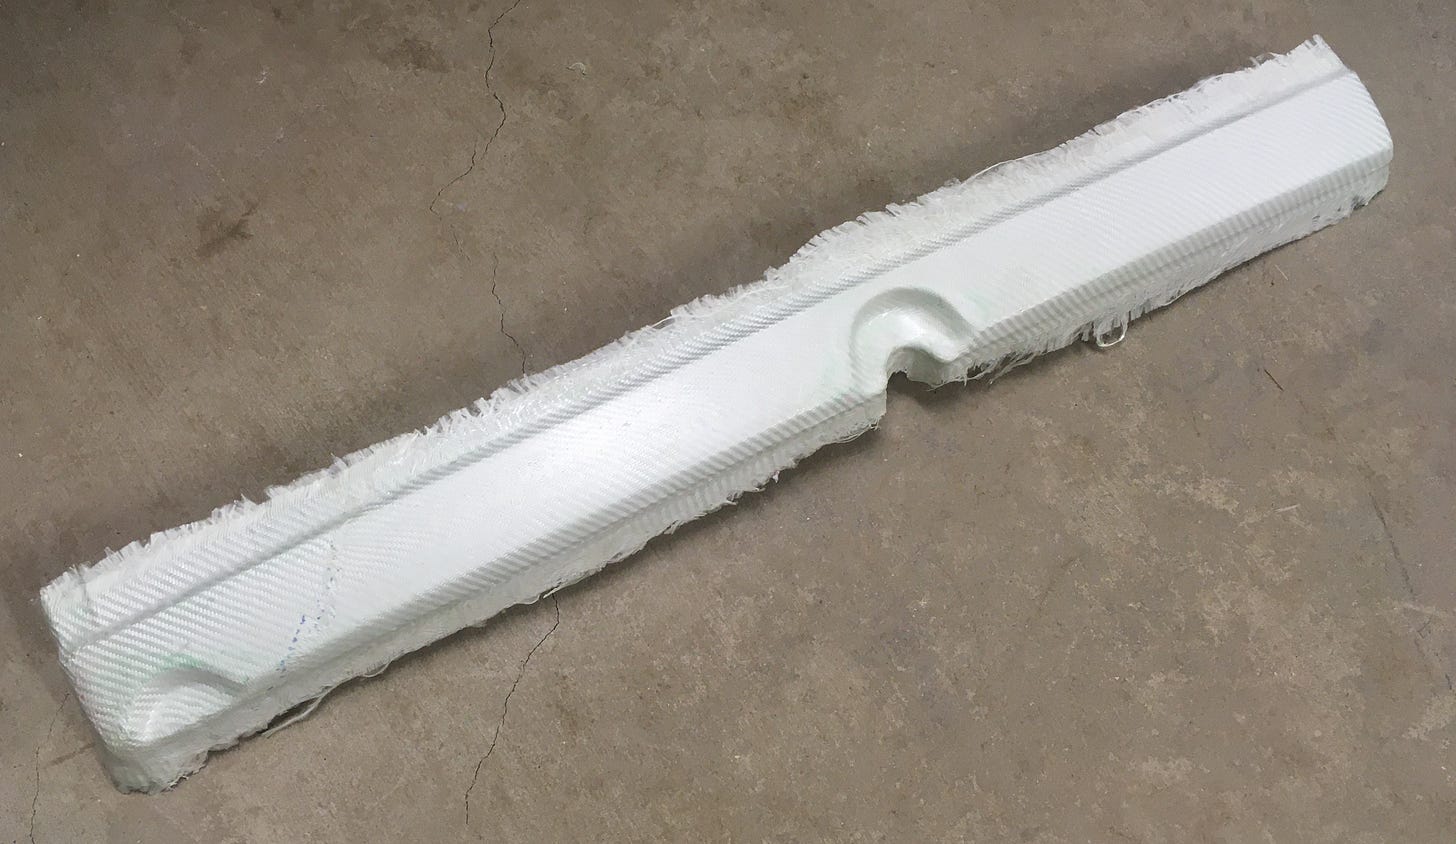
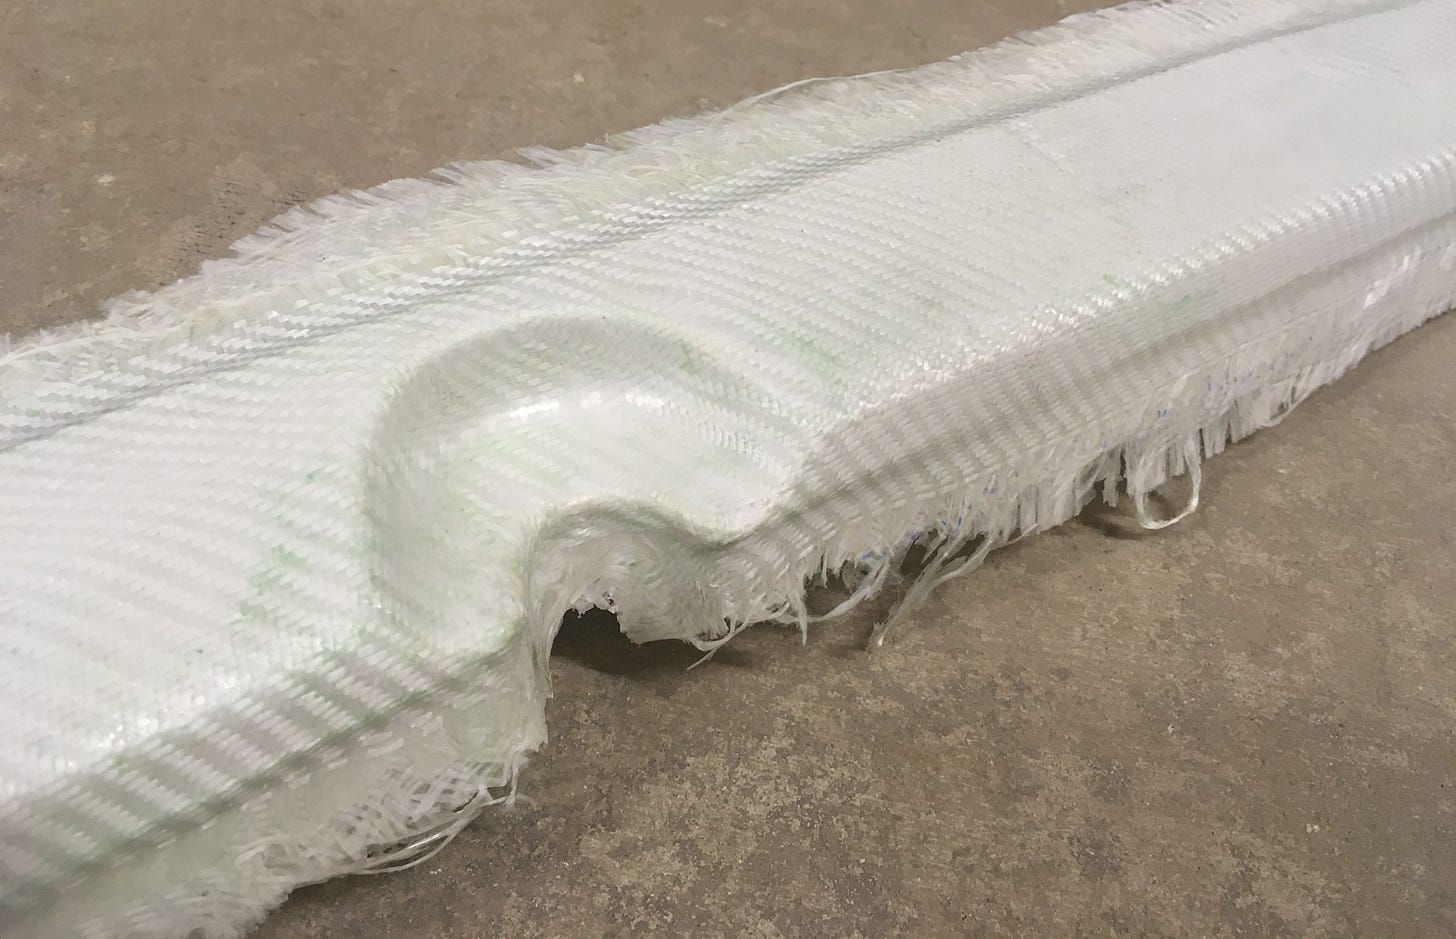
What popped out of the mold was unbelievably good. Look at it! That’s milk (and fiberglass)!
The pictures look good, but even they don’t do the part full justice. It feels as good as the fiberglass and epoxy part I built. It’s incredible. It’s sitting on the table next to me and I keep touching it and tapping it to reassure myself that it’s real.
I’m feeling a lot better about my chances of making a composite from natural materials. I’ll keep beating on the bottle, hopefully the ketchup keeps flowing.
Corrections? Questions? Comments? I’d love to have your input. Leave a comment, email me at surjan@substack.com, or find me on LinkedIn.
Drawing exercise #21. If you missed it, here’s why I’m learning to draw.


