#20 - Experiments in Homemade Composite Tooling
My Saab has a few issues, but the panel pictured below is not one of them. So why have I decided to make a version of the panel out of composites?
Well, my longer-term goal is to bring a few of my more oddball ideas for composite parts to life. Those ideas will probably involve some non-standard materials and techniques. But before I get to the non-standard stuff, I want to prove to myself that I can make standard parts decently well with my current constraints. My constraints include a pretty average workspace (a standard garage and some basic hand tools) and a limited budget. I don’t have a set budget, but any time I buy a new tool or material, it’ll put a dent in my savings. The faster I burn through my savings, the faster my self-study will end, the faster I’ll have to return to peonage/employment. Fairly good motivation to watch my budget.
This panel, then, is a good excuse to start exploring cheap ways to build composite parts.
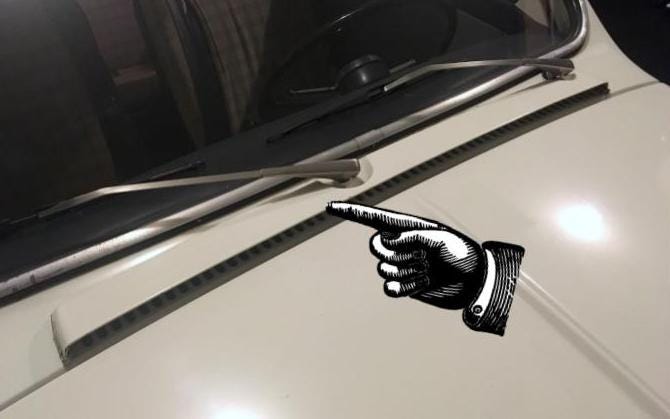
With the “why” sorted, let’s get to the “how”. How do you shape a (fiber-based) composite part? The two ingredients of a composite are a floppy fabric and a liquid glue, which can’t stand up on their own, so you’ll need a sturdy mold to give the part its shape while it dries and hardens. Now, I could mold my part directly off of the original, but I’m not going to. Why? Because if I did, the shape of my part would be different from the shape of the original part.
Imagine that you’re making a sand castle. You pack your little bucket full of sand, flip it over, and remove the bucket to reveal a turret. Very impressive. But if you compare it to the bucket, your turret is shorter by the thickness of the bucket. The inside surface of the bucket became the outside surface of your turret.
Same concept applies for the panel. If I were to form a new panel directly off of the old one, the outside surface of the original panel would now become the inside surface of my new panel. And the new panel wouldn’t fit well as a result.
So to solve that, we have to make a tool. We have to make a part to make a part. This is pretty typical in composites land. In fact, it can go a step further. Usually I wouldn’t have the original panel, so I’d make yet another tool called a plug. So a part to make a part to make a part.
For example, if you wanted to make a muffin following the composites approach, you’d have to first carve a muffin-shaped object (the plug). Then from that, you’d construct your muffin pan (the mold) before finally making a muffin (the part). Three parts for a net of one. This is probably why rational people buy 3D printers.

Like any other form of creation, building composites is an art. I’m lucky to have learned from some maestros. During college, I helped make some molds at a fiberglass shop in East St. Louis. (I had a unique college experience.) And then during my stint in industry, I observed and interrogated some true wizards of carbon fiber. That was a good start. But just like any other art, master classes don’t make up for a lack of practice, so I’m still firmly a novice.
Ingredients of Mold-making
The basic requirements for my mold are that it keeps its shape and has a smooth surface. To satisfy those requirements, I could use any number of materials and methods. I’m going to go with the recipe that I learned in East St. Louis, because it doesn’t require any tools that I don’t already have.
The mold is made of fiberglass and topped with a gel coat. Fiberglass provides structure to the mold. Gel coat provides the smooth surface. The gel coat is basically a thick paint that dries hard and glassy. Typically gel coat is sold as a separate product, but according to some random person online, you can make your own by thickening some resin. I liked this idea, because if I were able to make my own gel coat out of resin, I could buy one less thing. (I already need resin because it’s the glue used to make the fiberglass. Fiberglass cloth + resin = fiberglass part.)
But I wanted to be even thriftier, if I could. There are a couple kinds of popular resins -- one is an epoxy, and the other is polyester. I was taught to use the second one, polyester, for molds. I think this is because it adheres better to store-bought gel coat, which itself is polyester-based. Since I’m making my own gel coat, as mentioned above, I should be able to use epoxy for my gel coat, mold, and part. Which is better anyway because epoxy gives parts better mechanical properties than polyester does. I don’t actually know why, so I’ll have to offer a rain check on the explanation.
This brings me down from three separate purchases (gel coat, polyester resin for molds, epoxy for parts) to one (epoxy for all three).
Experimenting with Cardboard
Now that I’d settled on a recipe, it was time to make a mold with it. I didn’t want to have my very first attempt be directly on the panel itself. There’s a lot of sticky substances involved and if I did something wrong, I might screw up the panel. (Spare parts for a Saab from the 1960s are not the easiest to find.)
So I started out by making a simple “L” shape out of cardboard to attempt it on instead. A mold is usually built inside out, with the gel coat applied first, followed by the fiberglass. The problem is that, if I tried to paint gel coat, which is basically a glue, onto cardboard, I would never be able to separate them. I needed to “release” the cardboard surface -- in other words, make it slippery enough so that the glue won’t stick.
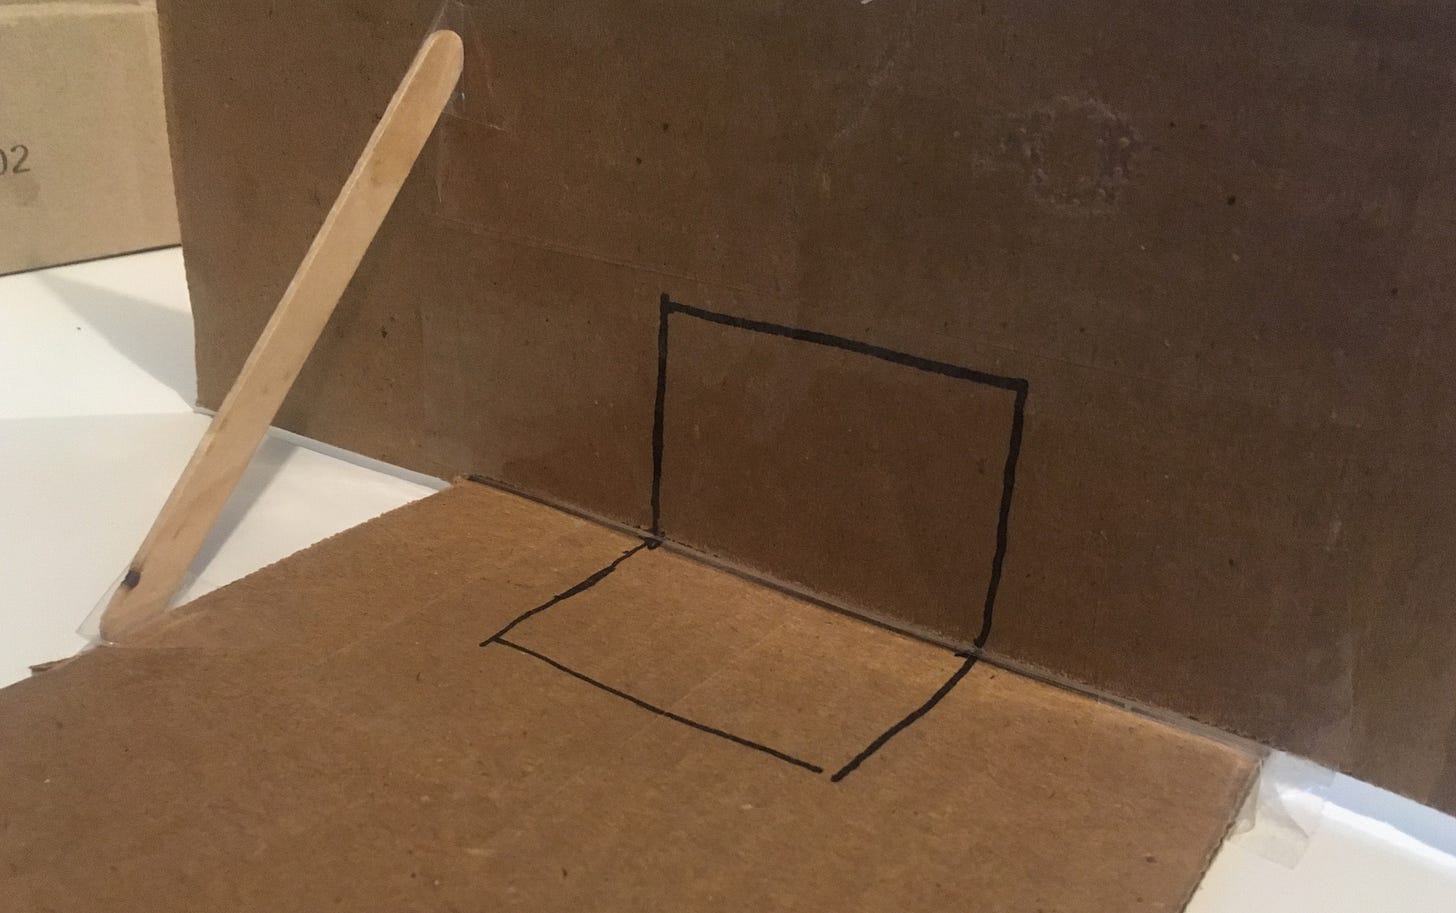
There are plenty of solutions for releasing a surface. In aerospace, for quick and dirty uses, adhesive backed teflon tape is used. This works well, but it’s pricey. The more old school approach is to coat the surface with a release wax and then coat the wax with something called PVA, a thin liquid that dries into a film. The wax helps make the surface slippery and the PVA creates a physical barrier that the glue can’t get past. For more info, read this. But the problem was that I couldn’t just start buffing the cardboard with wax. It would get absorbed into the cardboard. So I first covered the cardboard with clear packing tape, which also added slipperiness, and then planned to coat the tape with wax. Let’s take a moment to admire how nicely I butted the tape edges together.
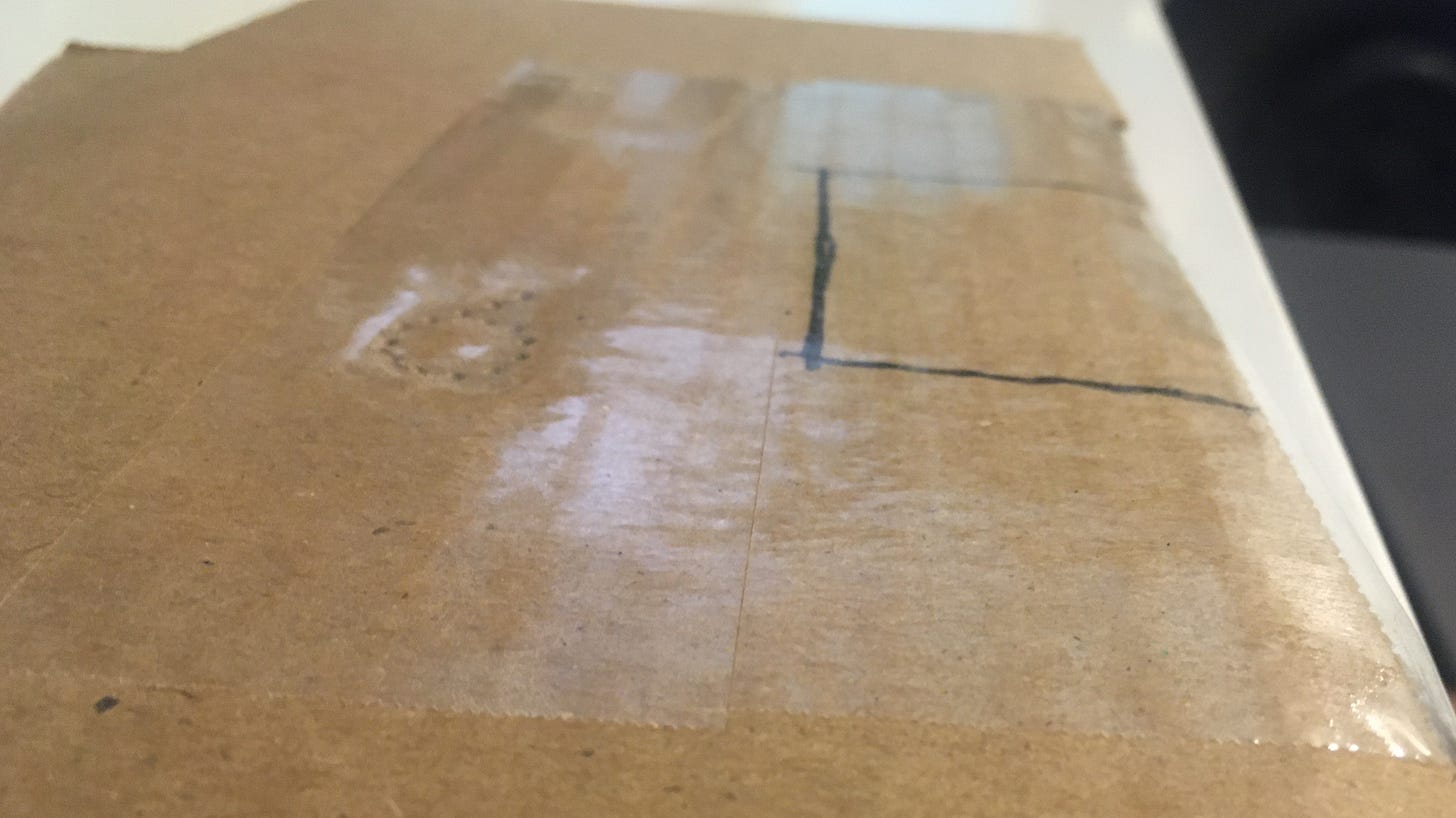
Rounding Off Corners
Before going on to the next step of the release (adding the wax and PVA), I had one more issue to tackle. My cardboard “L” had a sharp corner. Fabric -- any fabric, including fiberglass -- does not like sharp corners. Picture folding a t-shirt versus a piece of paper. If you tried to lay fiberglass into a sharp corner, the fabric would lift away. This would leave an air pocket, more commonly (and dramatically) called a void. Voids are bad, because there is air where you want material to be. So to avoid voids, we avoid sharp corners.
Here I remembered another thing from East St. Louis: to round off corners, we used to pack tooling wax into them. Then we’d use what looked like a ball bearing on a stick (not sure what the tool was called) to shape the wax into a smooth radius. The ball bearing would be heated up first to melt the wax and make it easier to shape. I had neither the wax nor the ball, but I did have candles and a metal skewer, the back of which was circular. Close enough. So I lit the candle and dripped some wax into the corner.
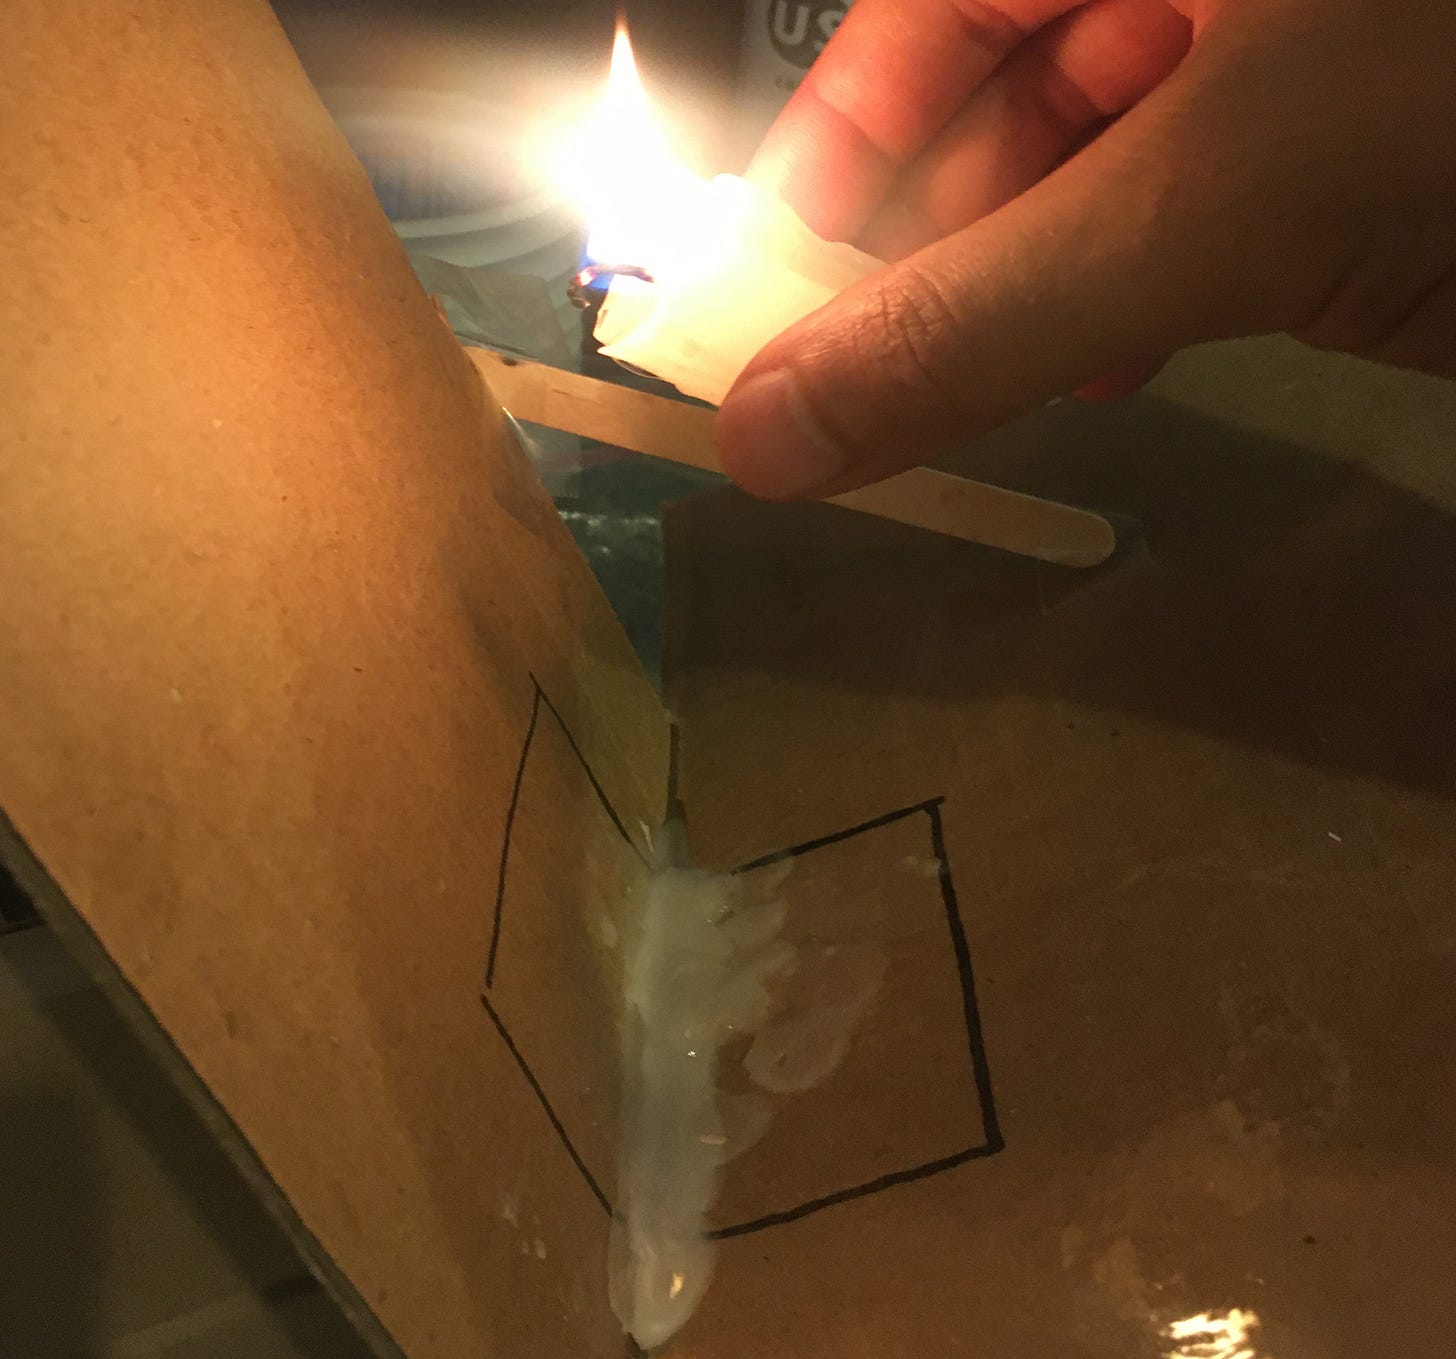
Using a butane lighter, I heated the back of the skewer, and dragged it back and forth across the wax to shape the radius.
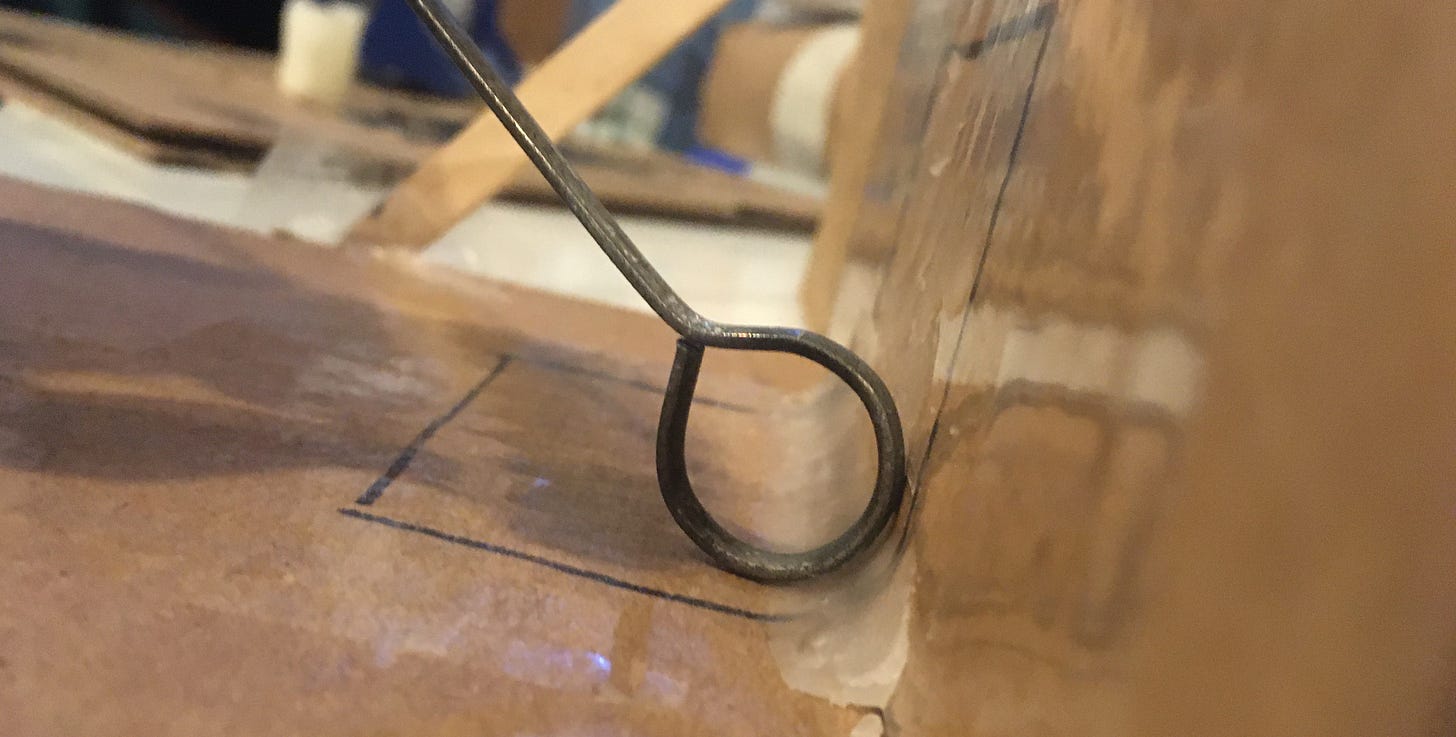
I had to iterate a few times, adding more wax to low spots and following up with a few more passes of the skewer. But the end result looked passable.
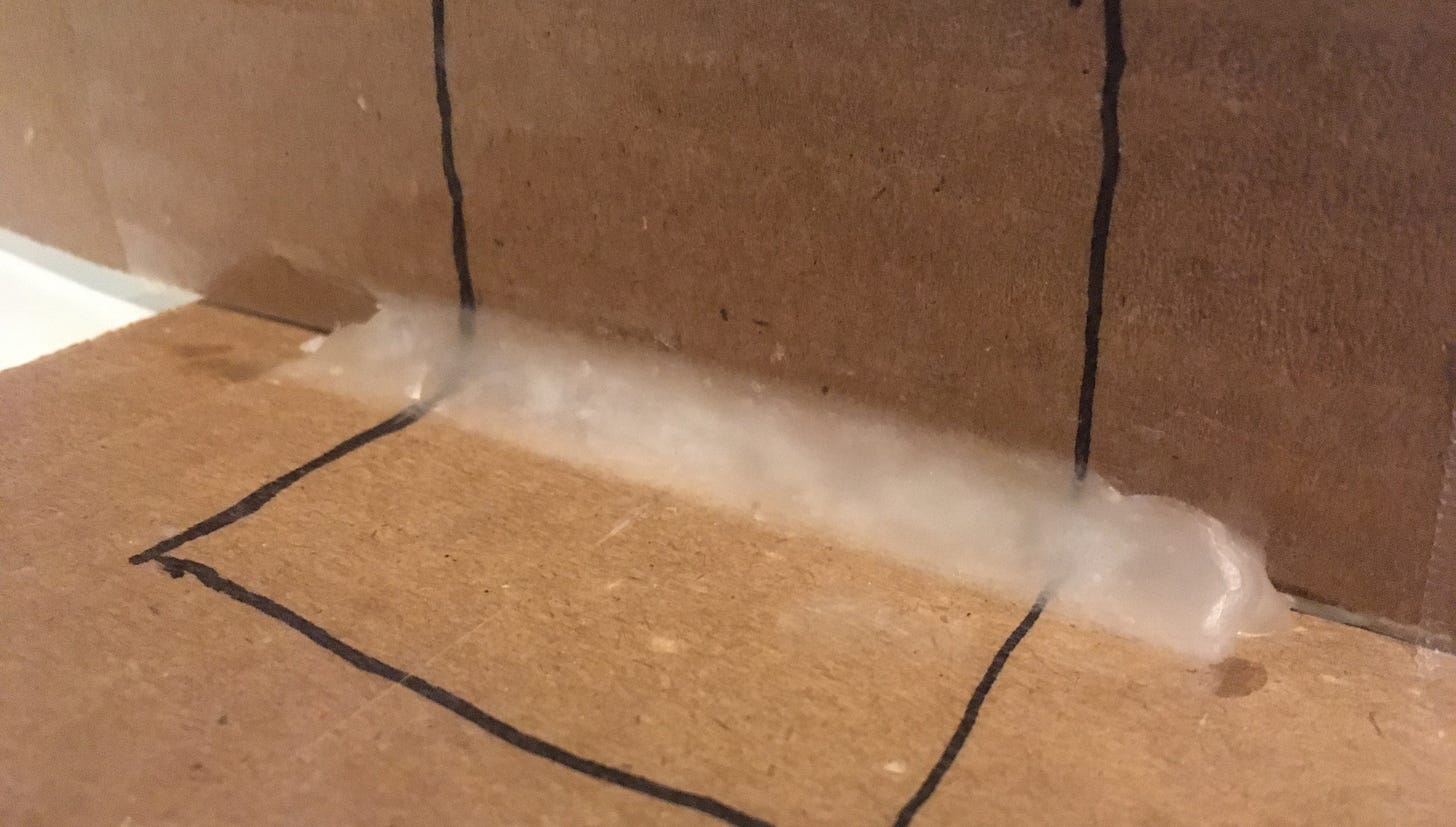
Adding Slipperiness
With the radius done, I could get back to releasing my cardboard so that the gelcoat would not stick. On top of the packing tape, I applied wax and PVA. The manufacturer recommends applying the PVA with a spray gun, but I want to avoid buying single-use tools, so I brushed my PVA on with a foam brush. The result looked pretty bad -- it was pooled and uneven. I have sprayed PVA before in college, but I didn’t have much success then either. I guess PVA and I are just not a good pairing.
So I tried a different release on a second “L”. The cardboard, packing tape, and candle wax radius were all the same. But this time, instead of the release wax and PVA, I used mineral oil. (I had some lying around, since the lid of my food processor is a bit too fond of the bowl.) I brought up the idea of using mineral oil to a manufacturing engineer friend of mine. He reminded me that oil, being difficult to remove from a surface, could cause issues. If I needed to bond to the oily surface with glue, the glue likely wouldn’t stick that well. Like a good design engineer, I acknowledged his warning and then promptly ignored it. Problem for future me.
Now I had two versions of my “L”: one released with wax + PVA, the other with mineral oil.
The Gel Coat
With my cardboard adequately prepped, I prepared the gel coat, the first step in the actual mold. The recipe I used for my gel coat was epoxy resin + a thickener + color. The thickener was fumed silica, more commonly called “Cabosil”. (Side note: I also tried baby / talcum powder for the thickener, which seemed to work just fine. This is even cheaper, but I’m going to finish using the Cabo I bought.) For coloring, I added a dash of a red Rit all-purpose liquid dye that I already had. The purpose of the coloring was to allow me to better judge the thickness of the gel coat layer.
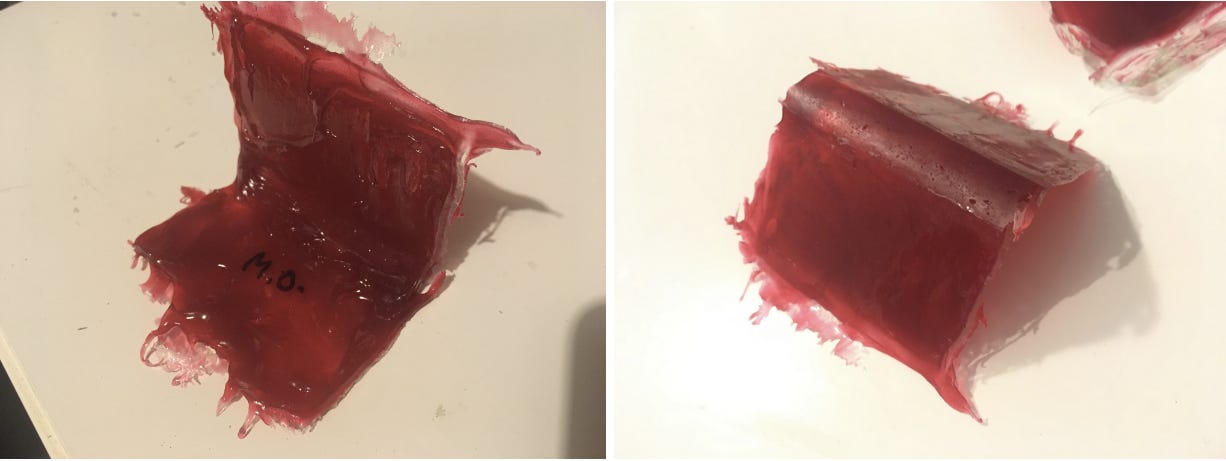
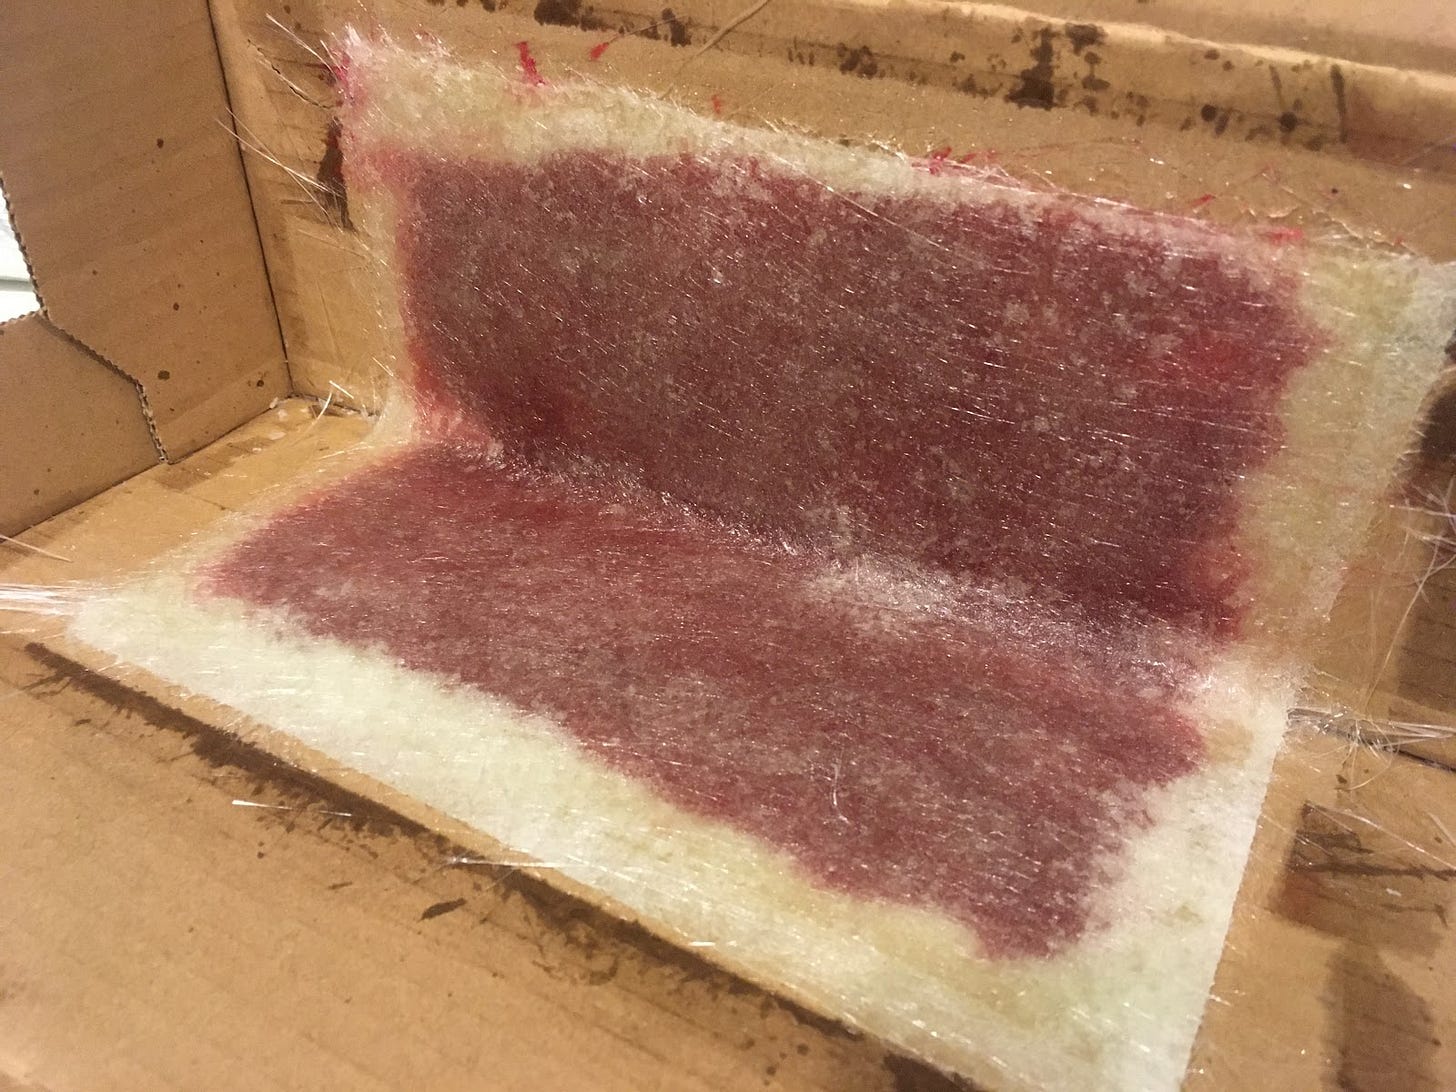
My first attempt at applying the gel coat is shown below. I mixed one batch of gel coat and applied it to both of my “L”s -- the oil one and the wax + PVA one. The gel coat turned out way too viscous. Near peanut butter consistency. It didn’t apply evenly at all. On the plus side, it didn’t slide down the vertical wall and puddle at the bottom.
On the “L” released with mineral oil, the surface felt too slippery. As I applied the gel coat, it stuck to the brush better than to the cardboard. That. I’m sure, is what led to the air bubbles on the surface. The mineral oil “L” did, however, release much easier than the wax + PVA. Aside from that, the wax + PVA “L” performed well. It had fewer air bubbles on its surface.
Gel Coat Take Two
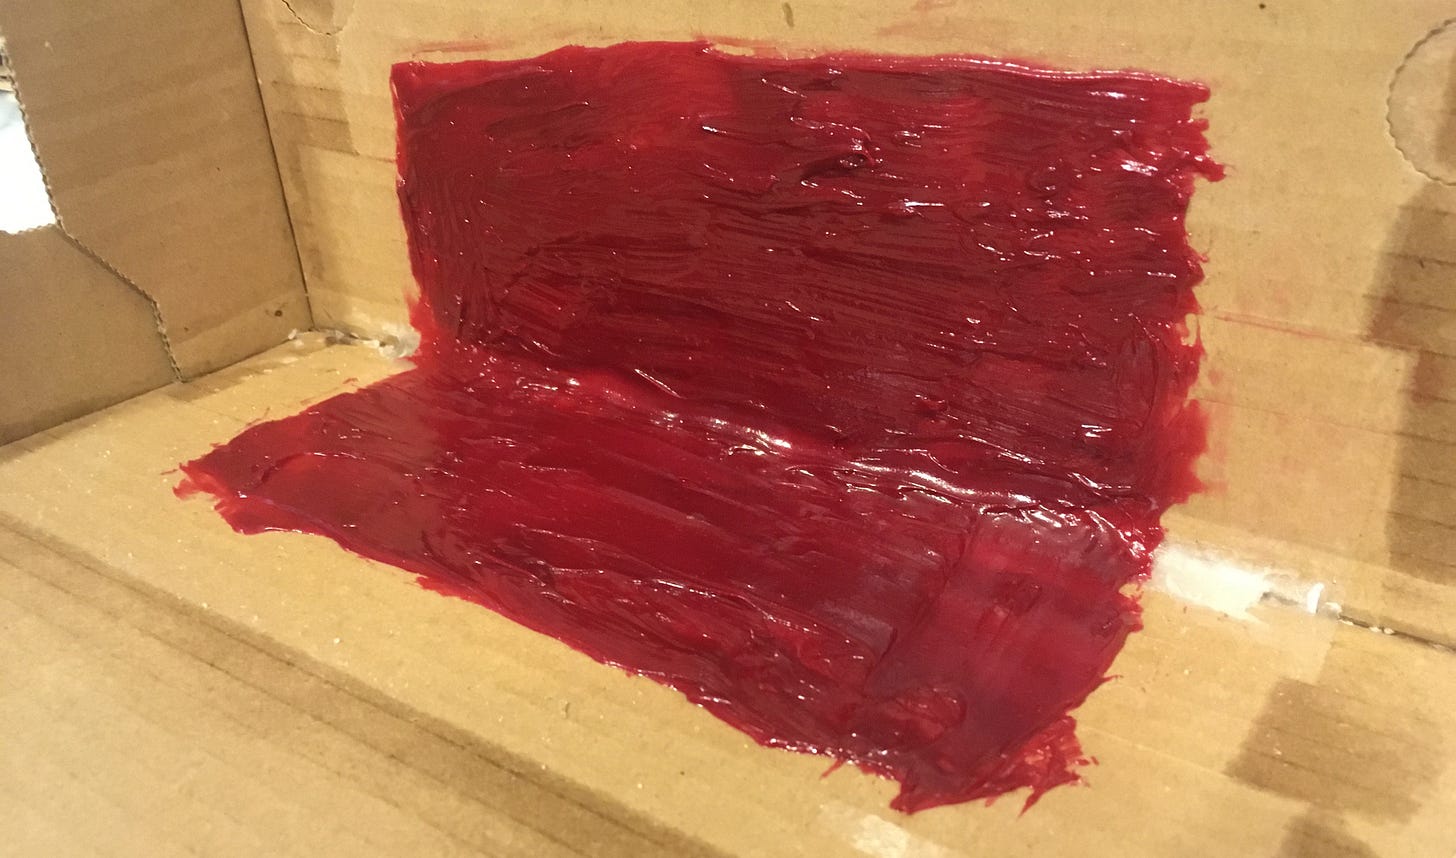
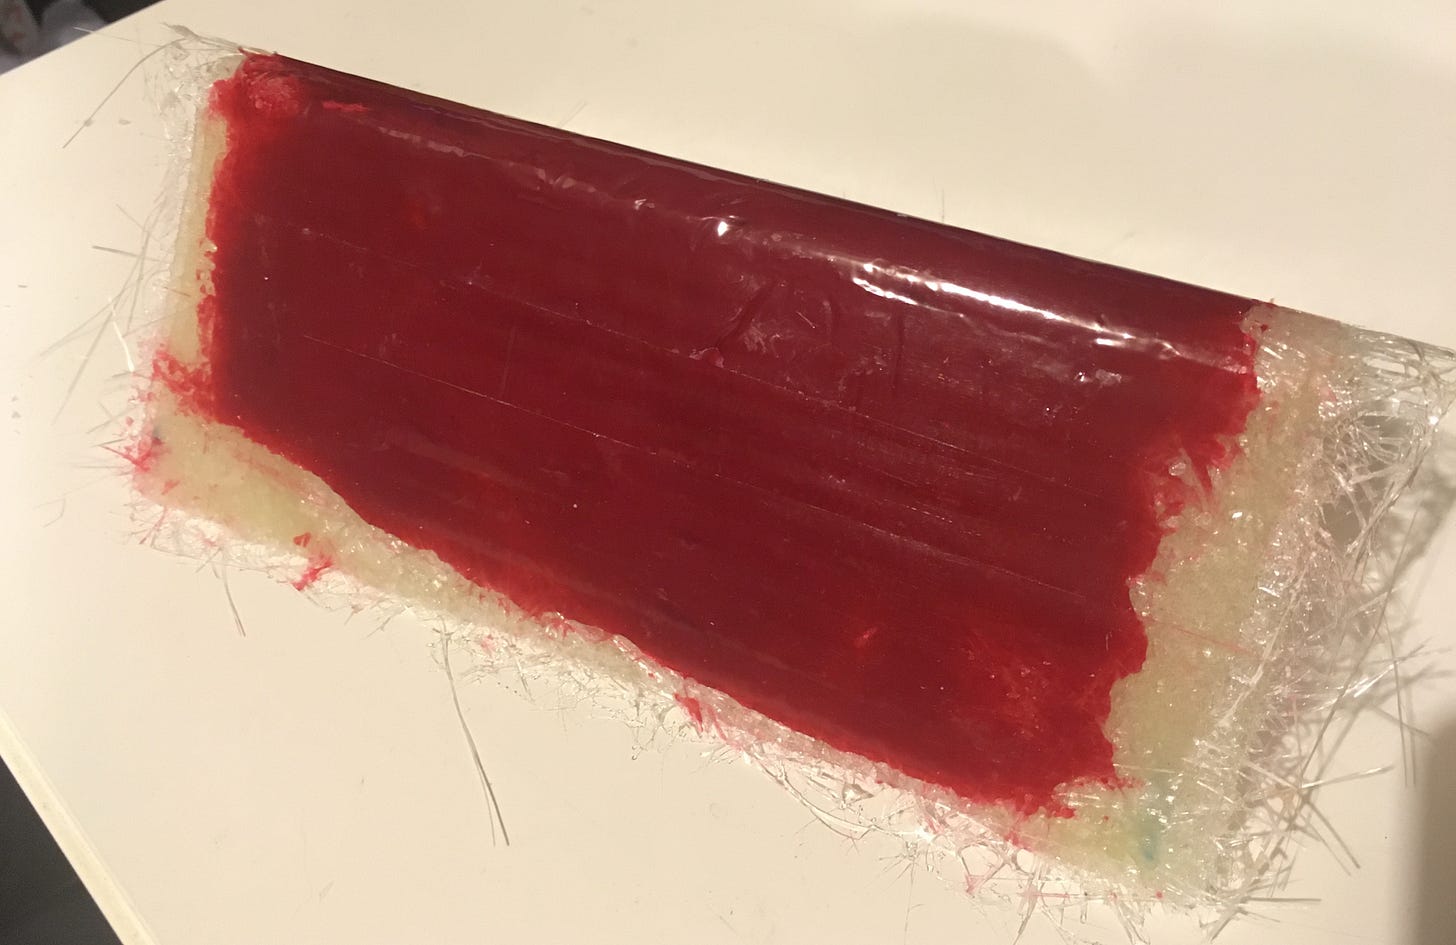
With those lessons in mind, I made a second attempt at a gel coat and release. I made the gel coat a little less thick, more like Nutella than peanut butter. For the release, I skipped the wax + PVA and stuck with just the mineral oil, because I liked how easy it was to apply. This time, to address the air bubbles caused by the surface being too slippery, I wiped off the oil after applying, leaving an extremely thin coat.
Results were positive. The gel coat laid down far nicer and didn’t lift off the surface like it did the first time. Unfortunately, I did create new problems for myself. I left some wrinkles in the underlying tape which caused there to be small indents in the gel coat surface. More attention to detail next time around should cure that. My Nutella-like gel coat was probably still a little on the thick side, but it was workable.
Adding Fiberglass
Happy with the result of that, I went ahead and added two layers of fiberglass over the gel coat when it was just starting to get tacky. The fiberglass portion was pretty standard. I placed a layer of dry fabric and brushed resin on it until the fabric was fully wet out. I did the same for the second layer, then let it sit overnight. In the morning, I had my first garage-built fiberglass mold!
There are some air bubbles in the radius, between the gel coat and fiberglass, but I think that’s just down to a lack of practice. Overall, a really good starting point. The fiberglass and the resin ended up being the only two items that I absolutely had to buy. Those two materials cost me $57 (from US Composites) for a supply that should last me a while. I’m pretty encouraged by how well my home brewed solutions worked and I think I’m feeling confident enough to start molding the real deal.
Drawing exercise #10. If you missed it, here’s why I’m learning to draw


Your discussion of how to prevent parts from sticking to a mold, and the article "Why Molds Stick" got me to thinking. The conditions that cause a mold to stick are the same as those needed to make 3DP parts stick to the print bed. The problems with molds become the exact solutions to a common 3DP problem. I think this duality is something that arises frequently in design. You did a study on "bad ideas" (forgot the number). What makes a lot of ideas "bad" isn't the idea. It's the context.
Enjoying the studies. I think I found your site via a link on a Hackaday article, but not sure.